
There’s something truly special about homemade English muffins, especially when you add a handful of juicy blueberries. If you’ve never made them from scratch, trust me, it’s easier than you think! And the flavor? Unbeatable.
I still remember the first time I made English muffins at home. I was tired of the dry, store-bought versions that always seemed to lack flavor. One morning, after having an extra stash of frozen blueberries, I thought, why not? That’s how these blueberry English muffins became a staple in my kitchen.

I love how versatile these muffins are. Toasted with a smear of butter? Divine. Topped with honey or maple syrup? Even better. Used for a breakfast sandwich? Game-changing. There’s something so comforting about making bread from scratch. Kneading the dough, waiting for it to rise, and then watching it transform in the pan, it’s a little bit of magic happening right in your kitchen. And the smell? Oh, that warm, fresh bread aroma with hints of blueberries and butter. It makes getting out of bed in the morning totally worth it!

If you’ve ever been intimidated by homemade bread, I promise these English muffins are a great place to start. They don’t require an oven, just a skillet, and they come together easily with simple ingredients. Let’s dive in and make some magic!
Ingredients You’ll Need
Here’s what you need to make about 8-10 delicious blueberry English muffins:
- 3 cups all-purpose flour (360g)
- 1 tsp salt
- 2 1/4 tsp (or one packet) dry active yeast
- 2 tbsp maple syrup
- 3/4 cup milk (180ml)
- 1/2 cup water (120ml)
- 3 tbsp melted butter (42g)
- 1 large egg, room temperature
- 1/2 cup frozen blueberries
- Optional 1 tsp of vanilla extract
- Cornmeal or semolina for dusting
Step-by-Step Instructions
Making English muffins from scratch might sound intimidating, but I promise you, it’s super doable! Here’s exactly how to do it:
1. Activate the Yeast
Yeast is what gives English muffins their signature airy texture. First, take your 1/2 cup of warm water (about 110°F/43°C) and stir in the dry yeast. Let it sit for about 5–10 minutes. You’ll know it’s ready when it becomes foamy and bubbly.
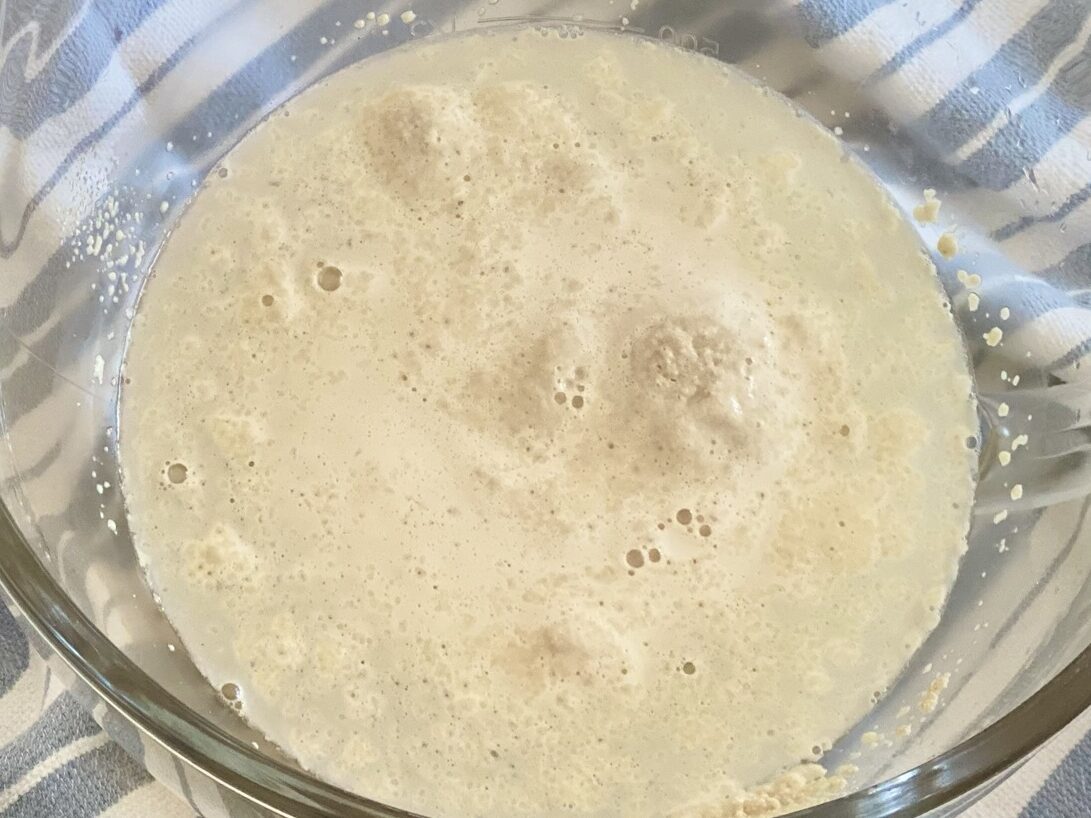
(Pro tip: If your yeast doesn’t foam up, it might be expired. Try again with fresh yeast!)
I always find this part so satisfying. Watching the yeast come to life reminds me of baking with my grandmother. She used to say that good bread starts with happy yeast, and she wasn’t wrong!
2. Combine the Wet Ingredients
In a large glass measuring cup or bowl, whisk together:
- The activated yeast mixture
- Milk
- Maple syrup
- Egg
- Melted butter
This mixture smells absolutely amazing, especially with that little bit of maple syrup. It adds just the right touch of warmth and sweetness.
3. Mix the Dough
Using a stand mixer with the paddle attachment, combine the flour and salt on low speed. Slowly pour in the wet ingredients. Once incorporated, increase the speed to medium and let the dough mix for about 5 minutes. It should start coming together into a soft, slightly sticky dough.

There’s something so calming about watching the dough form. I always take a moment here to appreciate the transformation, from a mess of flour to a smooth, elastic dough that’s full of potential.
4. Add the Blueberries
Gently fold in the frozen blueberries and mix for another 2 minutes. The berries will distribute throughout the dough, giving you a burst of flavor in every bite!
I love the way the frozen blueberries stain the dough just a little as they mix in. It’s like watching an artist swirl paint on a canvas. Each muffin is going to have its own unique pattern of blueberries!
5. Let It Proof
Transfer the dough to a buttered bowl, cover it with plastic wrap, and let it proof:
- On the counter for 2–4 hours (until doubled in size), OR
- Overnight in the fridge (for deeper flavor!)
(If refrigerating, take the dough out and let it come to room temp for about an hour before shaping.)

I always prefer the overnight method. Not only does it develop a better flavor, but waking up to dough that’s already ready to go is such a treat. Plus, it makes me feel like I have my life together (even when I don’t).
6. Shape the Muffins
Once your dough has risen, transfer it to a floured countertop- the dough will be quite sticky so flour will help. Gently spread it out to about 1 inch thick. Use a 3-inch cookie cutter (or the rim of a drinking glass) to cut out the muffins.
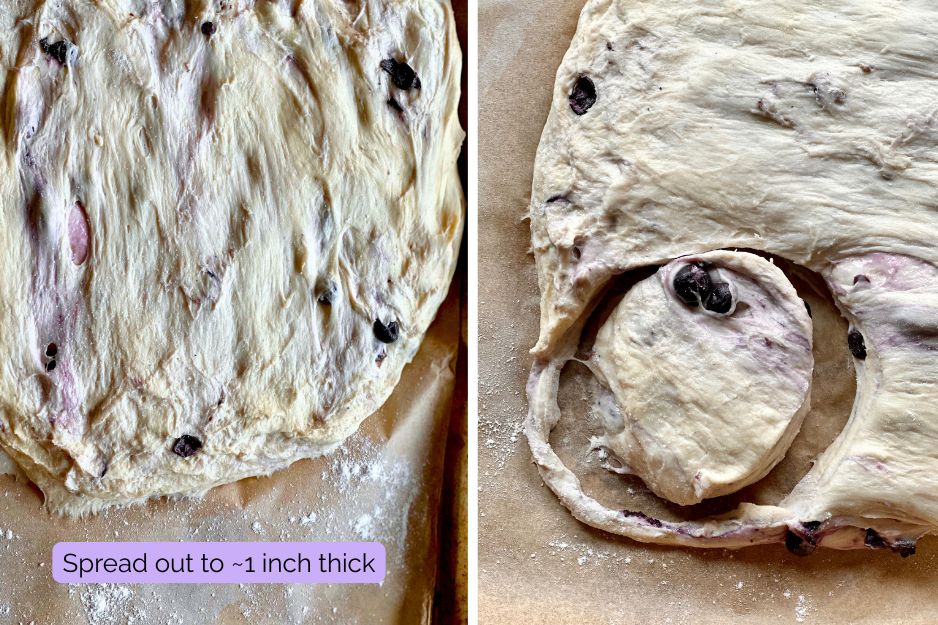
Sprinkle a baking sheet with semolina or cornmeal and place your cut out muffins on top. Cover and let them rise for another hour.
7. Cook on the Stovetop
This is where English muffins work their magic! Unlike traditional bread that bakes in the oven, these cook on a skillet.
- Heat a large skillet (cast iron works best) over low heat.
- Sprinkle a little cornmeal or semolina onto the pan.
- Cook the muffins for about 6 minutes per side covered. They should turn golden brown and puff up beautifully.
- Don’t overcrowd the pan, give them space!
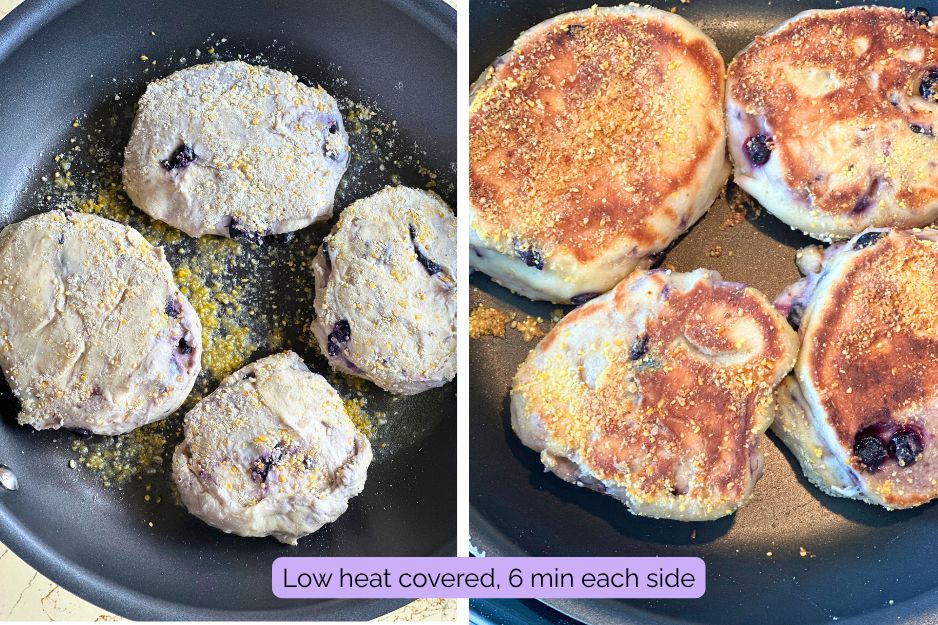
(If your muffins are browning too quickly but not cooking through, lower the heat. Slow and steady wins the race!)
This step always makes me feel like an old-school baker. There’s something rustic and traditional about cooking bread on a stovetop instead of an oven. Plus, the smell that fills the kitchen is nothing short of heavenly.

8. Let Them Cool (If You Can Wait!)
Freshly cooked English muffins smell incredible, but they need a little time to cool before you dig in. If you cut into them too soon, they might be too soft inside. Give them at least 10–15 minutes before splitting them open. I love to have them toasted with some butter and jam on them.

(Pro tip: Use a fork instead of a knife to split them. This preserves their signature nooks and crannies!)
Why You’ll Love These Muffins
- Perfect for meal prep – Make a batch and enjoy them all week long.
- Fun brunch idea for hosting– Make the dough night before and pull out of the fridge an hour before you plan to make them. Your guests will be so impressed!
- Customizable – Add cinnamon and rasins, a touch of lemon zest, or swap blueberries for chocolate chips.
- Healthier than store-bought – No preservatives, just simple, wholesome ingredients.

Recipe Summary
Ingredients:
- 3 cups all-purpose flour (360g)
- 2 1/4 tsp dry active yeast
- 1 tsp salt
- 2 tbsp maple syrup
- 3/4 cup milk (180ml)
- 1/2 cup water (120ml)
- 1/2 cup frozen blueberries
- 3 tbsp melted butter (42g)
- 1 large egg, room temp
- Cornmeal or semolina for dusting
Instructions:
- Activate yeast in warm water.
- Combine yeast mixture with milk, maple syrup, egg, and butter.
- Mix flour and salt in a stand mixer. Slowly add wet ingredients. Mix for 5 minutes.
- Add frozen blueberries. Mix for 2 more minutes.
- Transfer dough to a buttered bowl, cover, and let rise (2–4 hours or overnight).
- Shape into 1-inch thick rounds using a 3-inch cutter. Place on a cornmeal-dusted baking sheet. Let rise for 1 hour.
- Heat skillet on low, sprinkle cornmeal, and cook muffins for 6 minutes per side or until golden brown.
- Let cool, then enjoy!

Give these a try and let me know how they turn out! I’d love to hear how you like to eat your English muffins.
Happy baking!
With love,
Bri & Cat


Leave a Reply