This site contains affiliate links, view the disclaimer page for more information.
Let me tell you a secret: homemade peanut butter changed my kitchen and my family’s snack time forever. I know that might sound a little dramatic, but once I started making it myself, I realized just how much flavor and freedom I was missing out on.
This homemade peanut butter recipe is not only incredibly easy, but it’s also healthy, affordable, and picky-husband approved (which, let me tell you, is a huge win in our household).
Table of Contents
It All Started with One Pound of Peanuts
I used to buy natural peanut butter from the store, assuming that was as good as it gets. I’d scan labels, looking for the ones without palm oil or extra junk, but even then I was never wowed.
My husband? He’s a peanut butter fan. He likes it creamy, smooth, not too sweet, not too salty, and definitely not separated or oily at the top (which is how many natural kinds come). We were constantly switching brands, trying to find “the one.”
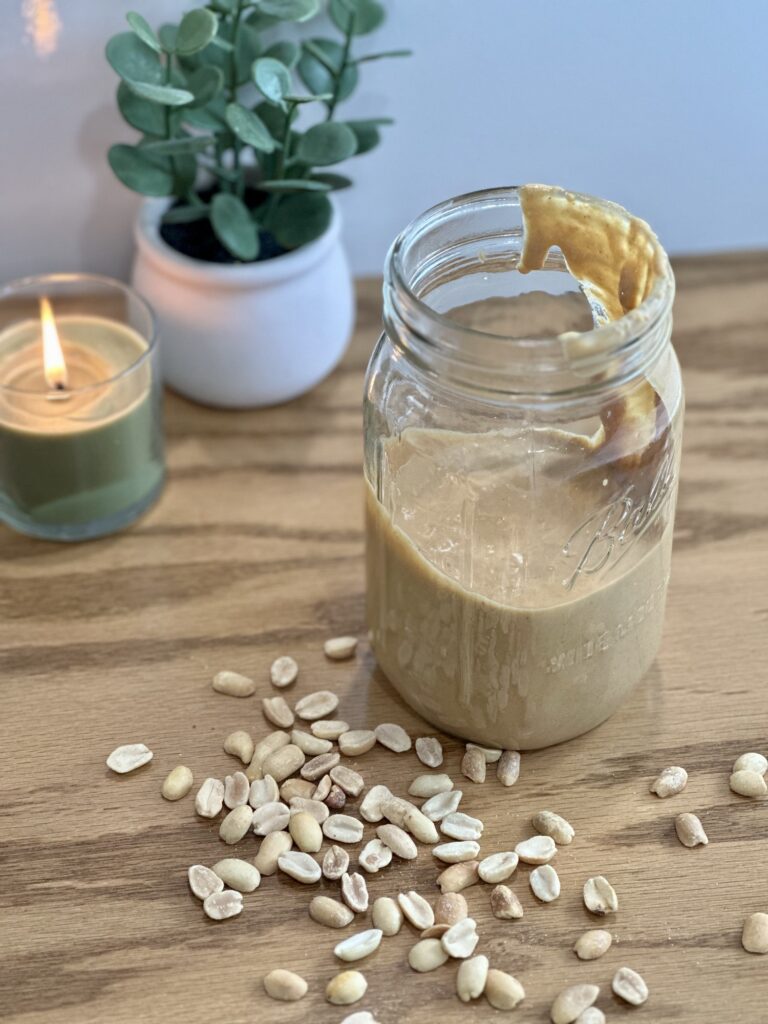
Then one day, I grabbed a bag of organic roasted peanuts from the pantry, tossed them in the blender with a few simple ingredients, and crossed my fingers.
Ten minutes later, we had the smoothest, richest homemade peanut butter we’d ever tasted.
He took one bite on a spoon, looked at me with wide eyes and said, “Wait. You made this?!”
I knew I had struck gold.
My Homemade Peanut Butter Recipe!
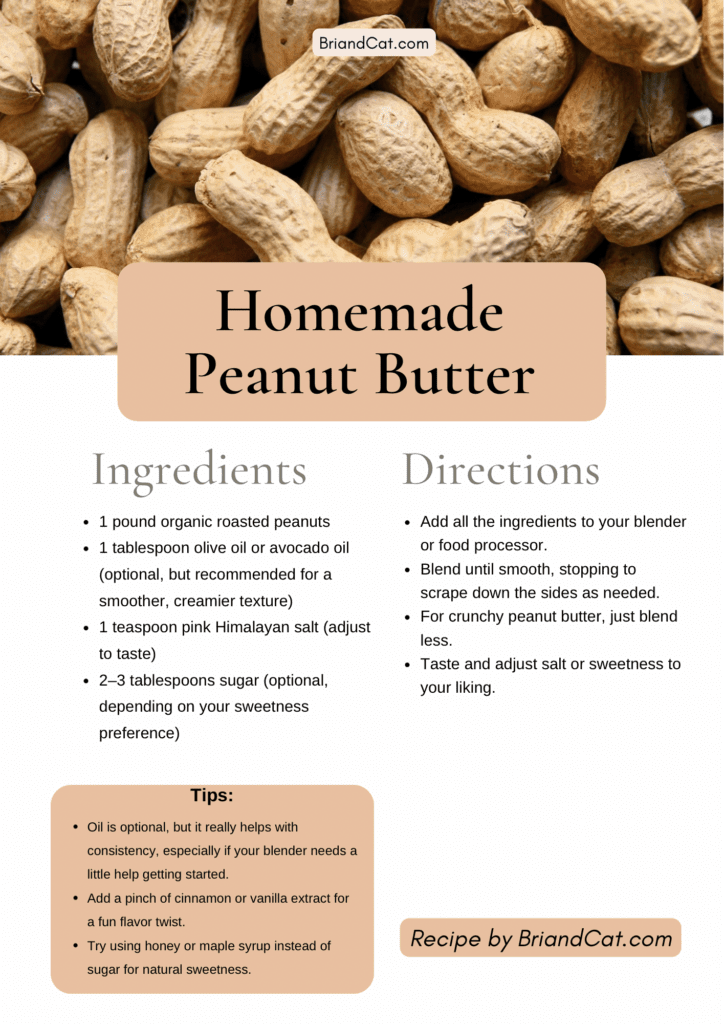
Ingredients:
- 1 pound organic roasted peanuts (I use Sun Organic Farm)
- 1 tablespoon olive oil or avocado oil (optional but highly recommended for texture)
- 1 teaspoon pink Himalayan salt (optional)
- 2–3 tablespoons sugar (adjust to your sweetness preference)
Directions:
- Add all the ingredients to your blender or food processor.
- Blend until smooth, stopping to scrape down the sides as needed.
- For crunchy peanut butter, just blend less.
- Taste and adjust salt or sweetness to your liking.
That’s it. It’s really that easy.

Why I Add Oil
You’ll see a lot of recipes leave out the oil, and you can totally make homemade peanut butter without it. But after trying it both ways, I noticed a big difference.
The oil gives it that velvety smooth texture, like the good stuff you get from fancy food co-ops. I prefer avocado oil for its neutral flavor and health benefits, but olive oil works beautifully too.
Sugar and Salt
One of the best things about making your own homemade peanut butter is that you decide what goes in it.
Want it sweet like store-bought? Add more sugar.
Prefer it salty and savory? Use a little extra Himalayan salt.
Need it sugar-free? Skip the sweetener altogether.
I use pink Himalayan salt because it has trace minerals and a milder flavor. And the sugar? Sometimes I swap it for maple syrup or honey if I want something a bit more natural.
My kids love it a bit sweeter on toast, while my husband likes a slightly salty version for his banana-peanut butter smoothies.
Blender vs. Food Processor
I’ve used both my high-powered blender and food processor, and honestly, both work great, but I prefer my Vitamix. The key is patience. It takes a few minutes for the peanuts to release their oils and transform into butter.
Here’s a quick tip if your machine is struggling:
- Blend in short bursts.
- Give your motor a break every minute or so.
- Scrape the sides down to keep it moving evenly.
Ways We Use Homemade Peanut Butter
Peanut butter in our house isn’t just for PB&J sandwiches. We get creative with it, and it shows up in so many snacks, meals, and treats. Here are a few of our family’s favorite ways to enjoy it:
- Spread on toast with bananas and chia seeds – a go-to breakfast on busy mornings.
- Blended into smoothies – adds protein, creaminess, and a rich flavor. My husband swears by his peanut butter + banana + cocoa powder shake.
- Peanut butter oatmeal – a staple in our house. We stir a spoonful into warm oats, top with a drizzle of honey and some berries. It’s toddler-approved.
- DIY peanut butter cups – seriously indulgent and fun to make with the kids.
- Peanut dipping sauce for spring rolls or noodles – just mix it with a little soy sauce, maple syrup, lime juice, and ginger.
- Easy 7-ingredient chocolatey granola bars – oats, peanut butter, honey, almonds, chocolate chips, sunflower seeds, and dried cranberries. Stir, press into a pan, chill, and cut. These are a lifesaver for on-the-go snacks or lunchbox treats.
- Banana peanut butter yogurt cups – this one’s a kid favorite. I layer Greek yogurt, sliced banana, and a drizzle of homemade peanut butter in muffin tins, then sprinkle with a few chocolate chips or sprinkles for the boys. It’s quick, healthy, and tastes like dessert.
Seriously, it’s hard to find a snack that peanut butter doesn’t improve.
Why I Love Making It Myself

Making homemade peanut butter isn’t just about taste, though the taste is absolutely next level.
It’s about:
- Knowing exactly what’s in your food. No preservatives, no hydrogenated oils, no mystery ingredients. I order my peanuts online from Sun Organic Farm.
- Customizing it to your taste. Creamy or chunky, sweet or savory.
- Saving money. A jar of organic peanut butter can cost $7 to $10. Making it at home with bulk peanuts? Closer to $3 a jar.
- Reducing waste. I store ours in glass jars, which means no more plastic peanut butter tubs piling up in the recycling bin.
- Impressing everyone. I’ve gifted homemade jars during the holidays, added it to charcuterie boards, and even brought it to brunch potlucks. It always disappears fast.
Homemade Peanut Butter Reviews (From My Sister)
One morning my sister-in-law came over for brunch with her daughter (she’s a self-proclaimed “store-bought only” type). When I offered her a taste of my homemade peanut butter, she gave me the skeptical side-eye and said, “Is this one of your weird healthy mom things?”
One spoonful later, and she wanted the recipe.
Now she makes it for her toddlers every week. It’s become a little family tradition we joke about. Peanut butter changed our lives.
Storage Tips and Shelf Life
Since it’s all-natural, homemade peanut butter doesn’t last forever, but it holds up pretty well.
- Store in an airtight container or mason jar.
- Keep it in the fridge for the freshest taste. It’ll last about 3 to 4 weeks.
- If you use a lot, you can store a small jar on the counter for daily use and refill as needed.
You may notice a little separation over time. Just give it a stir and you’re good to go. No weird stabilizers necessary.

Make It a Family Activity
If you’ve got kids, let them help. My boys love pressing the button on the blender, pouring the peanuts in, and (of course) licking the spoon at the end.
It’s a fun little kitchen ritual we do together. I talk about where peanuts come from, we smell the warm nutty aroma, and we get to eat something they helped create.
Honestly, I love that they see how food is made. That they know good things can come from simple ingredients. That they’re growing up in a house where real food is celebrated.
Say Goodbye to Store-Bought
If you’re on the fence about making your own peanut butter, let me be the one to nudge you over. You don’t need to be a gourmet chef. You don’t need fancy equipment. You don’t need a lot of time.
Just grab a pound of peanuts, blend, and enjoy.
Homemade peanut butter has become a staple in our lives- something we make with intention, eat with joy, and share with the people we love.
So next time you’re at the store reaching for that jar, pause and ask yourself: could I make this better at home?
Because the answer, my friend, is absolutely YES!
Have you tried making homemade peanut butter? Let me know how it turned out or ask me anything in the comments below. I’d love to hear your twist on the recipe.
With love,
Bri & Cat
Affiliate Disclaimer:
As an Amazon Associate I earn from qualifying purchases. This comes at no additional cost to you. We only recommend products that we believe will add value to our readers.
Leave a Reply