A few weekends ago, I came home from the farmers market with an enormous bundle of dino kale, way more than I could possibly eat in salads or sautés. I just couldn’t pass up a discount bundle though. And bunches were lush, vibrant, and practically calling my name. But once I got home and stared at my fridge packed with leafy greens, I realized I had a problem: what was I going to do with all this kale before it wilted? That’s when I remembered one of my go-to favorite healthy snacks: homemade kale chips.
These crispy, salty, totally snackable bites are my favorite way to use up extra kale. They’re easy to make, satisfyingly crunchy, and way healthier than a bag of store-bought chips. Plus, when you make them yourself, you get to control everything, how crispy you like them, how salty, and even which spices you want to throw in.
Let me walk you through exactly how I make them, share what I’ve learned from trial and error, and give you a few fun variations to try. This recipe is simple, but there are a few key details that really make the difference between a soggy flop and that perfect chip crunch.
Table of Contents

Why Dino Kale?
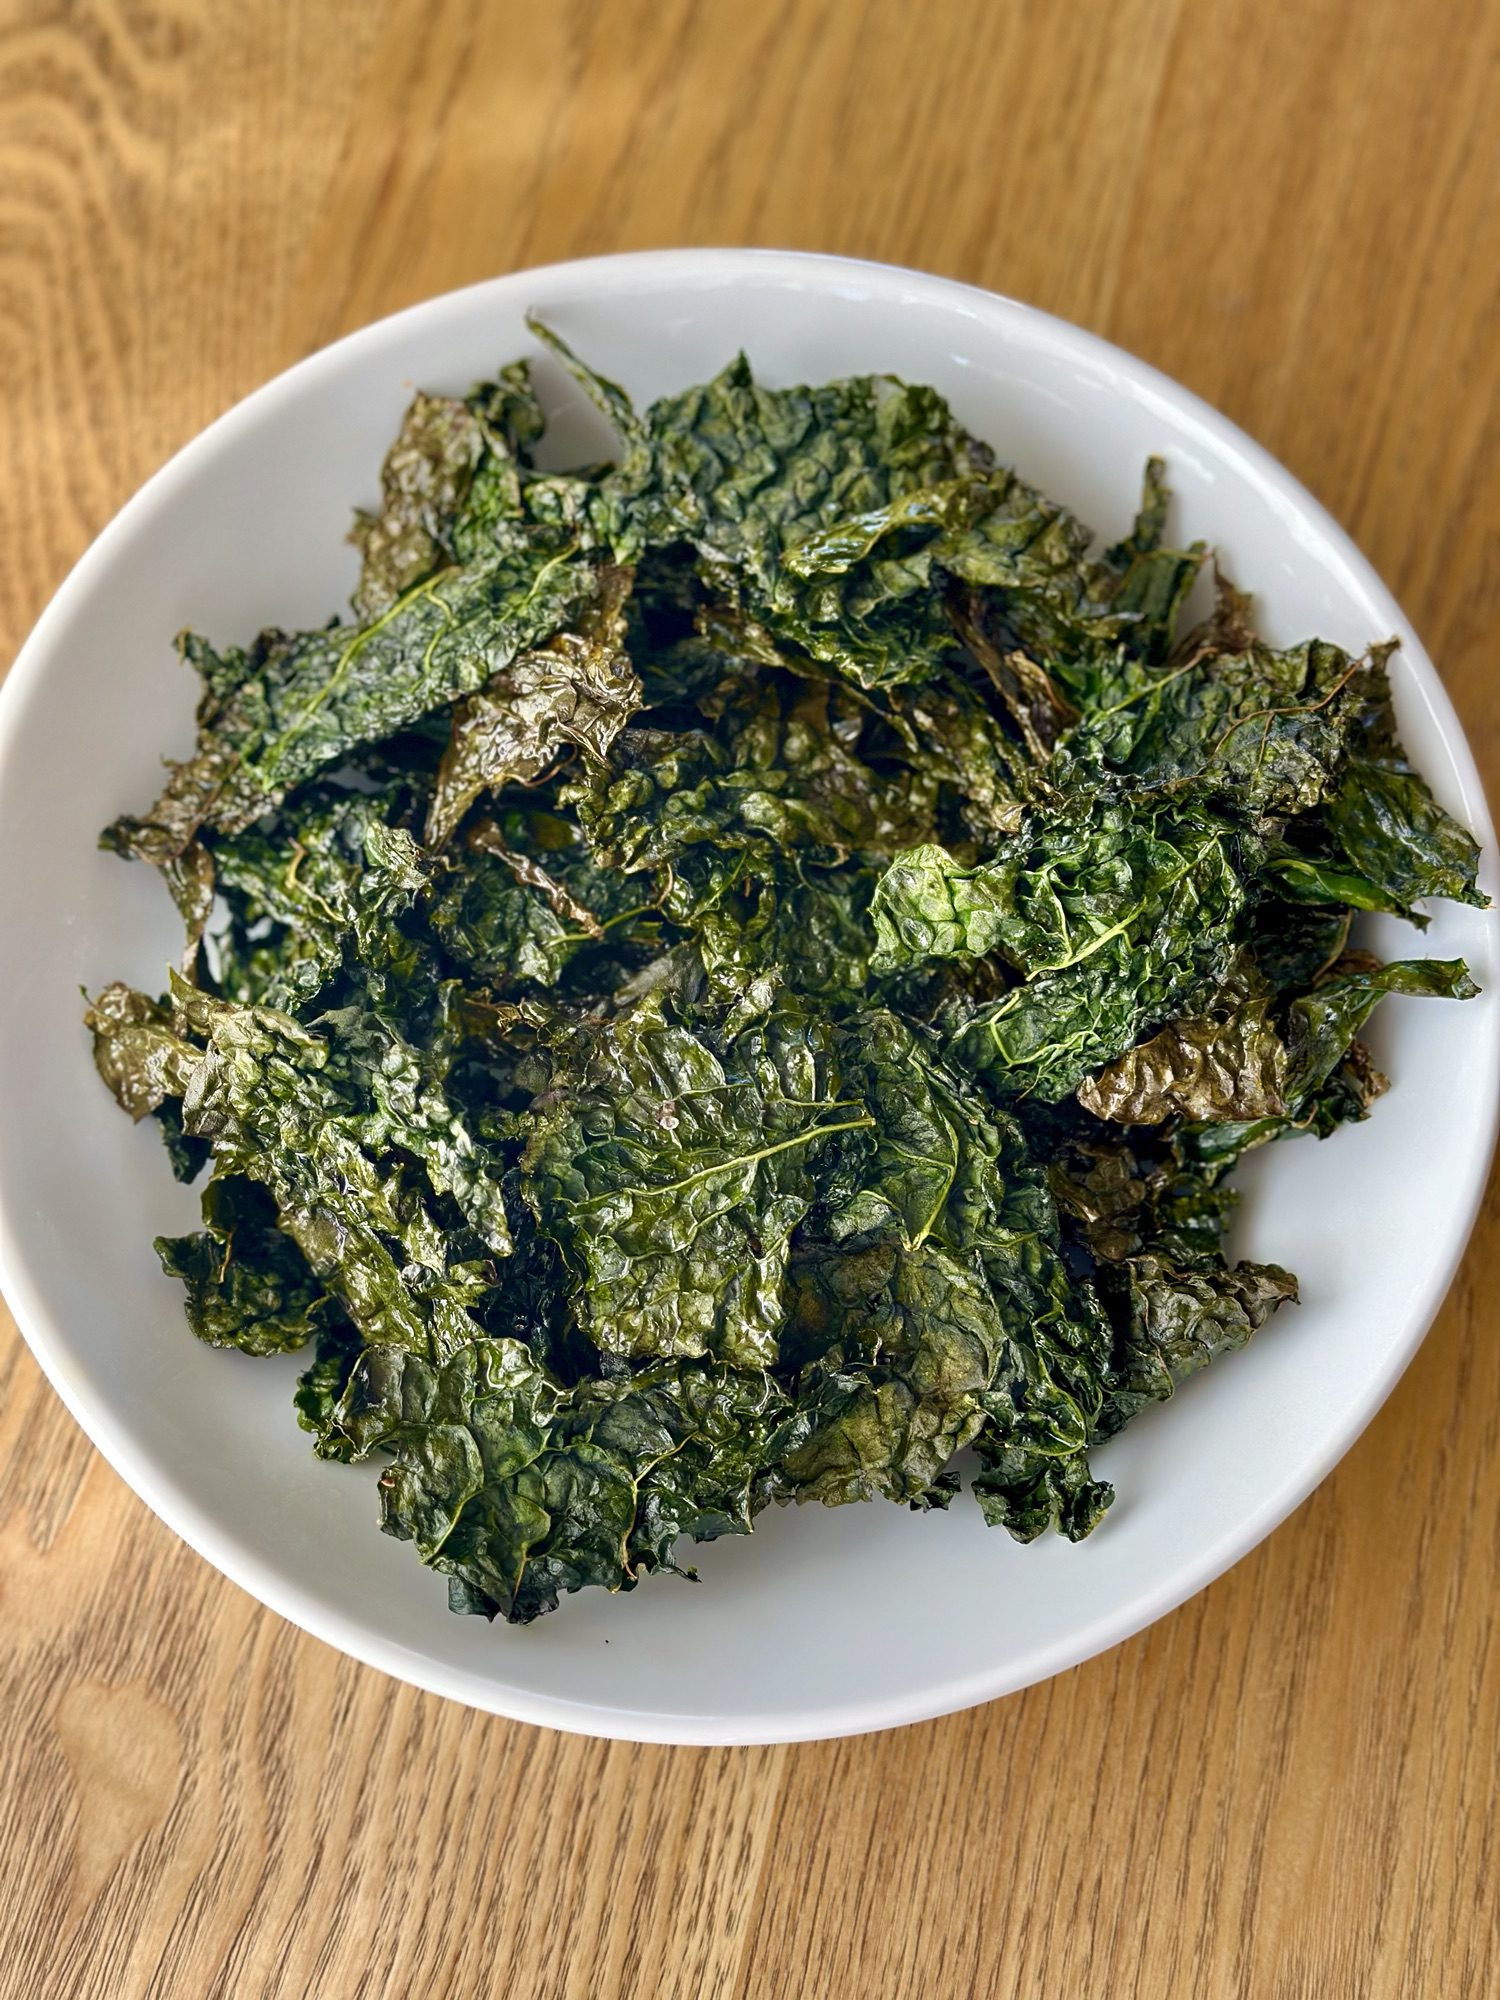
First, let’s talk kale. I used dino kale (also called lacinato or Tuscan kale). It’s darker, flatter, and less curly than the standard kale you might find in pre-bagged grocery store salads. I love it because the leaves are sturdier and slightly less bitter, making them ideal for chips. They hold their shape well and don’t shrink into nothingness the way curly kale sometimes does.
If you’ve only ever had curly kale chips and weren’t impressed, try this version. It might just convert you.

My Go-To Homemade Kale Chips Recipe
Here’s the no-frills version I come back to every single time. You only need three ingredients (plus a little attention to detail).

Ingredients:
- 1 bunch dino kale
- 1–2 tablespoons olive oil
- Salt and pepper to taste
Instructions:
- Preheat your oven to 300°F (150°C).
- I’ve tried 350°F before out of impatience, and it just doesn’t work. Higher temps burn the kale too easily. Low and slow wins here.
- Wash the kale thoroughly.
- Even if it looks clean, I always give it a soak. Farmers market kale tends to have little bits of soil or grit.
- Dry the kale COMPLETELY.
- This step is crucial. I use a salad spinner first, then lay the leaves out on a dish towel and let them air dry for at least 30 minutes.
- If there’s moisture left, your chips will steam in the oven and never crisp up.
- Remove the stems.
- They’re too tough to crisp properly. I fold each leaf in half and slice the thick stem out with a knife. Or you can tear it off the stem with your hands.
- Tear the kale into chip-sized pieces.
- I aim for about 2–3 inches wide. They shrink slightly but not a ton.
- Toss with olive oil, salt, and pepper.
- Use your hands. Massage the oil into the leaves so they’re coated but not dripping. Don’t over do the oil, they shouldn’t be drenched but more lightly coated.
- Spread on a parchment-lined baking sheet.
- Don’t overcrowd! Give the pieces space so they crisp, not steam.
- Bake at 300°F for 10–15 minutes.
- I usually check at the 10-minute mark and flip over some of the bigger pieces. Some ovens run hotter, and kale can go from perfect to burnt very quickly.
- Let cool for 5–10 minutes.
- They’ll crisp up more as they cool. Don’t skip this step, even if they feel a little soft when they come out, they’re not done until they’ve cooled.

The Importance of Dry Kale
Let me say it again: dry kale makes or breaks this recipe.
I learned this the hard way. One time, I was in a rush and figured, “eh, close enough” after a quick towel pat-down. Big mistake. What came out of the oven wasn’t chips, it was warm kale salad. No crunch, no snap, just wilted leaves with a slightly bitter, soggy vibe.
Now, I always plan a bit ahead. I’ll wash and spin my kale as soon as I get home from the market, then let it dry on the counter while I put away groceries or prep other meals. By the time I’m ready to bake, it’s perfectly dry and ready to crisp.

Variations to Try
Once you’ve nailed the basic version, it’s fun to play around with flavors. These are some of my favorite seasoning combos:
1. Spicy Chili Lime
- Add a dash of chili powder
- Sprinkle with lime zest or a few drops of lime juice post-bake
2. Garlic Parmesan
- Add garlic powder before baking
- Sprinkle with finely grated parmesan right after baking while chips are still warm
3. Smoky Paprika
- Toss in smoked paprika for a deep, earthy flavor
- Great with a pinch of sea salt and cracked pepper
4. Everything Bagel Seasoning
- Just add a teaspoon or two of the seasoning blend before baking
- Tastes amazing and adds a nice texture
5. Nutritional Yeast “Cheesy” Chips
- Sprinkle nutritional yeast on oiled kale before baking for a cheesy, umami punch
- Great vegan alternative to cheese flavor
You can mix and match or even divide your baking sheet and try multiple versions in one batch.

Storage Tips
Here’s something people often ask: How do you store homemade kale chips so they stay crisp?
Honestly, these chips are best eaten the same day. But if you need to store them:
- Let them cool fully
- Store in an airtight container at room temp
- Add a paper towel inside to absorb any moisture
If they do lose their crunch, just pop them back in a 300°F oven for 2–3 minutes to re-crisp.

Why I Keep Coming Back to This Recipe
There’s something satisfying about turning a big, slightly intimidating bunch of greens into something fun and craveable. Homemade kale chips are the kind of thing that makes you feel like a kitchen wizard, even though they’re ridiculously easy.
And they’re not just a health food flex, they’re actually good. I’ve brought them to potlucks, movie nights, and even served them to skeptical friends who don’t “do” kale. Almost every time, someone asks for the recipe.

They’re also a great way to get kids (or adults!) to eat more greens. I once brought a bowl to my nephew’s birthday party thinking I’d be the weirdo with “health food” on the table. Ten minutes later, they were gone.
A Few Final Tips

- Don’t use too much oil. More oil doesn’t equal crispier chips, it just makes them greasy.
- Watch them like a hawk. The last 2–3 minutes of baking are critical. I’ve burned more batches than I care to admit by walking away to check email or fold laundry.
- Try them warm and cooled. They have slightly different textures, and both are good in their own way.
- Use good salt. A flaky sea salt or kosher salt goes a long way in making the flavor pop.
Gulit Free Snack
If you’ve got a bundle of kale on the brink of going bad, or if you just want a healthy snack that doesn’t taste like you’re making a sacrifice, homemade kale chips are where it’s at.
They’re:
- Easy
- Customizable
- Surprisingly addictive
- A smart way to use farmers market greens
Next time you see a gorgeous bunch of dino kale, grab it. Don’t overthink it. Don’t let it go to waste. Just go make some kale chips.
Got a favorite spice blend I didn’t mention? Tried this recipe with curly kale or red kale? I’d love to hear how it worked for you. Leave a comment or shoot me a message, I’m always game to talk snacks.

With love,
Bri & Cat


Leave a Reply