This site contains affiliate links, view the disclaimer page for more information.
The first time I ever made Homemade Crackers, I felt like I had discovered a superpower hiding in my kitchen. There is something about pulling a tray of crisp, golden, perfectly seasoned crackers out of the oven that feels like a quiet triumph. Almost like, wait, why did no one tell me I could do this? Why have I spent years buying boxes of crackers when the ingredients for the homemade version have been sitting in my pantry all along?
If you’ve never made Homemade Crackers before, let me tell you something upfront. They are far easier than bread. They are more forgiving than cookies. And once you try them, you will never un-know how simple and satisfying they are to whip up. That can be dangerous.
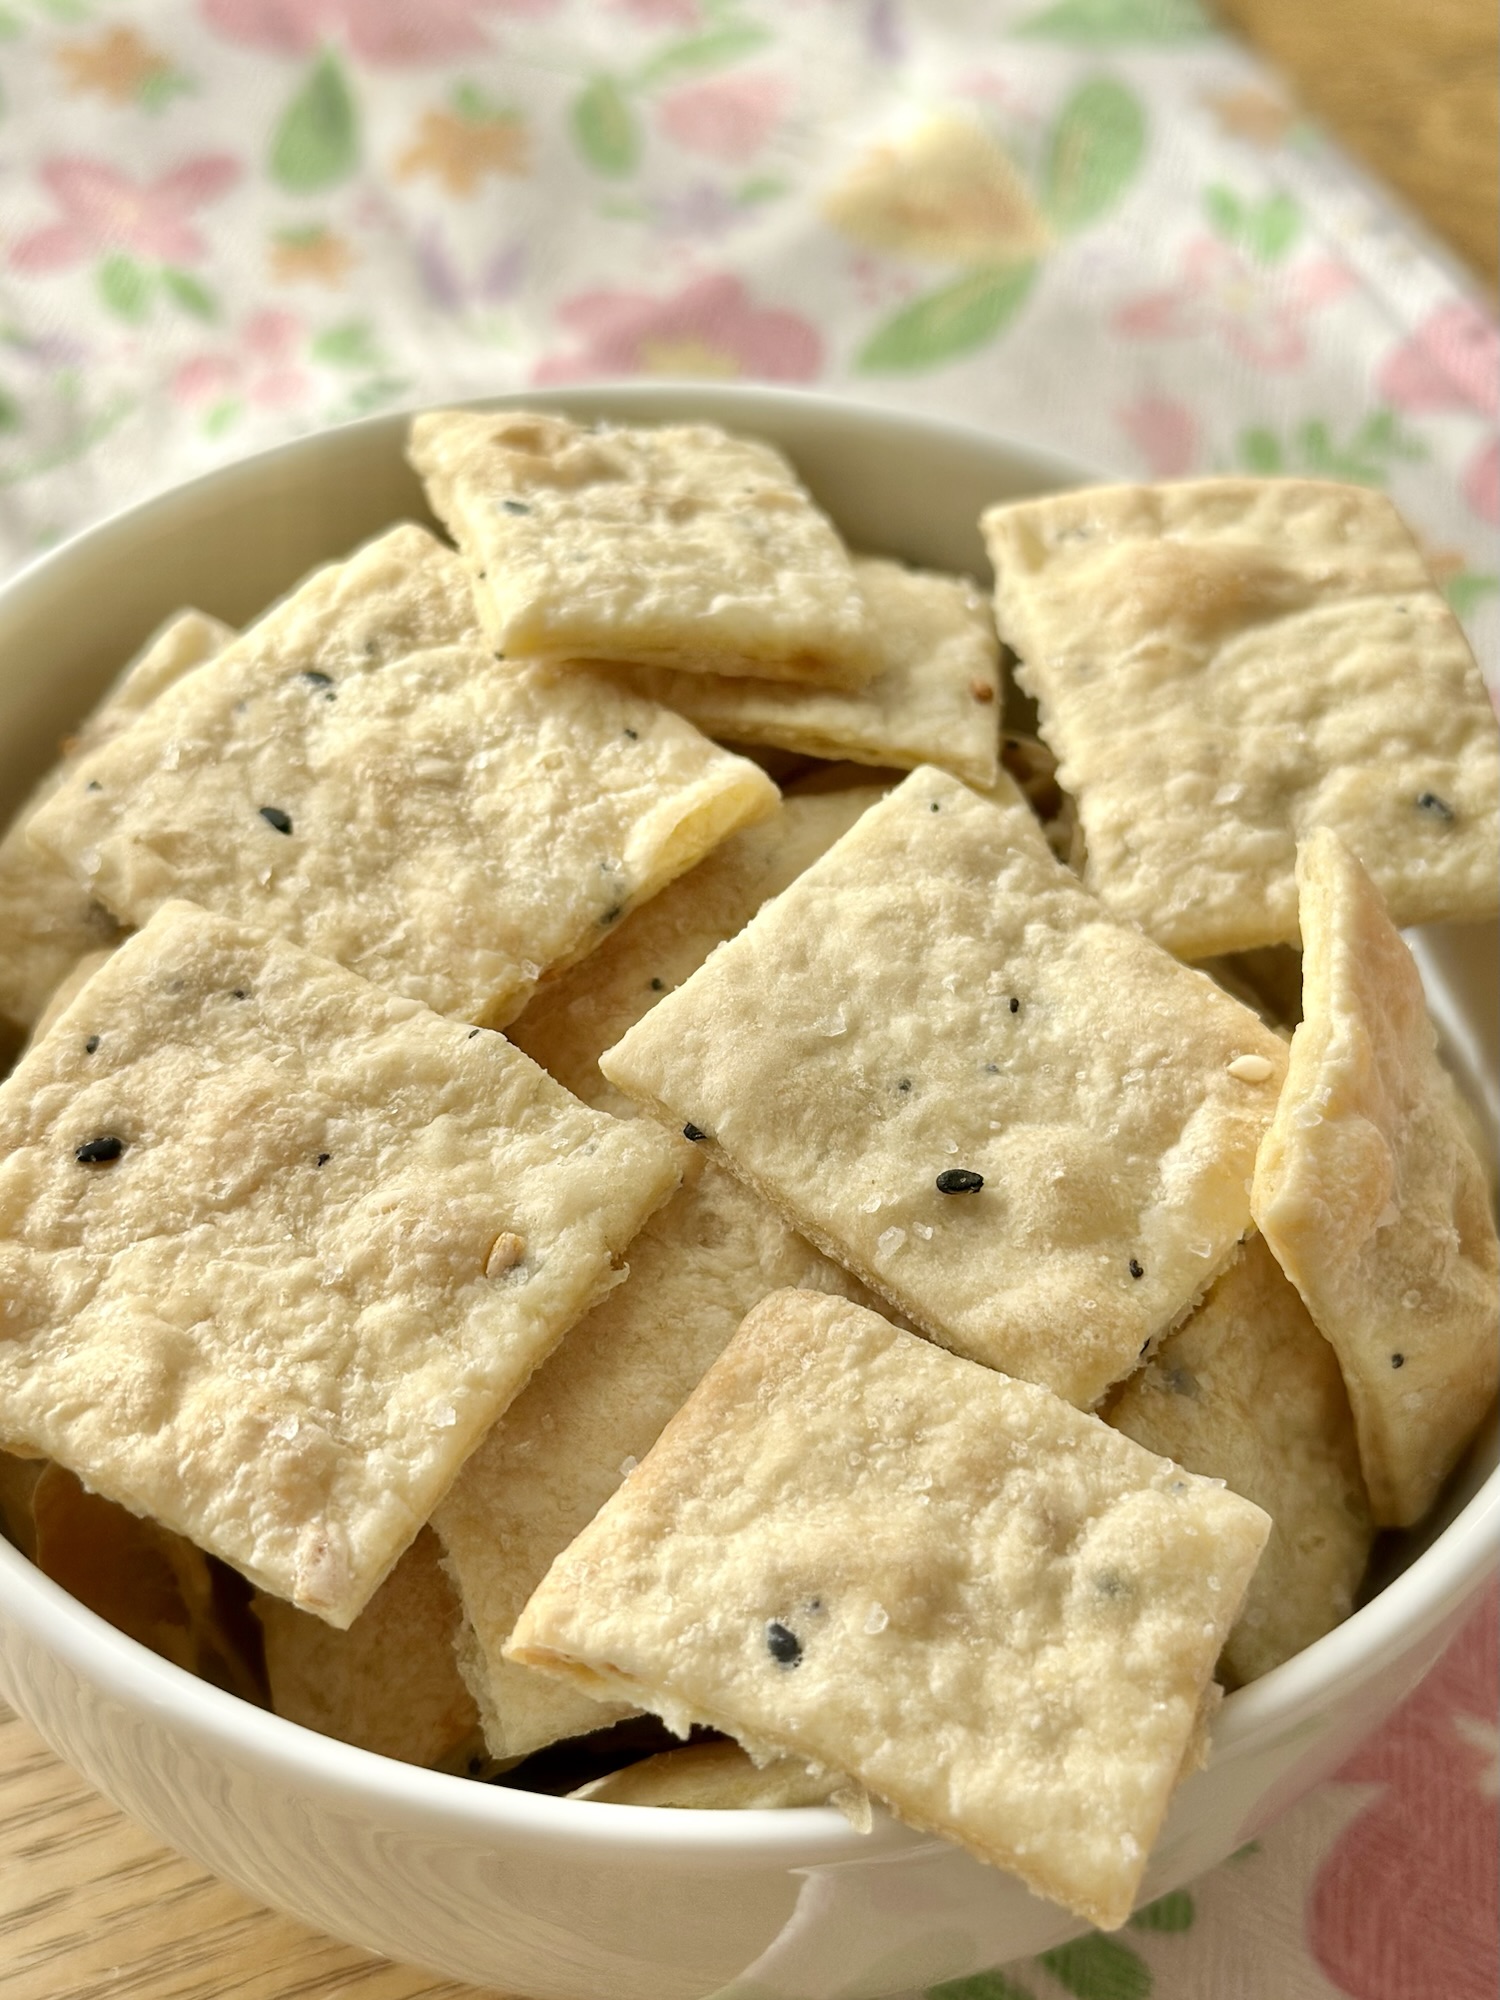
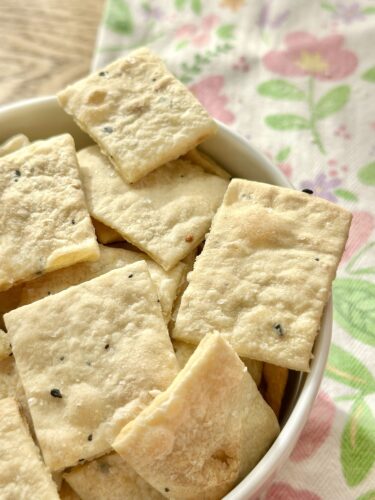
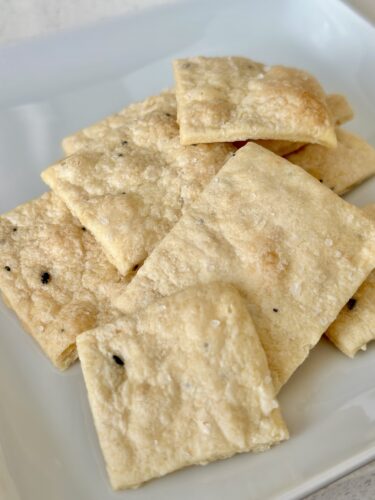
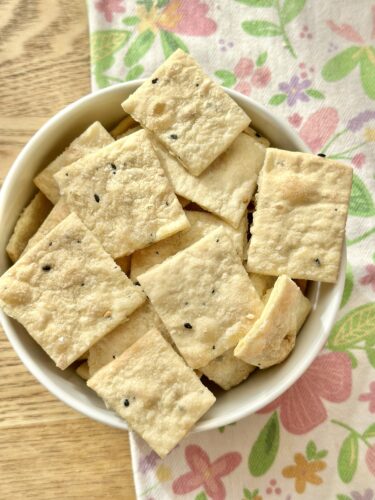
And the everything bagel version? They’re salty and savory and speckled with all the good stuff. They’re the kind of crispy, crunchy snack that works on a cheese board or on the couch or in a lunchbox or straight from the container during a late-night kitchen wander.
So today I’m walking you through the exact Homemade Crackers recipe I use on repeat. Everything bagel seasoning included. Equipment minimal. Patience level low. Satisfaction level extremely high.
Table of Contents
Why You’ll Love These Everything Bagel Homemade Crackers
I could list a dozen reasons why Homemade Crackers deserve a permanent spot in your recipe rotation, but here are my go-to highlights:
They come together with pantry staples.
There is no butter softening or dough chilling or special flour mixing. It’s the kind of recipe you can decide to make at 3:17 p.m. and pull out of the oven by 4 p.m.
They taste like your favorite everything bagel, but crispier.
That iconic seasoning blend gets cozy with the dough and turns the whole cracker into a flavor bomb.
They’re perfect for snacking and sharing.
I bring these to picnics, parties, and women’s nights all the time, and someone always asks for the recipe.
They feel impressive without being complicated.
People think crackers are advanced. They are not. But I let them believe it anyway.
They’re customizable.
Once you nail the base recipe, you can season them with anything you love.
And if you ever host family gatherings during the holidays or throw together last-minute appetizers, these Homemade Crackers give you a head start every time.
Ingredients You’ll Need
One of my favorite parts about this recipe is how approachable the ingredient list is. Nothing fancy. Nothing hard to find. Just honest, simple staples that transform into something addictively crunchy.
Here’s what goes into these Homemade Crackers:
- 1.5 cups all purpose flour
- 1/2 cup water
- 3 tbsp olive oil (set 1 tbsp aside for brushing)
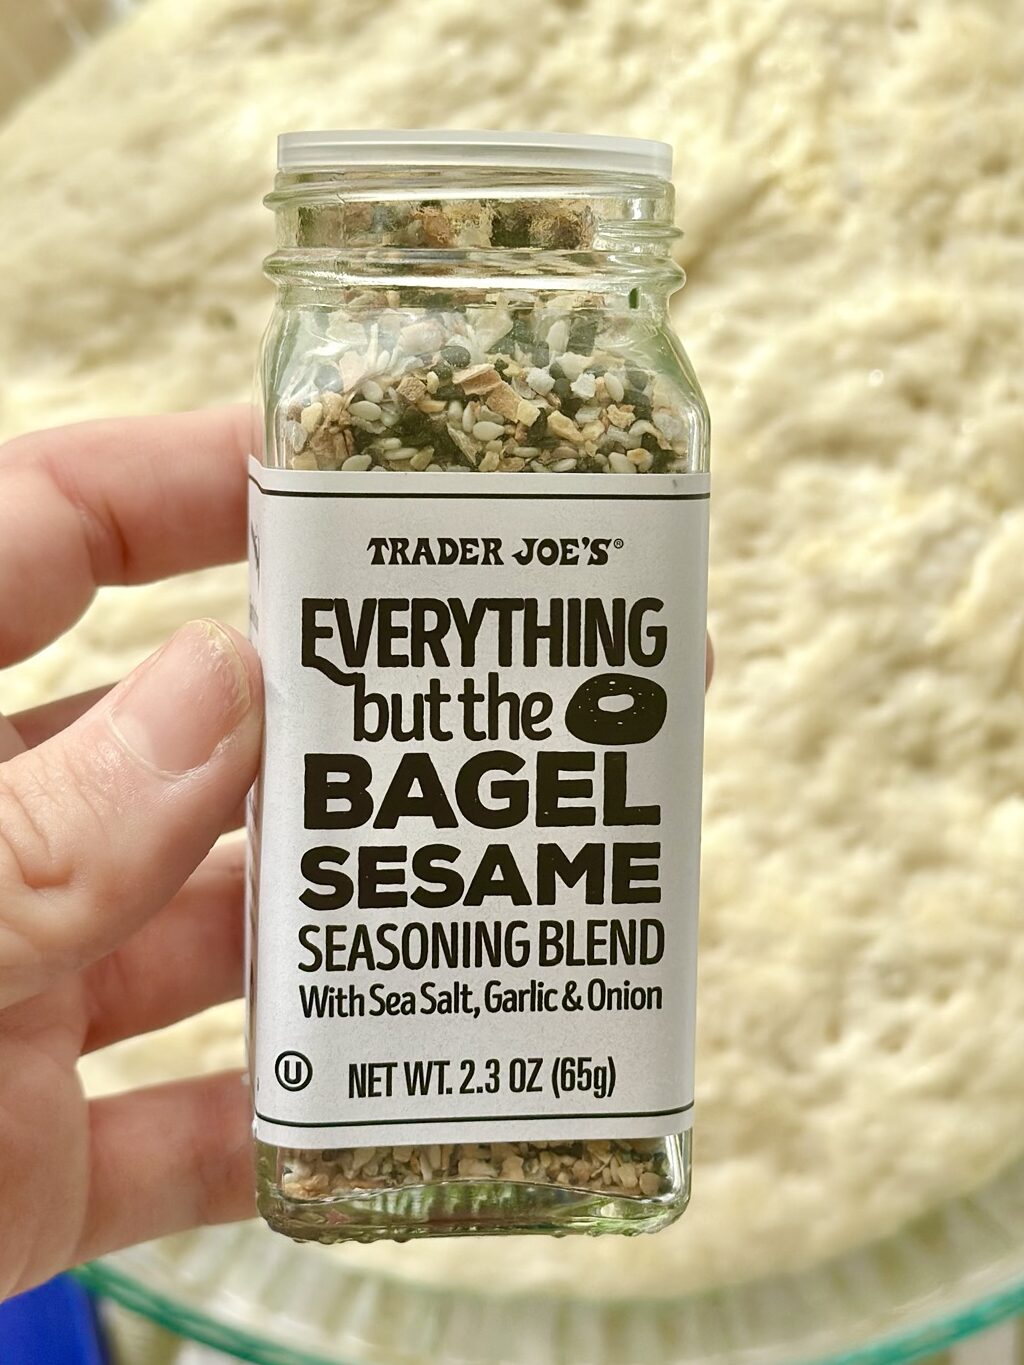
- 1 tbsp everything bagel seasoning
- 1 tbsp nutritional yeast (optional but adds a delicious cheesy depth)
- 1/2 tsp salt
- Coarse sea salt for sprinkling
Optional flavor boosters:
- Garlic powder for stronger savory notes
- Crushed red pepper if you like heat
- Extra sesame seeds for more nuttiness
I’ve made this recipe exactly as written dozens of times, but I’ve also experimented with add-ins based on what I had on hand. One time I tossed in a pinch of smoked paprika, and the crackers tasted shockingly grown-up. Another time I added lemon pepper seasoning when I was running low on everything bagel seasoning, and it turned into a fun twist. You can make these your own.
How to Make Homemade Crackers (Everything Bagel Style)
Let’s walk through the process step by step. This method is simple, and once you go through it once, you’ll feel completely at home with it. I promise.
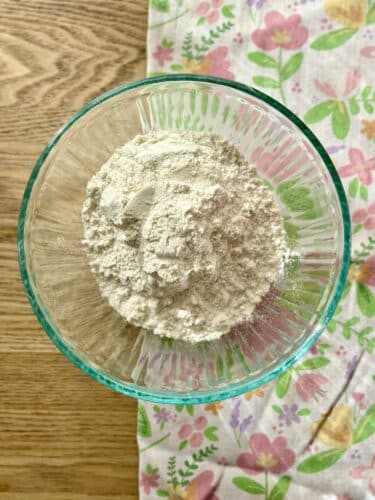
1. Mix Your Dry Ingredients
Grab a mixing bowl and stir together:
- Flour
- Nutritional yeast
- Salt
- Everything bagel seasoning
This is where the flavor foundation comes together. I love seeing all those little seasoning flecks swirl through the flour. It’s like confetti that actually tastes good.
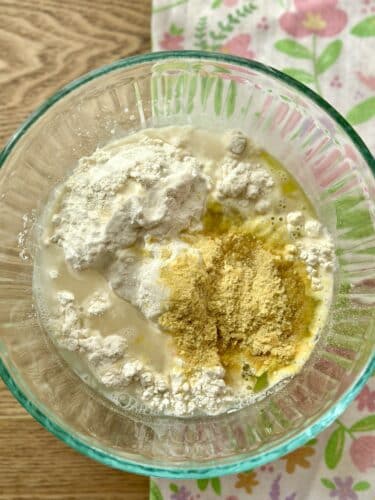
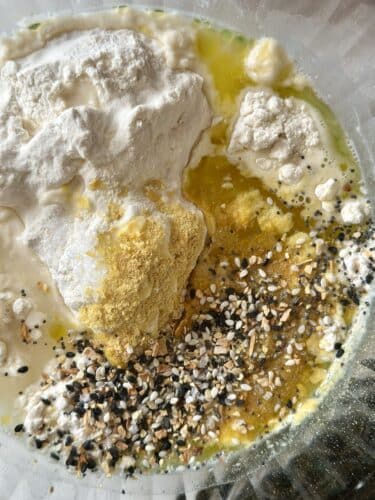
2. Bring It Together with Water and Olive Oil
Pour in your water and 2 tablespoons of olive oil.
Use a spoon or your hands to combine everything until a shaggy dough forms. It doesn’t need to look perfect. Once it starts sticking together in a ball, you’re good.
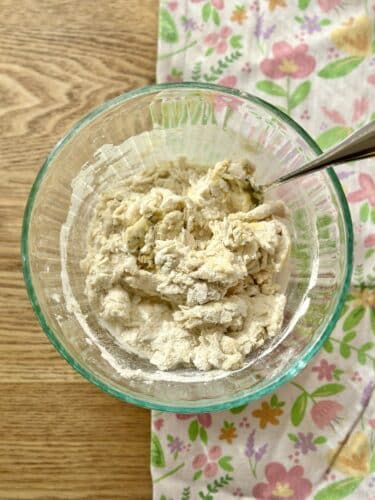
At this point, I always take a tiny pinch of dough and taste it. The flavor will mellow during baking, but I like knowing if I need a little more salt or seasoning. You can absolutely adjust before you bake.
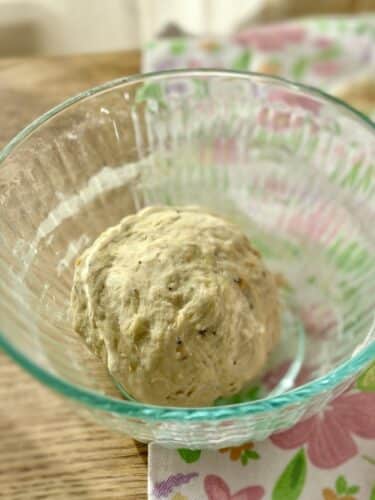
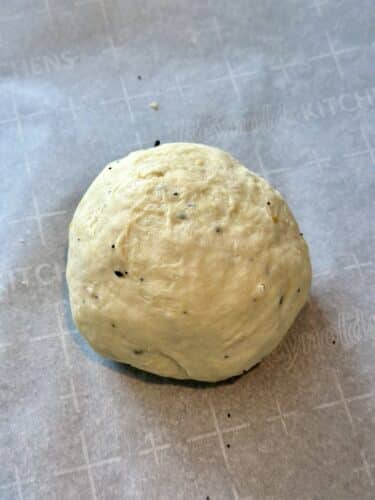
3. Split the Dough in half and Let the Dough Rest
I’ve learned that in order to get the dough rolled really thin its best to split it in two dough balls and this makes it easier to roll it out thin enough to fill a cookie sheet.
Rest the dough for 15 to 20 minutes. This is the one part people skip, and it’s the one piece you don’t want to rush. This gives the gluten time to relax so the dough rolls out easier and doesn’t bounce back like a bungee cord. Consider this the dough’s little meditation break.
Sometimes I use this resting window to tidy the counter or prep the baking sheet, but more often I use it as a chance to sip coffee and scroll my phone for cheese board inspiration. Whatever works.
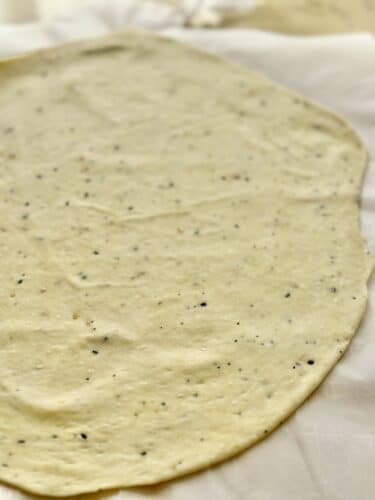
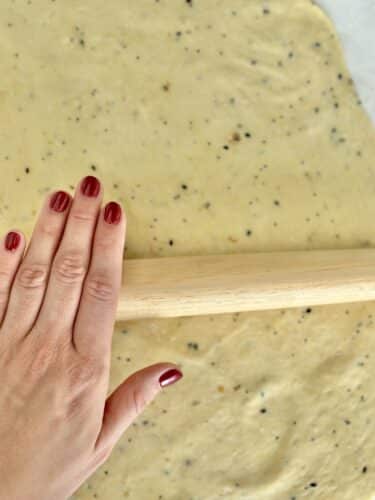
4. Roll the Dough Thin
Roll out each dough ball on a lightly floured surface or directly onto parchment paper. Parchment is the easier option because you can transfer it straight to your baking sheet later.
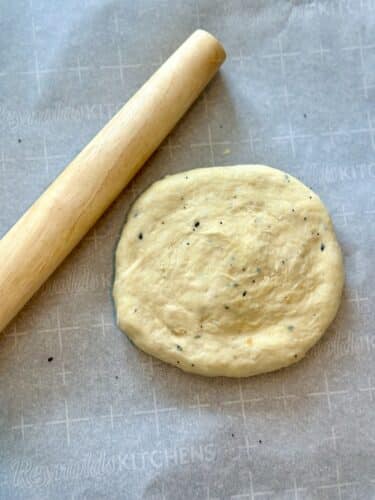
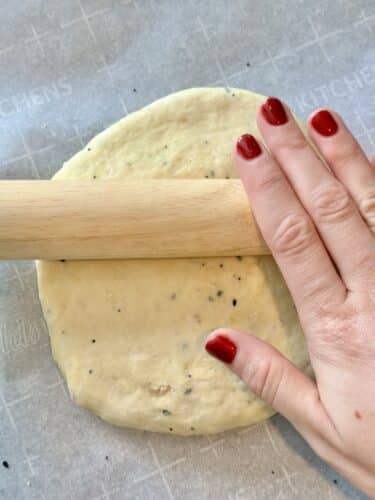
Roll the dough as thin as possible. Truly thin. Think:
- 1/16 inch or up to 1/8 inch
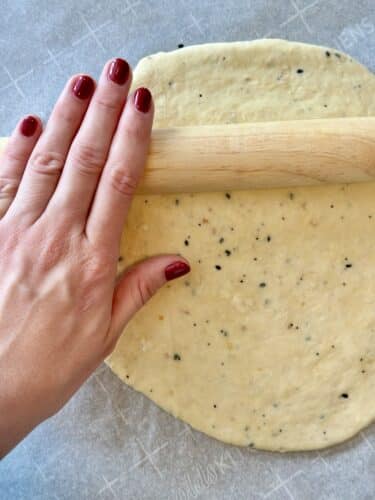
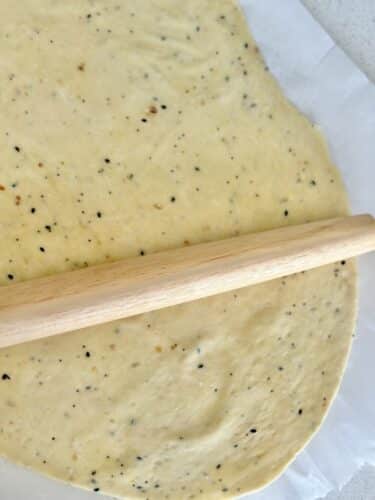
Thinner dough equals a crispier cracker. If the dough pulls back slightly, give it another minute to relax. If the dough is too thick it will make a chewy cracker instead of crisping up.
5. Brush and Sprinkle
Once the dough is rolled out, brush it lightly with the remaining tablespoon of olive oil.
This helps:
- Prevent the crackers from drying out
- Encourage golden color
- Make the coarse salt stick beautifully
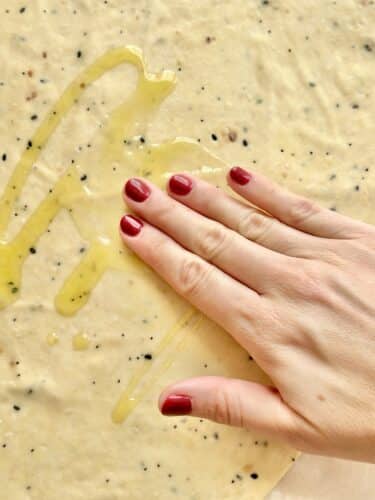
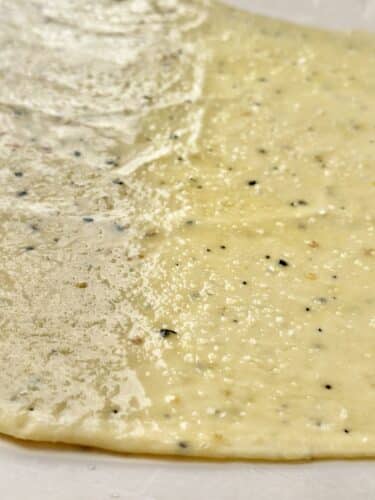
Sprinkle coarse sea salt across the dough. You can control how heavy your hand is here. I go moderate because I want the everything bagel seasoning to shine.
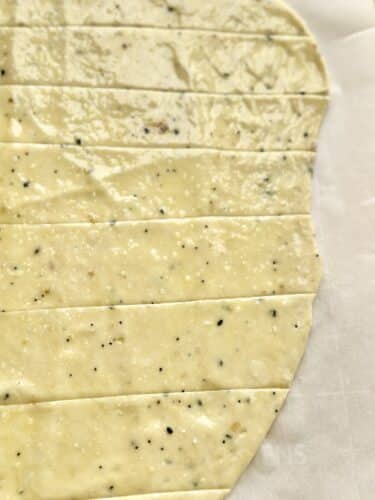
6. Score the Dough
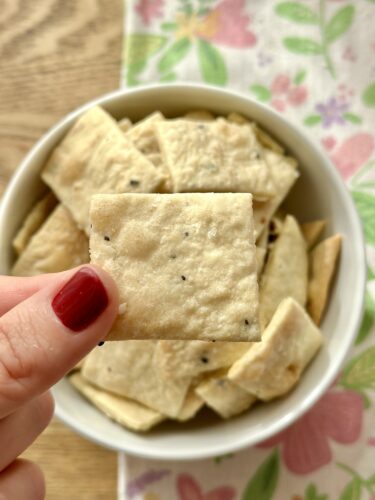
Use a knife or pizza cutter to score the dough into your desired cracker shapes. Squares, rectangles, long strips for dipping, triangles, rustic imperfect pieces. Any shape goes.
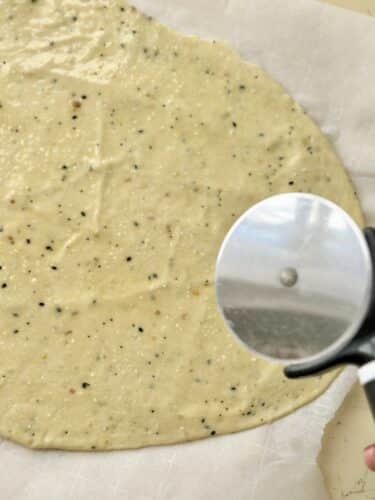
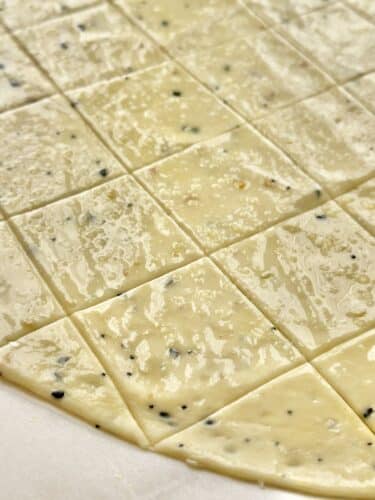
Scoring helps the crackers break cleanly once baked. It also gives them that classic cracker look.
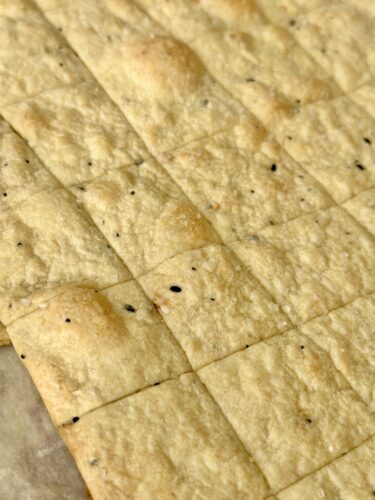
7. Bake
Transfer your parchment sheet onto a baking sheet. Bake at 400 degrees for 8-10 minutes.
Keep an eye on them starting around minute 8. Crackers can go from golden to overly browned faster than you’d expect because of the olive oil in the dough. You want crisp edges and a lightly golden center.
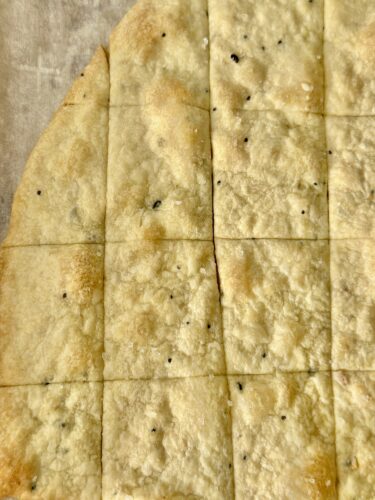
8. Cool Completely
Cooling is essential. Fresh-from-the-oven crackers can feel slightly soft even when they’re actually finished baking.
Give them time to cool on a wire rack, and they’ll crisp up beautifully. Once cooled, break them along the scored lines.
This is the part my kids love helping with. There is something extremely satisfying about snapping homemade crackers apart.
Serving Suggestions
These everything bagel homemade crackers work in so many situations. Honestly, I find myself grabbing a couple almost every time I walk through the kitchen.
Here are some favorite ways I serve them:
For gatherings:
- On cheese and charcuterie boards
- Paired with whipped goat cheese or cream cheese dip
- With smoked salmon and cucumbers
- Alongside a hummus platter
For meals:
- Crumbled over salads
- As a swap for croutons in soup
- With chicken salad or tuna salad
For snacking:
- On their own
- With a wedge of sharp cheddar
- Packed into a lunchbox with veggies and dip
One of my closest friends jokes that these crackers are the reason she invites me to her backyard parties. I know she loves me for more than my baking, but the crackers definitely boost my invite chances.
Tips for Success
Over time, I’ve picked up a handful of helpful lessons that keep these Homemade Crackers consistent and crisp. Here are the ones that make the biggest difference:
- Roll thinner than you think. When in doubt, keep rolling.
- Let the dough rest. It makes rolling easier and prevents shrinkage.
- Watch the oven closely during the last few minutes.
- Rotate the baking sheet halfway for even browning.
- If the outer crackers brown fast, pull them early and return the rest to the oven.
- Cool completely before storing. Any warmth can cause softness.
- Store in an airtight jar or container to maintain crunch.
These tips sound simple, but together they guarantee cracker success every single time.

Variations to Try
Once you get comfortable with the base recipe, the flavor possibilities expand beautifully.
Here are some tasty variations:
Spicy Crackers
Add red pepper flakes or a small pinch of cayenne.
Cheesy Crackers
Increase the nutritional yeast or add a tablespoon of finely grated Parmesan.
Garlic Lovers Crackers
Add garlic powder or dehydrated minced garlic.
Herb Crackers
Sprinkle with dried rosemary or oregano before baking.
Sesame Crunch Crackers
Add extra sesame seeds to the dough or on top.
Gluten-Free Version
Swap the all purpose flour for a cup-for-cup gluten-free blend. Roll gently, because gluten-free dough cracks more easily.
I’ve experimented with so many versions and still come back to the everything bagel base most often. It’s just that good.
Gluten-Free Tips for These Homemade Crackers
If you want to make these Homemade Crackers gluten-free, the good news is that the recipe adapts beautifully with just a few tweaks. I’ve tested several versions using gluten-free flour blends, and here’s what works best:
- Use a cup-for-cup gluten-free flour blend with xanthan gum already included. This helps mimic the stretch and structure of wheat flour.
- Add 1–2 extra teaspoons of water if the dough feels dry or cracks while rolling. GF dough tends to be slightly thirstier.
- Roll more gently. Gluten-free dough is fragile and can split at the edges, so slow, steady rolling helps keep it together.
- Try rolling between two sheets of parchment if the dough sticks or tears.
- Watch the bake time. Gluten-free crackers can brown a little faster around the edges, so peek at them around the 8 minute mark.
The final texture is still wonderfully crisp, and the everything bagel seasoning really shines with the gluten-free base. If you’re serving mixed dietary needs, the GF version disappears just as quickly as the original.
Equipment You’ll Need
No special gear needed. In fact, the simplicity of the equipment is part of what makes Homemade Crackers feel so doable.
You’ll use:
- A mixing bowl
- A rolling pin
- Parchment paper
- A knife or pizza cutter
- A baking sheet
- A wire rack
That’s it. This is the kind of recipe that makes you feel like you’re using your kitchen the way it was meant to be used.
Make Ahead and Storage Tips
If you like being a step ahead in the kitchen, Homemade Crackers are a dream.
Here are ways to prep and store them:
Make Ahead:
You can mix and rest the dough, then refrigerate it for up to 24 hours before rolling and baking. Just let it warm up slightly before rolling.
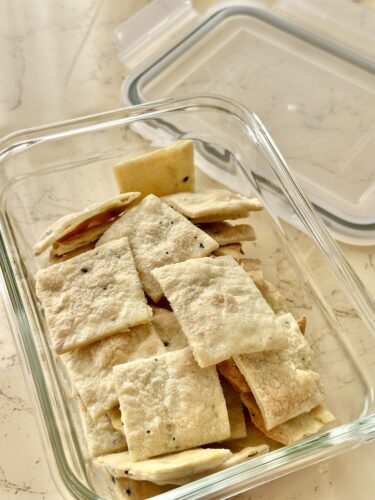
Storage:
Store fully cooled crackers in an airtight container for up to one week. If they lose a little crispness, pop them back in the oven for 2 or 3 minutes.
I’ve taken these homemade crackers on road trips, tucked them into lunch bags, and even wrapped mason jars of them as edible holiday gifts. They always hold up.
Troubleshooting for Homemade Crackers
Here are answers to the questions I get most often:
My Homemade crackers are soft, not crisp. What happened?
They might be a little thick or need one or two more minutes in the oven. Cool them on a wire rack to help them crisp fully.
The dough feels too sticky. What do I do?
Sprinkle in a teaspoon or two of extra flour until it feels workable.
The dough feels dry.
Add a teaspoon of water at a time until it comes together.
My crackers baked unevenly.
Roll the dough more uniformly next time and rotate the sheet halfway through baking.
Homemade Crackers are surprisingly forgiving. A small adjustment goes a long way.
Recipe: Homemade Everything Bagel Crackers

Homemade Crackers never tasted better than this everything bagel version. They’re crisp, flavorful, and incredibly simple to make with pantry ingredients. Perfect for cheese boards, snacking, lunches, and gatherings.
Ingredients
- 1.5 cups all-purpose flour
- 1/2 cup water
- 3 tbsp olive oil (set 1 tbsp aside for brushing)
- 1 tbsp everything bagel seasoning
- 1 tbsp nutritional yeast (optional)
- 1/2 tsp salt
- Coarse sea salt, for sprinkling
Instructions
- Preheat oven to 400 degrees.
- In a medium bowl, whisk together the flour, nutritional yeast (if using), salt, and everything bagel seasoning.
- Add the water and 2 tbsp olive oil, then mix until a dough ball forms.
- Split the dough into two equal balls of dough
- Let the dough rest for 15–20 minutes so it softens and becomes easier to roll.
- Roll each doughball on a lightly floured surface or directly onto parchment paper until very thin (about 1/16 to 1/8 inch). One doughball should fit on a cookie sheet once rolled out thinly.
- Brush the dough with the remaining 1 tbsp olive oil.
- Sprinkle with coarse sea salt.
- Score the dough with a knife or pizza cutter into your preferred cracker shapes.
- Transfer the parchment to a baking sheet and bake for 8-10 minutes, or until golden at the edges and crisp.
- Let the crackers cool completely on a wire rack, then break apart along the scored lines.
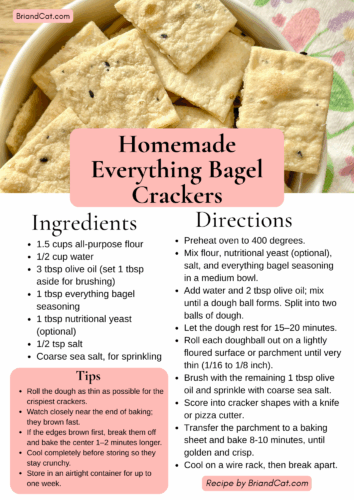
Tips for Success
- Roll as thin as possible for the crispest crackers.
- Watch closely during the last few minutes of baking, they brown quickly.
- If outer edges brown faster, break them off and return the center to the oven for 1–2 more minutes.
- Cool fully before storing so they stay crunchy.
- Store in an airtight container up to one week.
Homemade Crackers Are: Everything
There are recipes that feel like projects, and there are recipes that feel like instant wins. Homemade Crackers fall into that second category for me every single time. They’re quick. Flavorful. Reliable. And endlessly customizable.
They also bring a kind of old-world kitchen charm into the day, like a whisper from a time when cooking was simpler and more intuitive. I always feel grounded when I make them.
If you’ve never baked crackers before, let this be your moment. You will surprise yourself with how easy and satisfying it is. And once you try this everything bagel version, you might find yourself making them again the next day. And the next. Consider yourself warned.
If you do bake them, tell me how yours turn out. I love hearing your creative twists and seeing how you serve them. Homemade Crackers deserve to shine in every kitchen, and I hope they find a cozy spot in yours.
With love,
Bri & Cat
Affiliate Disclaimer:
As an Amazon Associate I earn from qualifying purchases. This comes at no additional cost to you. We only recommend products that we believe will add value to our readers.
Homemade Everything Bagel Crackers
Ingredients
- 1.5 cups all-purpose flour
- 1/2 cup water
- 3 tbsp olive oil set 1 tbsp aside for brushing
- 1 tbsp everything bagel seasoning
- 1 tbsp nutritional yeast optional
- 1/2 tsp salt
- Coarse sea salt for sprinkling
Equipment
- Rolling Pin
- cookie sheet
- pizza cutter or knife
- fork
Method
- Preheat oven to 400 degrees.
- In a medium bowl, whisk together the flour, nutritional yeast (if using), salt, and everything bagel seasoning.
- Add the water and 2 tbsp olive oil, then mix until a dough ball forms.
- Split the dough into two equal balls of dough
- Let the dough rest for 15–20 minutes so it softens and becomes easier to roll.
- Roll each doughball on a lightly floured surface or directly onto parchment paper until very thin (about 1/16 to 1/8 inch). One doughball should fit on a cookie sheet once rolled out thinly.
- Brush the dough with the remaining 1 tbsp olive oil.
- Sprinkle with coarse sea salt.
- Score the dough with a knife or pizza cutter into your preferred cracker shapes.
- Transfer the parchment to a baking sheet and bake for 8-10 minutes, or until golden at the edges and crisp.
- Let the crackers cool completely on a wire rack, then break apart along the scored lines.
Notes
You can mix and rest the dough, then refrigerate it for up to 24 hours before rolling and baking. Just let it warm up slightly before rolling. Storage:
Store fully cooled crackers in an airtight container for up to one week. If they lose a little crispness, pop them back in the oven for 2 or 3 minutes.
Leave a Reply