
This site contains affiliate links, view the disclaimer page for more information.
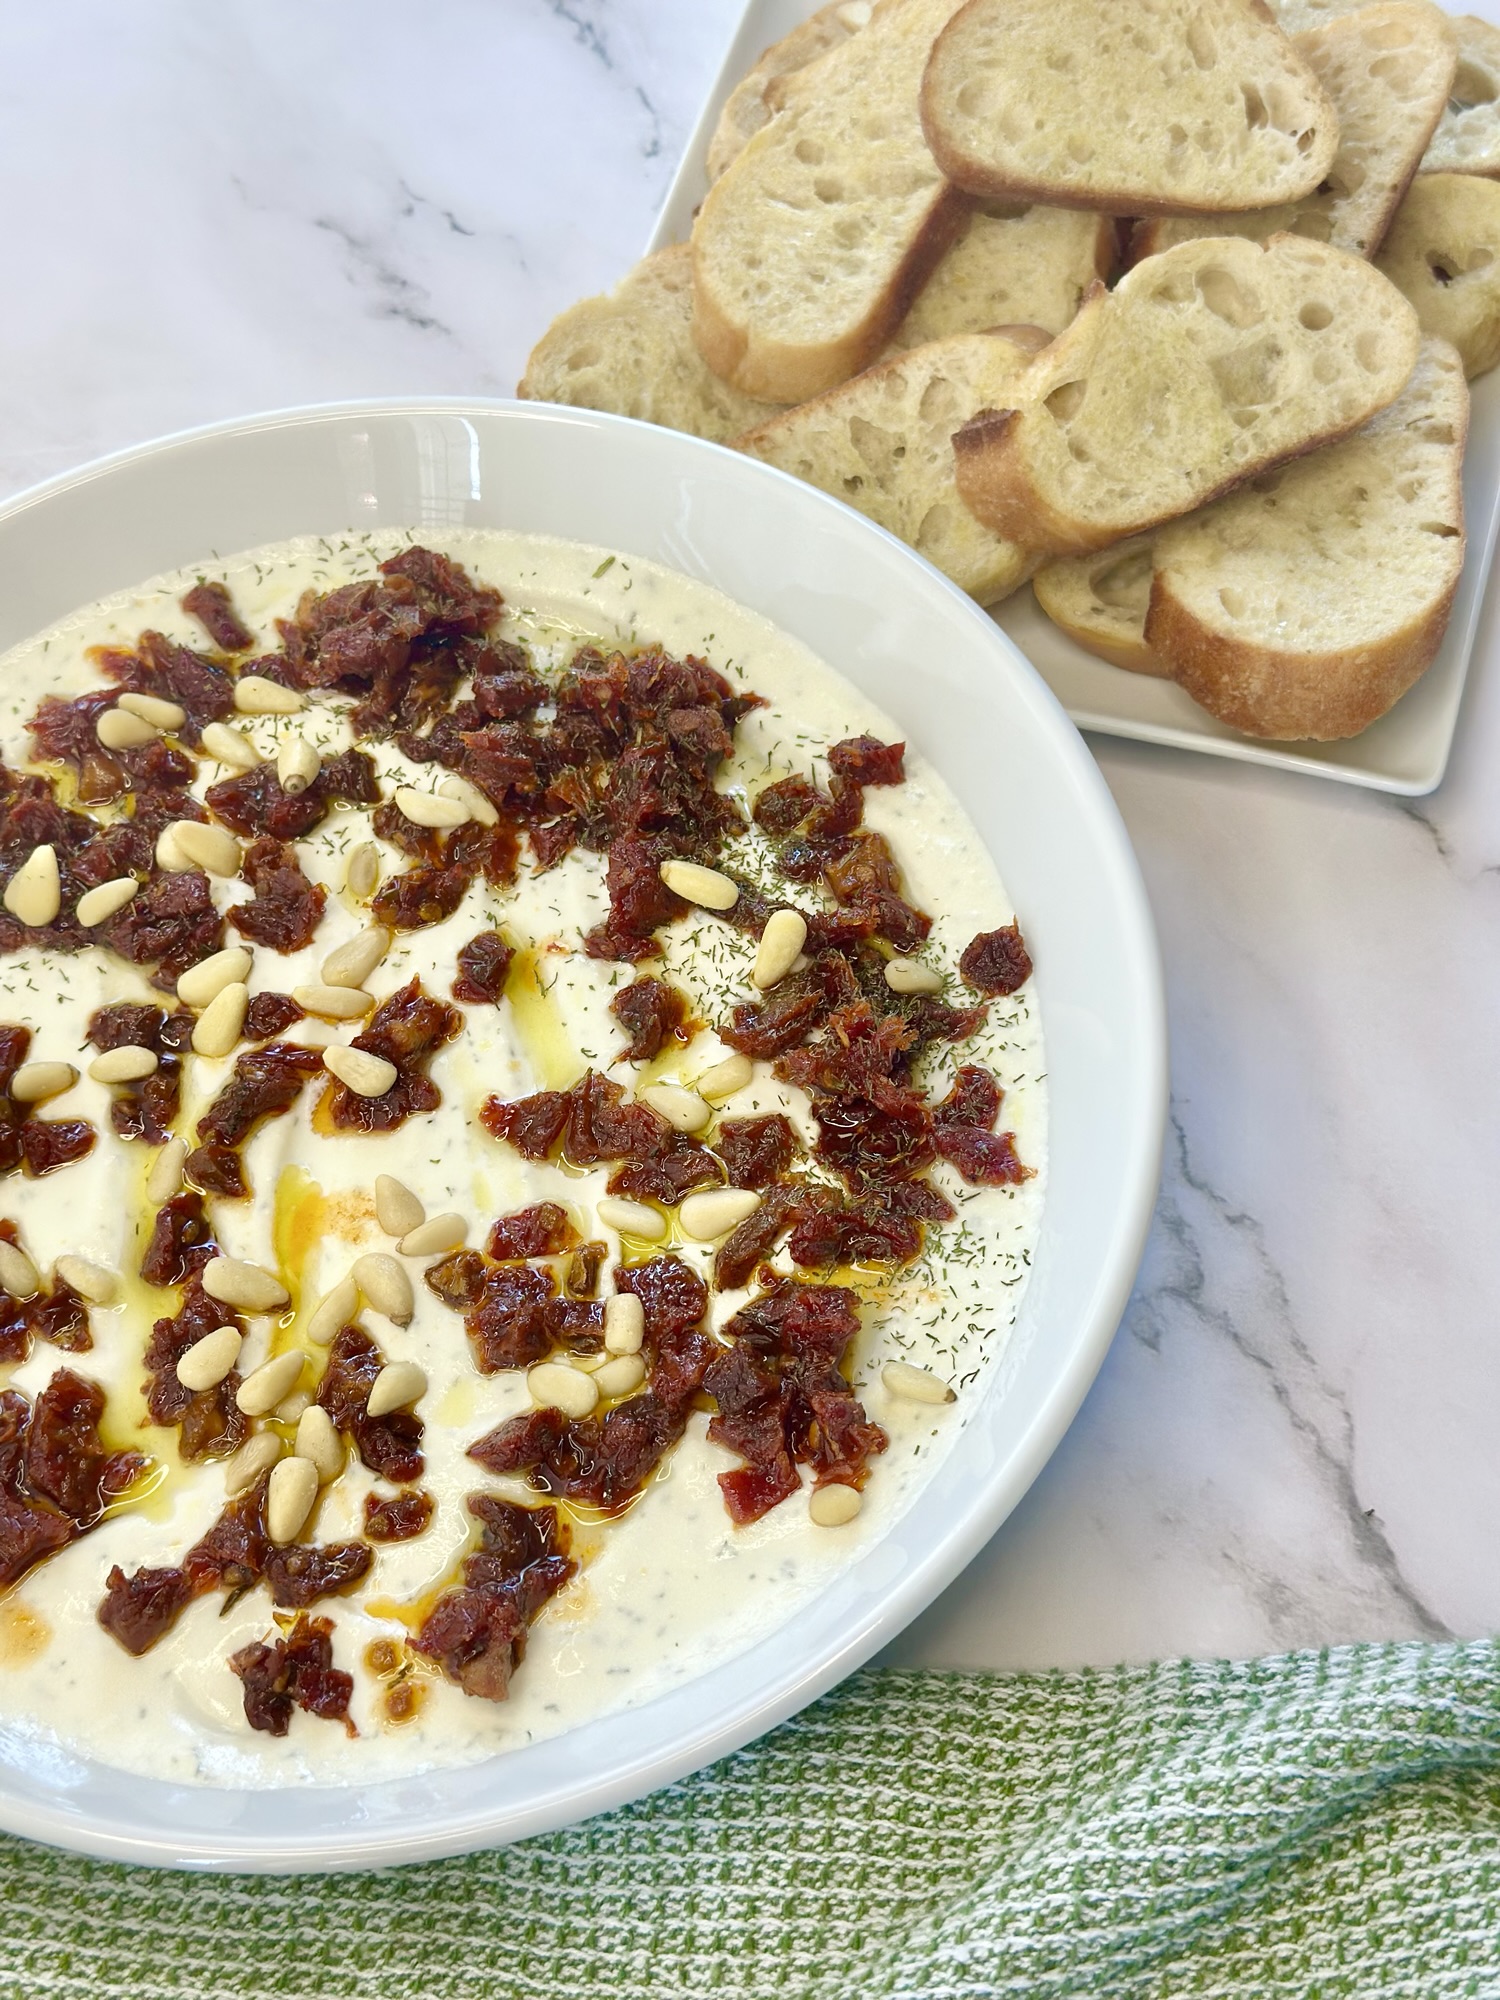
Sundried tomato dill whipped feta dip is the recipe I turn to when I need something impressive on the table in almost no time at all. If you have ever stood in your kitchen twenty minutes before guests arrive, wondering what you can possibly throw together that looks like you tried harder than you actually did, this dip is the answer. It comes together in one food processor, it looks like something from a fancy cheese shop, and it disappears from the platter faster than almost anything else I make.
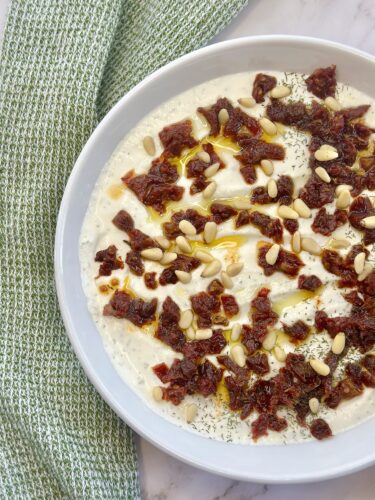
I cannot tell you how many times I have shown up to a gathering with a bowl of this dip and watched it get scraped clean before the main course even comes out. There is something about whipped feta that people cannot resist. It is creamy, it is tangy, it has that salty briny punch from the cheese, and then the sundried tomatoes add this little pop of sweetness that keeps you going back for one more bite. Add the fresh dill and a good squeeze of lemon and you have got something that tastes like it took way more effort than it actually did.
Table of Contents
Why I Keep Coming Back to This Recipe
I make a lot of dips and appetizers for gatherings, both big and small. Between hosting for my own family and testing recipes for the blog, I have tried more combinations than I can count. But sundried tomato dill whipped feta dip has earned a permanent spot in my rotation for a few reasons.
First, it takes about ten minutes to make. You blend a handful of ingredients in a small food processor, spread it on a platter, and top it. That is it. There is no baking, no waiting for anything to cool, no fussy steps.
Second, it is naturally gluten free on its own. The dip itself has no gluten in it at all. Just keep in mind that if you are serving it with crostini or crackers, you will want to choose a gluten free option for anyone who needs it. The dip itself is not the issue.
Third, it works for basically any occasion. I have brought this to casual backyard hangouts and I have served it at more polished dinner parties, and it fits in both settings. Whipped feta has this way of feeling upscale without any of the actual difficulty.
And honestly, I just love the flavor. Feta on its own can be a lot. It is salty and sharp and sometimes a little too intense if you are just eating it plain. But when you whip it with yogurt, it mellows out into something silky and rich, almost like a savory cheesecake texture. The lemon juice brightens everything up, the garlic gives it some backbone, and the dill ties it all together with that slightly grassy, slightly sweet flavor that pairs so well with tomato.
What You Need for Sundried Tomato Dill Whipped Feta Dip
Let me walk you through what goes into this recipe and why each ingredient earns its place.
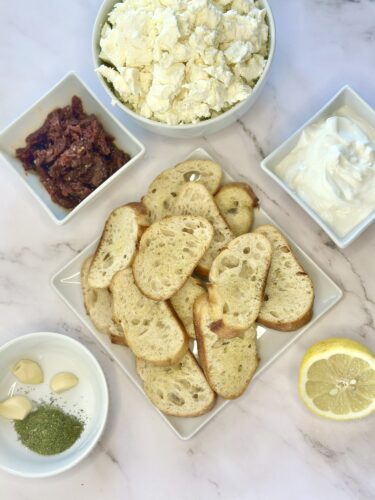
- Feta cheese: You will need two blocks of feta cheese, about sixteen ounces total. I always recommend using block feta packed in brine rather than the pre-crumbled kind you find in tubs. Block feta has a much better texture once it is blended and it tends to have a fresher, more balanced flavor. The pre-crumbled stuff is often coated in powdery anti-caking agents that can throw off the texture of your dip.
- Yogurt: Half a cup of yogurt is what brings the creaminess and helps cut some of the saltiness from the feta. I like using plain whole milk yogurt for the richest result, but a Greek yogurt works well too if that is what you have on hand. Just know that Greek yogurt is thicker, so your dip might come out slightly less smooth. Either way, it works.
- Dried dill: One tablespoon of dried dill goes into the blend itself, with a little extra saved for sprinkling on top at the end. Dill and feta are a classic pairing for a reason. The dill has this bright, slightly sweet, almost anise like flavor that keeps the dip from feeling heavy.
- Sundried tomatoes: A quarter cup of chopped sundried tomatoes adds little bursts of concentrated tomato flavor throughout the dip, plus more on top for that pop of color. If you are using the kind packed in oil, that is perfect, since a little of that oil clinging to the tomatoes only adds more flavor. If you are using the dry packed kind, you may want to soften them in warm water for a few minutes before chopping so they are not too tough or chewy.
- Olive oil: Two tablespoons go into the food processor to help everything blend smoothly, and you will want more on hand for drizzling on top of the finished dip. Use a good quality olive oil here if you can, since it plays a starring role both inside and on top of this dip.
- Garlic: Three cloves of garlic give this dip some depth and a little bit of a kick. If you are someone who loves a strong garlic flavor, feel free to add a fourth clove. If you prefer things more mellow, two cloves will still get the job done.
- Lemon juice: The juice of half a lemon, about two to three tablespoons, is what really brings this whole dip to life. It cuts through the richness of the feta and yogurt and makes every other flavor in the dip taste brighter. Do not skip this step. I have made this dip without lemon juice before by accident and it is genuinely a different, flatter tasting dip without it.
- Pine nuts: These go on top at the end for a little bit of crunch and a subtle, buttery, toasted flavor. If you want to take it a step further, toast the pine nuts in a dry skillet for a minute or two before sprinkling them on. It makes a noticeable difference.
What You Need on Hand
You do not need much in the way of equipment for this recipe, which is part of why I love it so much.
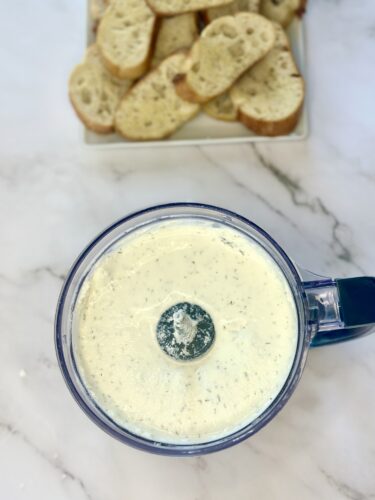
A small food processor is really the key tool here. You want something small enough that the ingredients actually get pulled into the blades and blended evenly, rather than a large processor where a small batch like this can get lost and blend unevenly.
A rubber spatula comes in handy for scraping down the sides of the food processor and for spreading the finished dip onto your serving platter.
A platter or a low, wide bowl is what I recommend for serving. You want something with a wide surface area so you can spread the dip out and really show off all those toppings. A tall, narrow bowl just does not give you the same presentation.
How to Make Sundried Tomato Dill Whipped Feta Dip
Here is the step by step process, and I promise it really is this simple.
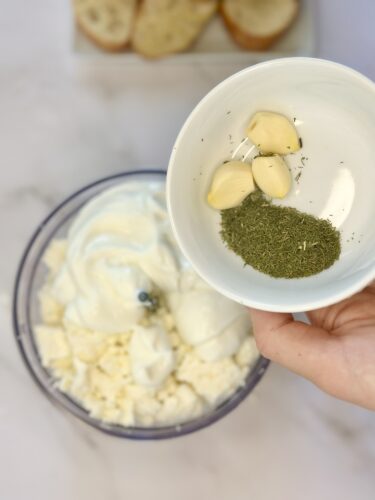
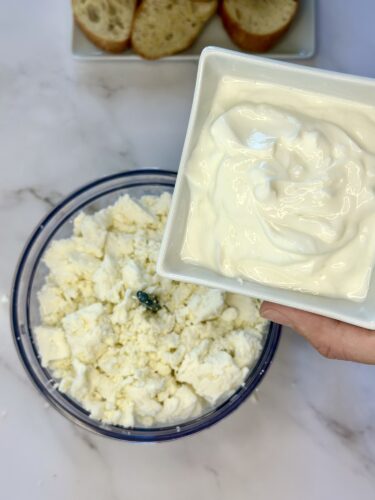
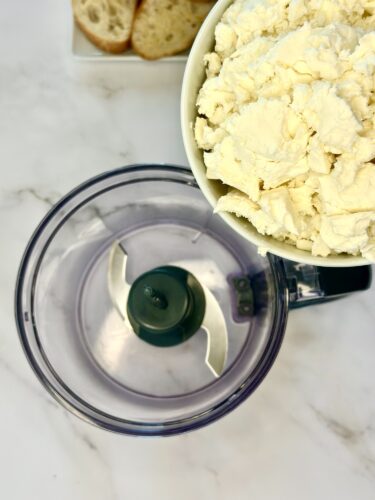
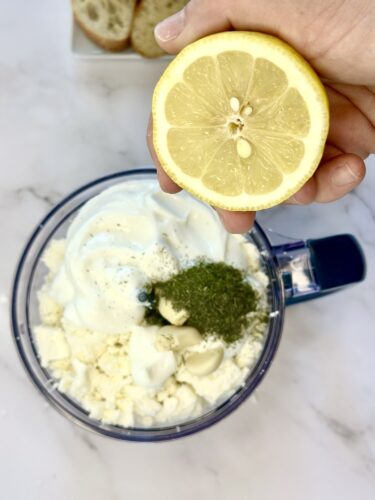
Start by adding your feta, yogurt, dried dill, garlic, lemon juice, and two tablespoons of olive oil into a small food processor. Blend everything together until it is completely smooth. This usually takes a minute or two, and you may need to stop and scrape down the sides once or twice to make sure everything gets fully incorporated. You are looking for a texture that is light, creamy, and completely free of chunks.
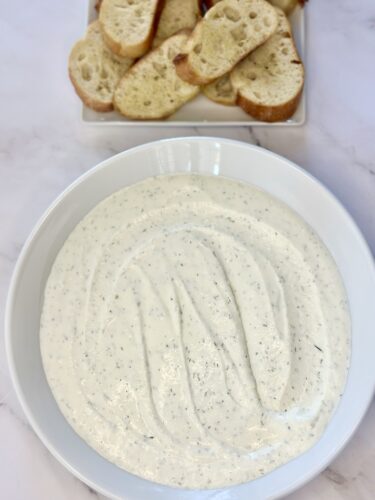
Once your dip is smooth, spread it onto a platter or a low, wide bowl. I like to use the back of a spoon to create some texture on top, almost like little swoops and waves. This is not just for looks either. Those little grooves help catch the olive oil and toppings so every bite gets a bit of everything.
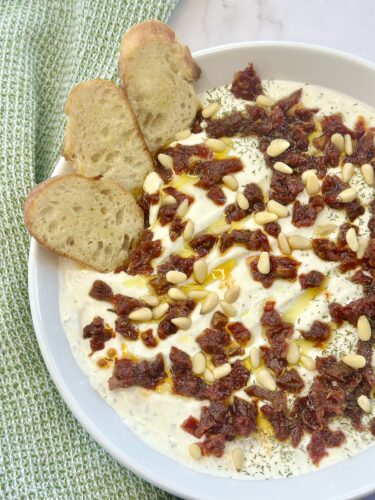
Now it is time to top your dip. Drizzle a generous amount of olive oil over the top. Then scatter your chopped sundried tomatoes over the surface, followed by a sprinkling of pine nuts. Finish it off with a light dusting of dried dill for a little extra color and flavor.
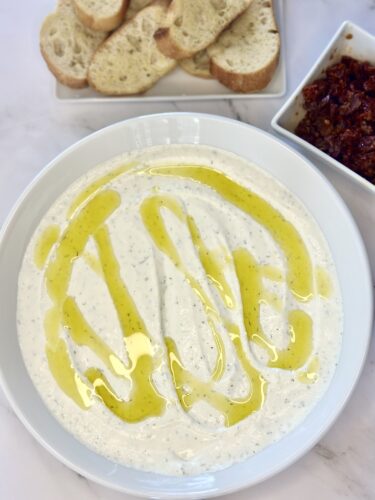
Serve your sundried tomato dill whipped feta dip with crostini or crackers, and watch it disappear.
My Favorite Way to Serve This Dip
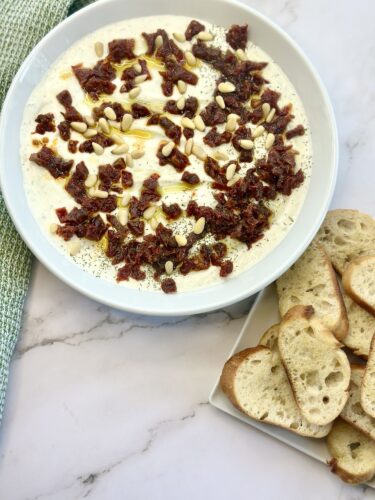
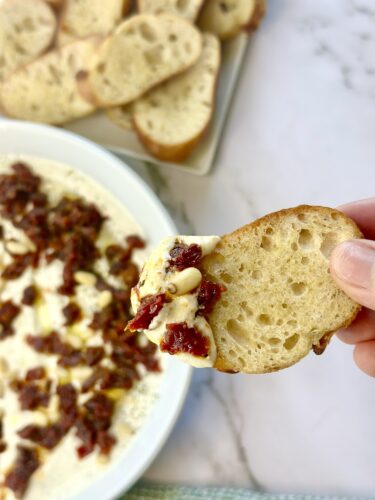
While store bought crackers or pita chips absolutely work here, I have to tell you about my favorite way to serve this dip. I like to make my own crostini from day old baguette. There is something about homemade crostini that just takes the whole spread to another level. They are crisp, a little chewy in the center, and they hold up so well under a generous scoop of dip without falling apart.
Day old baguette is actually ideal for crostini. Fresh bread can be a little too soft and doughy when you slice it thin, but a baguette that has sat out overnight firms up just enough to slice cleanly and toast up beautifully. If you want to make your own baguette from scratch so you always have some on hand for crostini, I have my full baguette recipe on the blog that walks you through the whole process from start to finish.
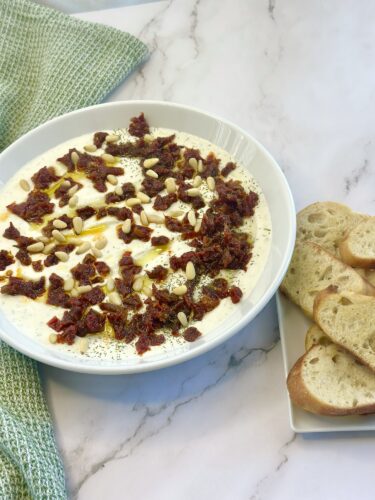
If homemade bread is not in the cards for you right now, do not stress about it. Any good quality baguette from the store works perfectly fine. Slice it thin, brush it lightly with olive oil, and toast it in the oven until it is golden and crisp. That is really all it takes.
Of course, if you want to keep things even simpler, crackers work great too. I would reach for something sturdy enough to hold up under a thick scoop of dip, like a seedy cracker or a simple water cracker.
Tips and Variations
One of the things I love most about this recipe is how easy it is to make your own. Here are a few ways I like to switch it up depending on what I have on hand or what mood I am in.
If you do not have fresh dill or dried dill on hand, basil or oregano both work well in this dip. The flavor profile shifts a bit, but it is still delicious.
If you like a little heat, add a pinch of crushed red pepper flakes either into the blend itself or as a topping. It adds a nice contrast against the cool, creamy dip.
You can make this dip ahead of time and store it in the fridge for up to three or four days. I recommend waiting to add the toppings until right before you serve it so everything stays fresh and vibrant. The base dip itself actually gets even better after a day in the fridge, since the flavors have more time to meld together.
If you want to make this a full spread, serve it alongside some marinated olives, a few other cheeses, and some fresh vegetables like cucumber slices or cherry tomatoes. It rounds out a beautiful appetizer board without much extra work.
For a heartier version, you can even use this dip as a spread on sandwiches or wraps. I have used leftover dip on a turkey sandwich before and it added so much flavor.
Why This Dip Works So Well for Entertaining
Whenever I am hosting, I want something I can make ahead of time so I am not stuck in the kitchen when guests arrive. This dip checks that box perfectly. You can blend the base a day or two in advance, store it covered in the fridge, and then just spread it out and add your toppings right before people show up. It takes the pressure off and still gives you something that looks and tastes incredibly put together.
I also love that this recipe scales so easily. If you are hosting a bigger crowd, you can double or even triple the recipe without any issues. Just make sure your food processor is large enough to handle the increased volume, or blend it in batches if needed.
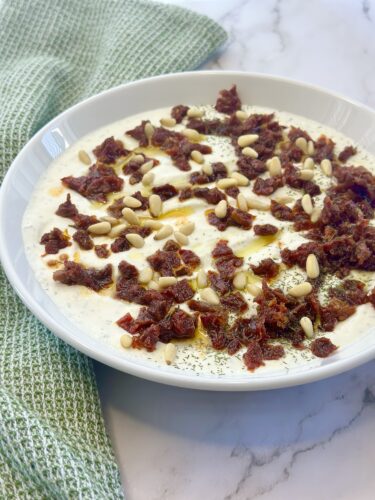
There is also something to be said for how this dip photographs. If you are someone who likes to share what you are making, whether on social media or just to send to family, this dip is genuinely gorgeous on a platter. The deep red of the sundried tomatoes against the pale, creamy whipped feta, with those little flecks of green dill and golden pine nuts scattered on top, just looks inviting. It is one of those recipes where the presentation does a lot of the work for you.
Tips
Sundried tomato dill whipped feta dip has become one of those recipes I make almost on autopilot at this point, and I mean that in the best way. It is the kind of dish that never feels like a chore to make, even on a busy day, and it consistently gets requests for the recipe whenever I bring it somewhere.
If you try this recipe, I would love to hear how it turns out for you. Feel free to tag us if you make it, and let me know if you try any of the variations I mentioned above. Whether you serve it with homemade crostini from that baguette recipe or just grab a bag of crackers from the store, I think you are going to love how easy and how delicious this one is.
This dip has a permanent place on my appetizer rotation, and I have a feeling once you make it, it will earn a spot in yours too.
How I First Fell for Whipped Feta
I did not grow up eating whipped feta. Growing up, feta showed up crumbled on a salad or maybe stuffed into a piece of grilled chicken, but it was never the star of the show. It was not until a few years ago, at a small gathering where a friend brought a version of whipped feta with a spicy honey drizzle, that I really understood what all the fuss was about. I remember standing by the snack table longer than I probably should have, going back for bite after bite of crostini piled high with that dip, trying to figure out exactly what made it taste so good.
That night sent me down a bit of a rabbit hole. I started experimenting with my own versions at home, testing different ratios of feta to yogurt, playing with different herbs, and trying different toppings. Some versions leaned sweet, some leaned spicy, and eventually I landed on this combination of sundried tomato and dill, which felt like it struck the perfect balance between briny, tangy, and bright. It has been a staple in my kitchen ever since, and it is one of the recipes I get asked about most whenever I bring it somewhere new.
What surprised me most, once I started making whipped feta regularly, is just how forgiving the recipe is. You really cannot mess this up. Even if your feta to yogurt ratio is slightly off, or you add a little extra garlic, or your food processor leaves it a touch less smooth than you wanted, it still tastes good. That kind of forgiving recipe is exactly what I want to have in my back pocket for busy weeks and last minute get togethers.
Frequently Asked Questions About This Whipped Feta Dip
Can I make this dip without a food processor?
You can, though the texture will not be quite as smooth. A blender can work in a pinch, though you may need to stop and scrape down the sides more often since the ingredients are thick. You could also mash everything together by hand with a fork for a chunkier, more rustic texture, which honestly has its own charm.
Can I use fresh dill instead of dried?
Yes, and it is a great substitution. If you are swapping fresh dill for dried, use about three times the amount, since dried herbs are more concentrated. So if the recipe calls for one tablespoon of dried dill, you would use about three tablespoons of chopped fresh dill in the blend.
How long does this dip last in the fridge?
The base dip keeps well in an airtight container in the fridge for three to four days. I recommend holding off on adding the toppings, like the sundried tomatoes, pine nuts, and olive oil drizzle, until you are ready to serve, so everything looks and tastes fresh.
Can I freeze whipped feta dip?
I do not recommend freezing this one. Yogurt and feta can both change texture once frozen and thawed, becoming grainy or watery, which is not what you want for a dip that relies so much on being smooth and creamy.
What can I serve besides crostini or crackers?
Beyond crostini and crackers, this dip is fantastic with fresh vegetables like sliced cucumbers, bell pepper strips, cherry tomatoes, or even endive leaves for a lower carb option. Pita chips and warm pita bread are also excellent choices if you want something a little heartier.
Is this recipe kid friendly?
It can be, though feta has a fairly strong, salty flavor that not every kid loves right away. If you are serving this for a family gathering, I would suggest offering some plain crackers alongside it so kids can decide for themselves how much dip they want to try.
Enjoy!
Sundried tomato dill whipped feta dip is one of those recipes that proves you do not need a long ingredient list or a complicated process to make something genuinely delicious. It comes together in minutes, it looks beautiful on a table, and it delivers big, bold flavor in every single bite. Whether you are hosting a holiday gathering, a casual weekend hangout, or just want a special snack for yourself on a random Tuesday, this dip is always a good idea.
I hope you give this one a try soon. And if you do end up making your own crostini from that baguette recipe, I would love to know how it turned out. There is something so satisfying about pairing homemade bread with a homemade dip, knowing you made the whole thing from scratch.
This dip has a permanent place on my appetizer rotation, and I have a feeling once you make it, it will earn a spot in yours too.
With love,
Bri and Cat
Sundried Tomato Dill Whipped Feta Dip
Ingredients
- 2 blocks feta cheese 16 oz total
- 1/2 cup plain yogurt
- 1 tbsp dried dill plus extra for topping
- 1/4 cup sundried tomatoes chopped, for topping
- 2 tbsp olive oil plus extra for drizzling
- 3 cloves garlic
- Juice of 1/2 lemon about 2-3 tbsp
- Pine nuts for topping
Equipment
- Small food processor
- Rubber spatula
- Serving platter or low, wide bowl
Method
- In a small food processor, combine the feta, yogurt, dried dill, garlic, lemon juice, and 2 tbsp olive oil. Blend until smooth, scraping down the sides as needed.
- Spread the whipped feta onto a platter or low, wide bowl, using the back of a spoon to create texture on top.
- Drizzle with olive oil, then top with chopped sundried tomatoes, pine nuts, and a light sprinkle of dried dill.
- Serve with crostini or crackers.
Notes
- Use block feta packed in brine rather than pre-crumbled feta for the smoothest texture.
- Toast the pine nuts in a dry skillet for a minute or two before topping for extra flavor.
- Make the base ahead of time and store in the fridge up to 3-4 days, adding toppings just before serving.
- Try homemade crostini from day old baguette for the best pairing.
Affiliate Disclaimer:
As an Amazon Associate I earn from qualifying purchases. This comes at no additional cost to you. We only recommend products that we believe will add value to our readers.
Leave a Reply