This site contains affiliate links, view the disclaimer page for more information.
I get it- life is chaotic. Between work, chasing after my two boys, meal prepping, and trying to keep my house from looking like a disaster zone, adding one more thing to my plate seems crazy. But hear me out- starting seeds indoors has been one of the most rewarding things I’ve done for our family.
First, it saves money. Buying seedlings at a nursery adds up fast, especially when you want a big garden. With seed starting, you can grow dozens of plants for just a few bucks.
Second, it gets my kids involved. My boys love playing in the dirt, watering “their” plants, and checking on them every morning. It teaches responsibility and patience (two things every toddler needs help with!).
Lastly, there’s nothing like harvesting food you grew from scratch. Even if you start with just tomatoes and herbs, the sense of accomplishment is huge. Plus, fresh-picked homegrown food tastes so much better than store-bought!
So, if you’re on the fence about starting seeds indoors, just go for it- you don’t need to be perfect, and even if a few seedlings fail, the experience is totally worth it.
If you want to start your own little indoor garden (without adding stress to your already full plate), here’s the simplest way to do it.
Table of Contents

Step 1: Choose Your Seeds Wisely

If you’re anything like me, it’s easy to get carried away looking at seed packets. But let’s be real- time is limited, and I don’t have hours to devote to finicky plants. If you’re new to seed starting (or just short on patience), choose easy-to-grow seeds that don’t require a ton of babysitting. I use these organic seeds and they work great year after year!
Here are some great beginner-friendly choices:
- Vegetables: Tomatoes, peppers, lettuce, kale, zucchini
- Herbs: Basil, parsley, cilantro, dill
- Flowers: Marigolds, zinnias, sunflowers
💡 Mom Hack: Let your kids pick a few seeds! My 4-year-old loves picking out veggies and herbs like broccoli and mint since he already knows he loves eating these fresh off the plant in the garden. It makes them more excited to help- and eat their homegrown veggies.
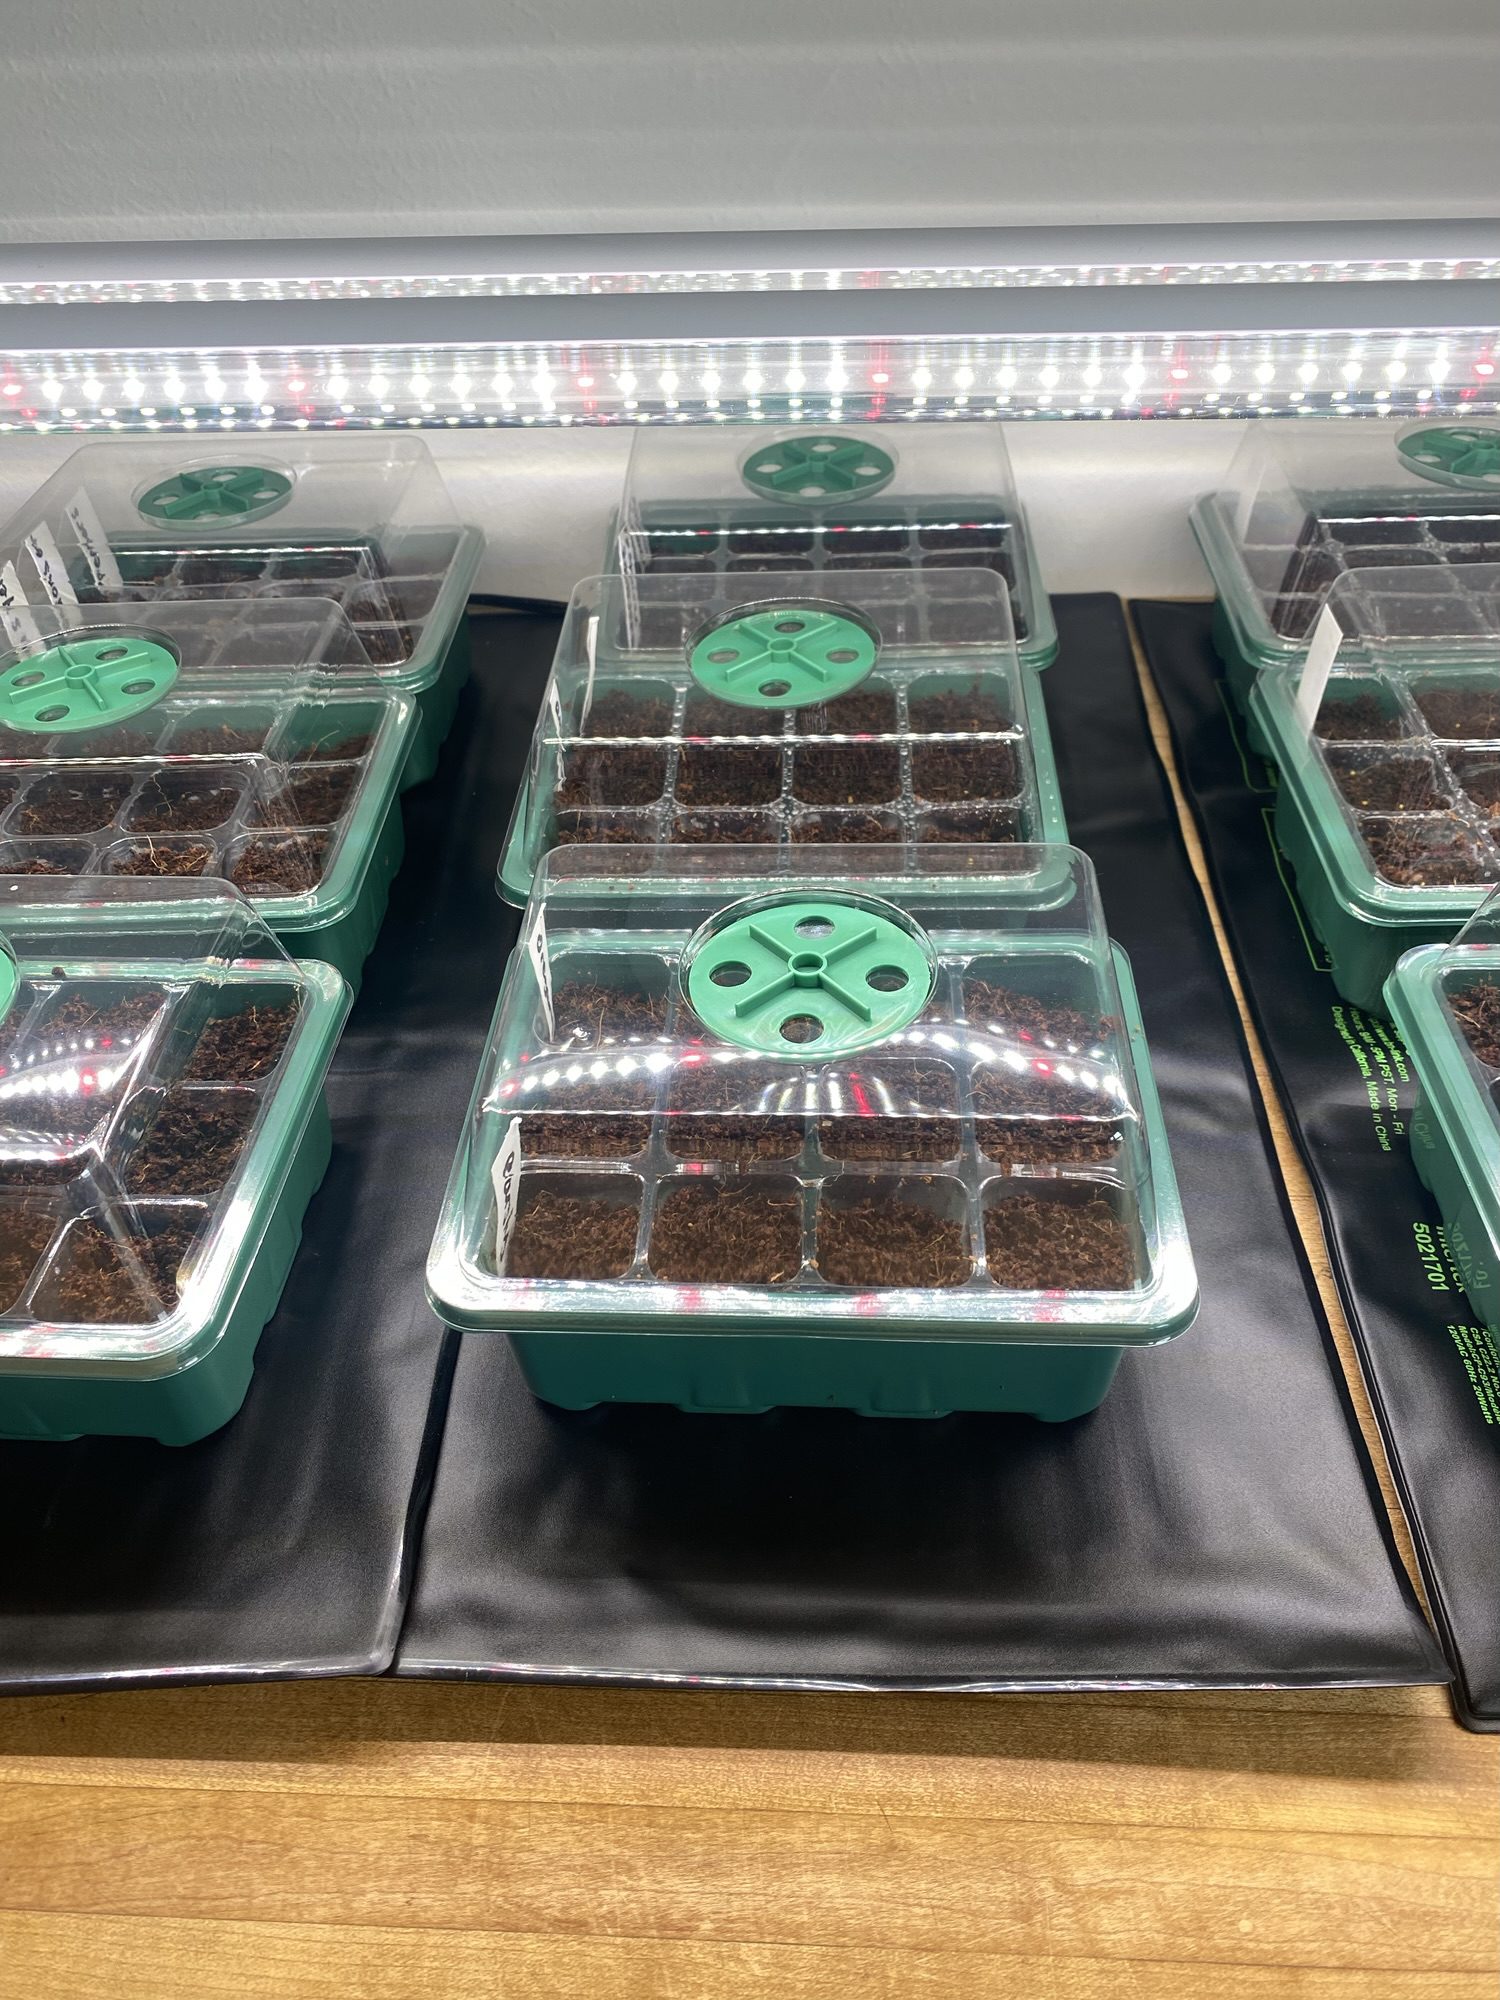
Step 2: Gather Your Supplies
You don’t need to spend a fortune on special seed-starting gear. Most of what you need is either already in your home or can be picked up fairly inexpensive. Here’s what you’ll need (what we use):
✅ Seed-starting trays or small containers (egg cartons, yogurt cups, or even an old baking sheet with small cups work great!)
✅ Seed-starting mix (regular soil is too heavy, this light mix gives delicate roots room to grow)
✅ Spray bottle (for gentle watering)
✅ Grow light (highly recommended) or a super sunny window (seeds need 12-16 hours of light per day)
✅ Humidity dome (included in seed-starting trays linked above) or plastic wrap (to keep moisture in while seeds sprout)
✅ Plant labels (so you don’t forget what’s what ✅ Heat mat (to keep the soil warm and promote germination)
💡 Mom Hack: Use egg cartons to start seeds! It keeps everything neat, and my boys love helping me fill each cup with soil. Also, each kid gets their own spray bottle to use and it becomes a game between the two of them who can spray the seeds the fastest!
Step 3: Prep the Soil & Fill Containers

- First, moisten your seed-starting mix before filling containers. It should feel like a damp sponge- not too dry, not too soggy. Follow the directions on the soil container.
- Fill each container almost to the top, leaving about 1/4 inch of space at the top.
- Lightly press the soil down, but don’t pack it too tightly- roots need air to grow!
💡 Mom Hack: Give your kids a spoon and let them help fill the containers. It keeps them occupied while you get things done!
Step 4: Plant Your Seeds
- Check the seed packet to see how deep to plant. A good rule: plant seeds about twice as deep as they are wide.
- Drop 1-2 seeds per container (or section of your tray).
- Lightly cover with soil and mist with water.
💡 Mom Hack: If both seeds sprout, snip the weaker one at the base instead of pulling it out- this prevents damaging the roots of the stronger plant.
Step 5: Keep the Soil Moist & Warm

- Mist the soil daily to keep it damp but not soaked.
- Cover trays with a plastic lid, humidity dome, or plastic wrap to trap moisture.
- Keep the temperature between 65-75°F: a seedling heat mat speeds things up!
💡 Mom Hack: If you don’t have a heat mat, placing trays on top of the fridge can give them a little extra warmth!

Step 6: Give Them Enough Light

Once seedlings sprout, they need 12-16 hours of light per day. If you don’t have a grow light, put them in a south-facing window and rotate them every few days.
💡 Mom Hack: If your seedlings look tall and leggy, they need more light! A cheap clip-on grow light can work wonders.
Step 7: Watch Them Grow & Thin Seedlings

- Once seedlings have 2-3 sets of true leaves, thin them so only the strongest remain.
- Water whenever the top of the soil feels dry to the touch.
- To strengthen stems, gently brush your hand over them daily (or use a small fan to mimic outdoor breezes).
💡 Mom Hack: My boys love checking on our seedlings each morning. Making it part of our routine keeps them interested and gives them a sense of responsibility!

You CAN Do This! If you’ve been hesitating to start seeds indoors because you think you don’t have time- trust me, I get it. But with just a few minutes a day, you can have a head start on a thriving garden. Plus, there’s something really satisfying about watching tiny green sprouts pop up and knowing you grew them from scratch.
And the best part? Your kids will love being a part of it too. My 2 year old might still try to eat the dirt, but my 4 year old is already talking about which plants we are moving outside when it gets warm. That, to me, is the best kind of win.
So go ahead, give it a try! Start small, keep it simple, and remember- gardening should be fun, not stressful.
Happy planting! 🌱
With love,
Bri & Cat
Affiliate Disclaimer:
As an Amazon Associate I earn from qualifying purchases. This comes at no additional cost to you. We only recommend products that we believe will add value to our readers.
Leave a Reply