If you’ve ever rushed out the door with an empty stomach, reached for a sugar-loaded granola bar at 3 p.m., or just needed a quick win on a hectic day, then you need this recipe for healthy granola energy bites in your life. These little snack balls have become my go-to for pretty much everything: breakfasts on the run, post-workout fuel, road trip snacks, and late-night “I’m not hungry, but I need something” cravings.
Let me tell you how I got hooked on these, why I’ve tweaked this recipe to perfection, and how you can make them part of your weekly rhythm too.
Table of Contents

My Journey to Smarter Snacking
I used to be that person who bought boxes of granola bars, protein bites, and trail mix snacks with the best of intentions. But after actually reading the labels, I realized that even the so-called “healthy” options were full of:
- Added sugars
- Palm oil or other processed oils
- Preservatives I couldn’t pronounce
- Barely any protein or fiber
I was spending money on snacks that gave me a quick spike of energy… followed by a crash and regret. So I started experimenting in my own kitchen.
I wanted something:
- Easy to prep ahead
- Full of real, nutritious ingredients
- Kid-friendly
- Actually satisfying
That’s how these healthy granola energy bites were born. I’ve been making them for over five years now, and they’ve earned a permanent spot in my fridge.
The Ingredients That Make These So Good (And Good For You)
Let’s break it down, every ingredient in these bites has a purpose, and it’s easy to customize based on your dietary needs or what’s in your pantry.

Base Ingredients:
- 1 cup rolled oats: Whole grain goodness. Rich in fiber to keep you full longer. I like using old-fashioned oats for the best texture.
- ½ cup natural peanut butter (or my homemade version): Adds healthy fats, plant-based protein, and that irresistible nutty flavor. Use creamy or crunchy depending on your vibe.
- ¼ cup honey: Natural sweetness without refined sugar. It also helps bind everything together.
- ¼ cup mini chocolate chips: Totally optional, but they make each bite feel like a treat. Use dark chocolate for a richer taste.
- ¼ cup dried cranberries: A sweet-tart punch that balances the richness of the peanut butter. Make sure to look for unsweetened or reduced-sugar versions if you’re watching added sugar.
- 2 tablespoons ground flaxseed: A little nutritional powerhouse: omega-3s, fiber, and a subtle nutty flavor. Also helps bind the mixture.
- 2 tablespoons sunflower seeds: Crunchy, salty, and full of healthy fats and vitamin E.
- ¼ cup chopped almonds: Toasting these adds major crunch and nutty flavor. You could sub with walnuts or pecans if you prefer.
Why Toasting Makes a Difference
This might be the most “extra” part of the recipe, but I promise you, it’s worth it.
Toasting the oats, nuts, and sunflower seeds at 350°F for 10 minutes enhances their flavor. It brings out their natural oils, gives them a subtle golden crunch, and makes the bites taste like they came from a fancy café.
It only takes a few extra minutes and will make your kitchen smell amazing.
Stir halfway through baking and let everything cool completely before mixing into the wet ingredients. If they’re warm, your chocolate chips will melt (unless you’re going for chocolate swirl, which honestly isn’t a bad thing).
Step-by-Step Instructions
1: Toast Your Dry Ingredients
Preheat your oven to 350°F. Spread the following onto a baking sheet:
- 1 cup oats
- ¼ cup chopped almonds
- 2 tablespoons sunflower seeds
Bake for 10 minutes, stirring once. Set aside to cool for 10–15 minutes.

2: Mix the Wet Ingredients
In a large mixing bowl, combine:
- ½ cup peanut butter
- ¼ cup honey
Stir until smooth and well blended. If your peanut butter is straight from the fridge and hard to stir, pop it in the microwave for 10–15 seconds to soften it up.
I love to use my homemade peanut butter in this as well: Check out that recipe here: Why I’ll Never Go Back to Store-Bought: The Joy of Making Homemade Peanut Butter

Step 3: Combine Everything
Add the cooled oat/nut mixture into the bowl, then stir in:
- ¼ cup dried cranberries
- ¼ cup mini chocolate chips
- 2 tablespoons ground flaxseed
Use a sturdy spoon or your hands (honestly, your hands work best). The mixture will be thick and sticky. That’s exactly what you want.

Step 4: Roll Into Balls
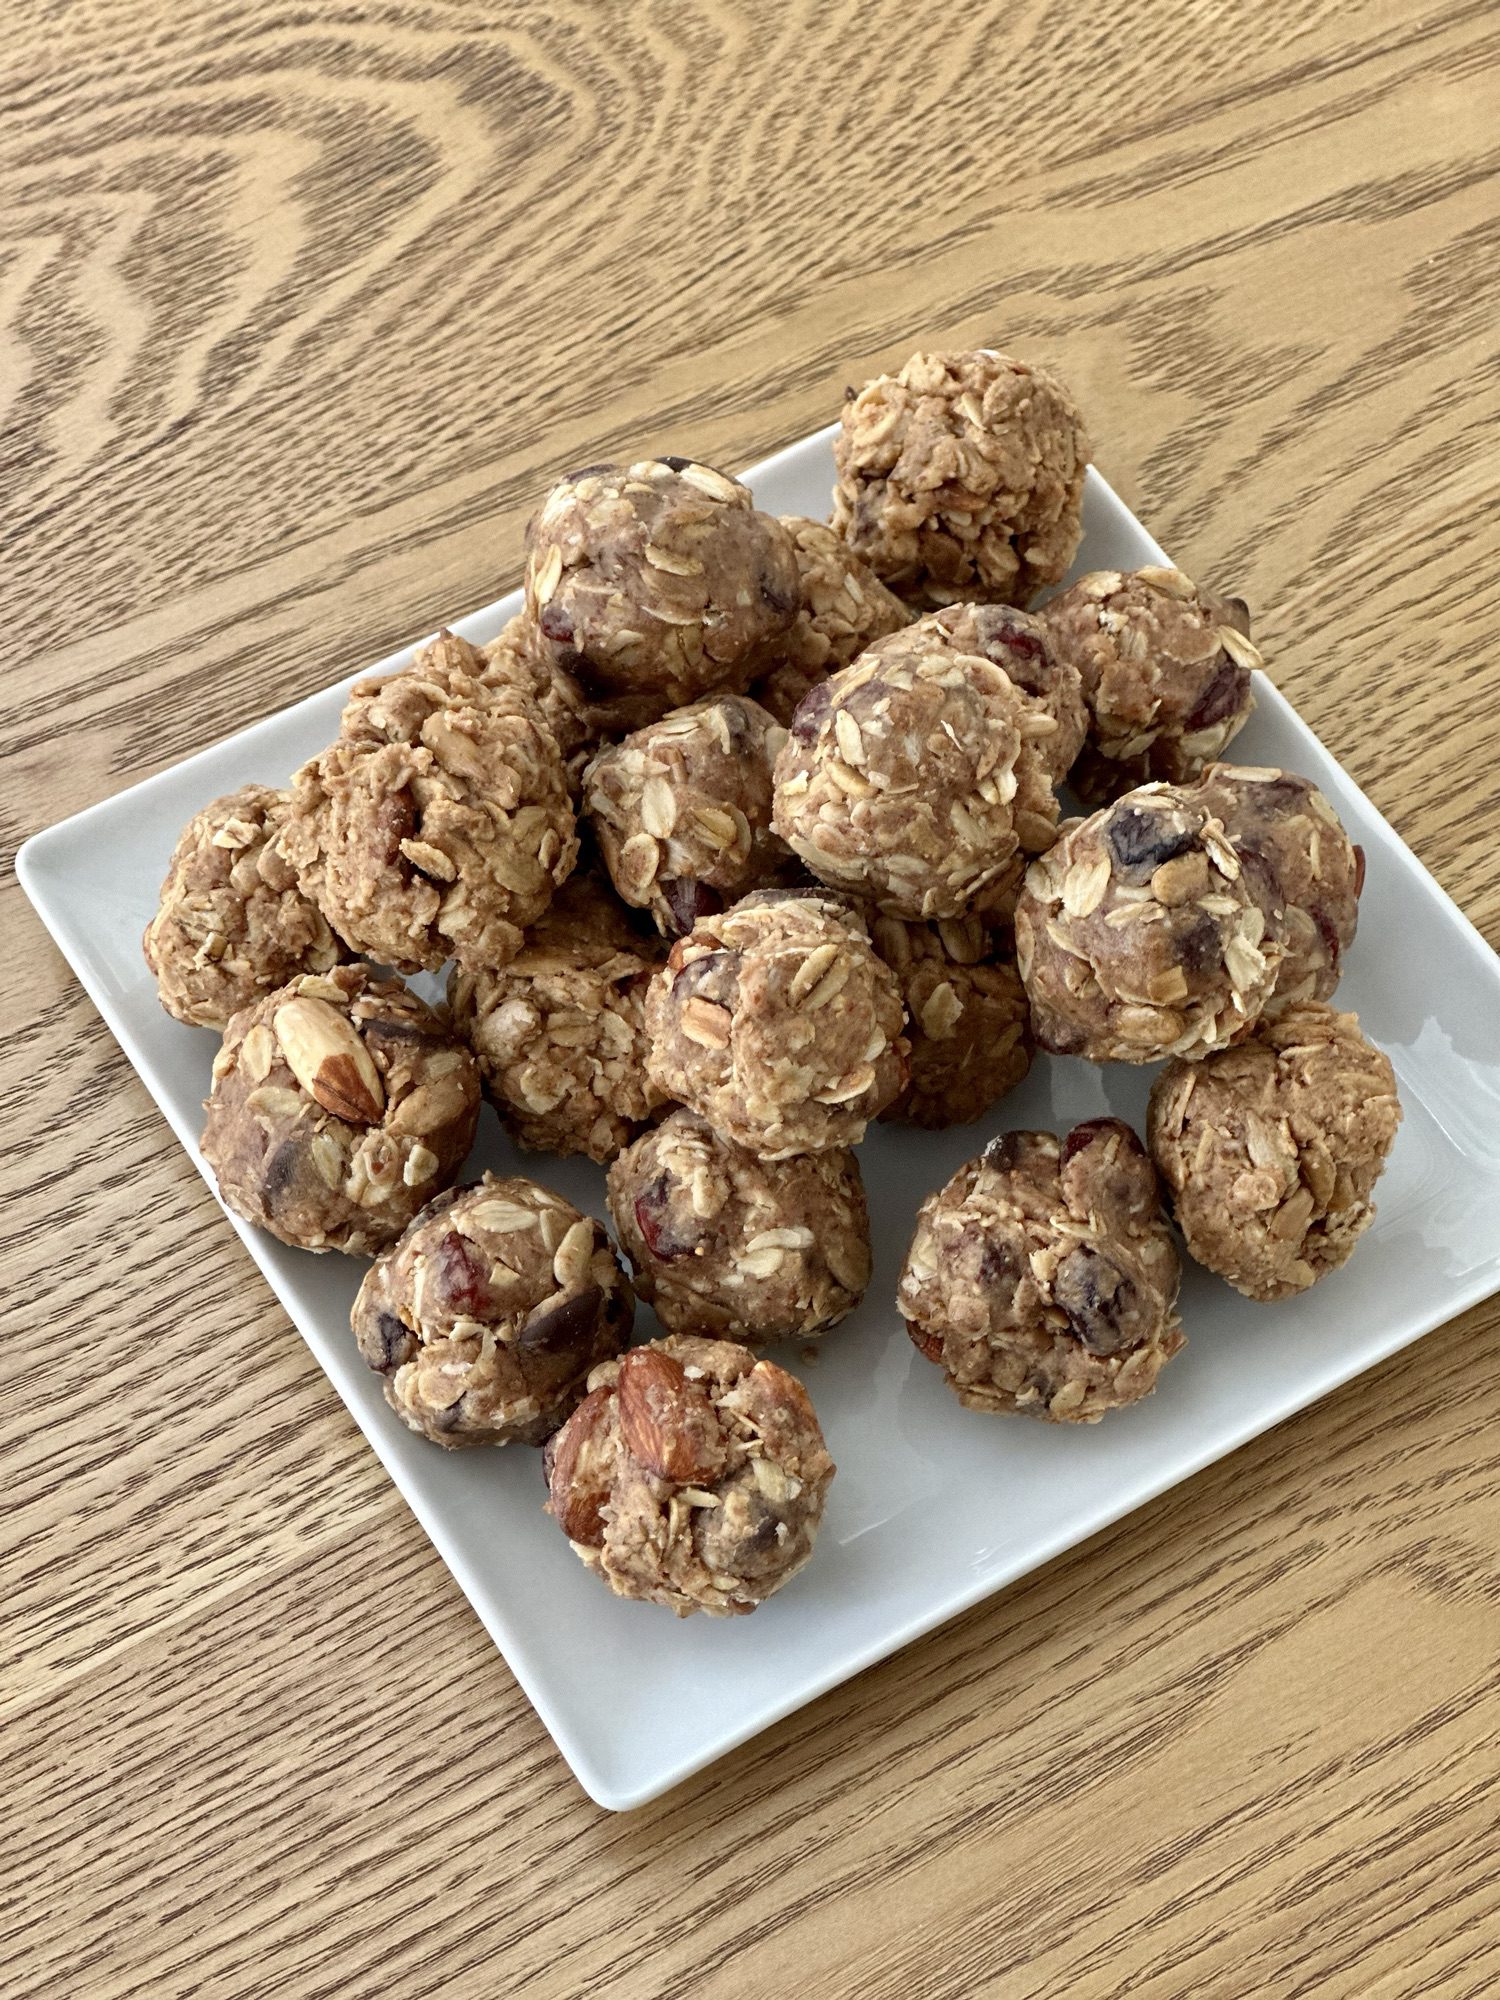
Scoop out about 1 tablespoon of mixture and roll into 1-inch balls. Place each one on a baking sheet or plate lined with parchment paper.
You’ll get about 18–22 energy bites depending on the size.
Pro tip: Lightly oil your hands with coconut oil if the mixture is sticking too much while you roll.

Step 5: Chill and Store
Once they’re all rolled out, place them in the freezer for 30–40 minutes to firm up. After that, transfer them to an airtight container.
- Keep them in the fridge for up to 10 days
- Or store them in the freezer for up to 3 months
- Leave a few on the counter for a couple days (great for grab-and-go)

When These Saved the Day
I could tell you a dozen stories about how these energy bites came through in a pinch, but here are a few examples:
School Morning Madness
Mornings are… unpredictable in my house. Sometimes we’re all dressed and fed by 7:30. Other times, I’m throwing a hoodie over pajamas and chasing my kid out the door. These energy bites live in the fridge, so I can toss one into her snack cup as we’re rushing out. It keeps her happy, and I feel good knowing she started her day with something nourishing.
Post-Workout Fuel
After a strength training session or yoga class, I’m not always in the mood for a big meal, but I am hungry. One or two of these bites with a protein smoothie is my go-to refuel combo.
Travel Snacks
Whether it’s a road trip or just running errands for a few hours, I always bring a little container of these with me. They don’t melt or crumble. No mess. No sugar crash. Just satisfying energy.
Variations and Substitutions
Want to customize your bites? Here are some fun ideas:
Swap the Nut Butter:
- Almond butter
- Cashew butter
- Sunflower seed butter (for nut-free schools)
Change Up the Mix-Ins:
- Raisins or chopped apricots instead of cranberries
- Cacao nibs instead of chocolate chips
- Pumpkin seeds or hemp hearts instead of sunflower seeds
- Chia seeds for extra fiber
Add a Flavor Twist:
- 1 tsp vanilla extract for warmth
- A pinch of sea salt to enhance sweetness
- ½ tsp cinnamon or pumpkin spice for cozy fall flavor
- A handful of unsweetened coconut flakes
These bites are flexible and forgiving. You can even make them more decadent by drizzling with melted dark chocolate before chilling.
Tips for Meal Prepping Like a Pro
These bites are part of my weekly Sunday meal prep. Here’s how I make it easier:
- Double or triple the batch – Make more at once, especially if you’ve got multiple snackers in the house.
- Use a small cookie scoop – Keeps the size uniform and hands clean.
- Pre-toast your oats and nuts – Store extras in a jar to cut prep time later.
- Label your containers – Especially if you’re freezing them.
- Portion them into snack bags – Great for work, school, or gym bags.
Why You’ll Love These Too
Healthy snacks don’t have to be boring. They don’t have to taste like cardboard. And they definitely don’t need to come from a plastic wrapper filled with ingredients you can’t pronounce.
These healthy granola energy bites are:
- Simple
- Delicious
- Nutrient-packed
- Totally customizable
Whether you’re fueling a workout, calming a hangry toddler, or just need something satisfying with your afternoon coffee, these little bites do it all. Once you try them, you’ll wonder how you ever lived without them.

Save This Recipe for Later:
Healthy Granola Energy Bites
Ingredients:
- 1 cup rolled oats
- ½ cup natural peanut butter
- ¼ cup honey
- ¼ cup mini chocolate chips
- ¼ cup dried cranberries
- 2 tbsp ground flaxseed
- 2 tbsp sunflower seeds
- ¼ cup chopped almonds
Instructions:
- Toast oats, almonds, and sunflower seeds at 350°F for 10 minutes. Let cool.
- In a bowl, mix peanut butter and honey until smooth.
- Add all remaining ingredients. Stir until well combined.
- Roll into 1-inch balls and place on parchment paper.
- Freeze for 30–40 minutes. Store in the fridge or freezer.
If you try this recipe, let me know! Tag me on social or leave a comment below, what did you love? What did you tweak? Let’s inspire each other to snack smarter and live better.
With love,
Bri & Cat
Related posts you may like:
Leave a Reply