This site contains affiliate links, view the disclaimer page for more information.
Hey there, fellow ice cream lovers! Have you ever been craving a sweet, creamy treat, but didn’t want to deal with the mess or sugar overload of store-bought versions? Well, I’ve got you covered with a super simple, healthier homemade ice cream recipe. Plus, it only requires four ingredients and about 30 minutes of your time (excluding freezing time, of course). It’s easy, fun to make, and so much tastier than anything you can pick up from the store.
Let’s dive into the details of this homemade ice cream recipe, and I promise it will be worth the effort.
Table of Contents

The Magic 4 Ingredients:
- 2 cups heavy whipping cream (Organic, grass fed is preferred)
- 1 and 2/3 cups milk of choice (I personally use organic, grass fed 2% for a creamy, balanced taste, but feel free to swap it out for any milk you prefer-dairy or non-dairy options like almond or oat milk work great! Can swap heavy whipping cream for non dairy option as well.)
- 1/2 cup honey (This is our sweetener, and let me tell you, it gives the ice cream the perfect natural sweetness.)
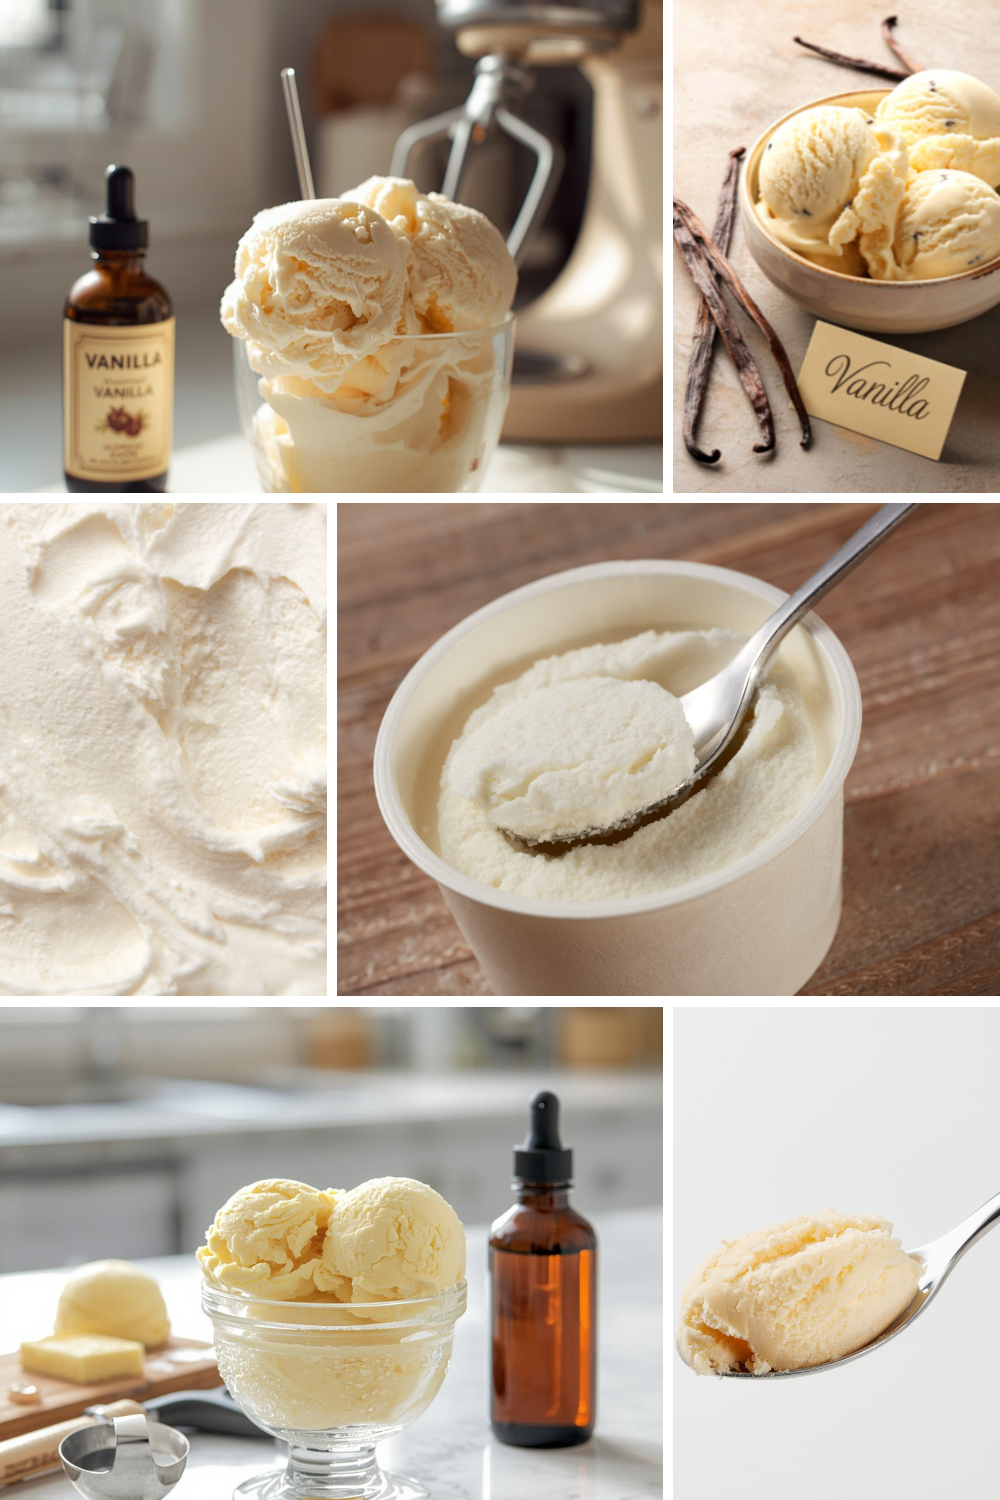
- 2 tbsp vanilla extract or vanilla bean paste (I use one tablespoon of vanilla bean paste and one tablespoon of my homemade vanilla extract– only 2 ingredients and so easy to make! If you have real vanilla beans in your pantry, go ahead and use the seeds! It adds such a nice depth of flavor.)
This combination of ingredients is simple but makes for a rich and flavorful ice cream base.
Why Make Your Own Condensed Sweetened Milk?
One of the best parts of this recipe is that you get to make your own condensed sweetened milk! It’s healthier than the store-bought version (no added weird ingredients), and in my opinion, it’s much tastier. Plus, the fact that you’re making it from scratch makes it all the more satisfying. I mean, who doesn’t love the feeling of creating something from just a few basic ingredients, right?
To make your own condensed sweetened milk, all you need to do is:
Step 1: Make Your Condensed Sweetened Milk
- Ingredients:
- 1 and 2/3 cups milk (I usually use 2%, but like I said, any milk will do) and a 1/2 cup honey
In a small pot on the stove, combine the milk and honey. Whisk everything together to help the honey dissolve into the milk. Now, bring the mixture to a simmer on low heat. Let it simmer for about 20 minutes, stirring occasionally, until it thickens. Be sure to keep the heat low and stir so the milk doesn’t burn or scald.Once it’s ready, you’ll have your homemade condensed milk! It will be sweet, thick, and creamy, and you’ll use it in the next step for your ice cream.
Step 2: Whip the Heavy Cream

Now comes the fun part-whipping the cream! This is where the magic of creamy ice cream really happens. Here’s how to do it:
- Method:
Place your cold heavy cream in a large bowl. If you’re using a stand mixer (I swear by my KitchenAid! And I use this glass mixing bowl.), start mixing at speed 3 and slowly increase to speed 10. This process should take about 3-5 minutes to get stiff peaks. If you’re whipping by hand (props to you if you are!), it’ll take about 7-9 minutes to get the same result. Just be patient-it’s totally worth it!
Step 3: Mix Everything Together
Once your heavy cream has been whipped into stiff peaks, it’s time to mix everything. Here’s what you do next:
- Add in your homemade condensed sweetened milk and vanilla extract (or vanilla bean paste).
- Using a low speed on your mixer, carefully fold everything together until well incorporated. Be gentle here-don’t deflate the whipped cream! Less is more here!
At this point, you can taste the mixture if you want to. I always do, just to make sure it’s sweet and vanilla-flavored to my liking. If it needs a little more sweetness, you can add a drizzle of honey or a splash more vanilla.
Step 4: Freeze and Wait (It’s the Hardest Part!)
Now that everything is mixed, it’s time for the hardest part of the process: the waiting! Transfer your ice cream mixture into a freezer-safe container. I like using these reusable containers because they freeze the ice cream evenly, and are adorably cute. Place it in the freezer for at least 6 hours, or overnight if you can wait that long.
After the waiting period, you’ll have creamy, dreamy homemade ice cream that is just waiting to be scooped!
Step 5: Serve and Enjoy!
After your ice cream has frozen, scoop it into bowls or cones and enjoy! The texture is super creamy, and the vanilla flavor really shines through. Plus, the honey adds a natural sweetness that’s not overpowering but just right. I love serving mine with a few fresh berries or even some chocolate chips (boys favorite) for a fun twist.
Homemade Ice Cream Recipe
Here’s the full recipe for easy reference:
Ingredients:
- 2 cups organic, grass fed heavy whipping cream
- 1 and 2/3 cups organic, grass fed milk of choice (I use 2%)
- 1/2 cup local honey
- 2 tbsp homemade vanilla extract or vanilla bean paste (I use 1 tbsp vanilla bean paste and 1 tbsp vanilla extract when I have beans)
Instructions:
- Make the Condensed Sweetened Milk: In a small pot, combine milk and honey. Whisk together, bring to a simmer on low heat, and let it simmer for 20 minutes until thickened. Stir occasionally to prevent burning.
- Whip the Heavy Cream: In a large bowl, beat the cold heavy cream until stiff peaks form. This will take about 3-5 minutes with a stand mixer or 7-9 minutes by hand.
- Mix the Ingredients: Add the condensed sweetened milk and vanilla to the whipped cream. Beat on low speed until fully incorporated.
- Freeze: Transfer the mixture to a freezer-safe container. Cover and freeze for at least 6 hours, or overnight.
- Serve and Enjoy: Scoop into bowls (We love these porcelain silicone sleeve bowls from Amazon, they are kid friendly!) or cones and enjoy your homemade treat!
Substitutions and Variations
I get it- you might have specific dietary needs or preferences. No worries! This recipe is super flexible and can be adjusted to fit your needs.
- Non-Dairy Milk and Cream: If you’re dairy-free, you can easily substitute the milk and cream. Use coconut milk or almond milk for the milk, and a non-dairy cream like coconut cream for the heavy cream. Just keep in mind that the texture may change slightly, but it will still be creamy and delicious!
- Store-Bought Condensed Sweetened Milk: If you’re in a rush, you can use store-bought condensed sweetened milk. But if you want to keep it a little healthier, I recommend going for organic or locally sourced brands. Store-bought versions can have more sugar (a lot more!) than the homemade kind, so be mindful of that.
- Add-ins and Mix-ins: This recipe is a blank canvas for whatever flavors or textures you love! Add in chocolate chips, chopped nuts, chopped fruit (strawberries and blueberries are a favorite in our house), or even a swirl of peanut butter or caramel to make it extra special. I also love making chocolate or coffee-flavored versions by mixing in and 1/2 cup of organic cocoa powder (sub for vanilla extract/bean paste) or 1/4 cup espresso powder (in addition to vanilla extract/bean paste) when adding the condensed milk.
Why Make Homemade Ice Cream?
Making homemade ice cream is so much more than just enjoying a tasty treat-it’s about creating something you can feel good about feeding your family. You know exactly what’s going into it, and you can customize it to fit your taste preferences and dietary needs. Plus, it’s a great activity to do with kids or loved ones, and it’s a fun way to bond over something simple and delicious.

I always find that making things from scratch gives me such a sense of accomplishment. It’s a reminder that with just a few ingredients and a little time, you can create something special in your own kitchen. And with this ice cream, I guarantee you’ll be coming back for more!
Give this recipe a try next time you’re craving a sweet treat, and let me know how it turns out. Whether you stick to the classic vanilla flavor or experiment with add-ins, I’m sure you’ll love it!
Stay sweet!
With love
Bri & Cat
Loved this recipe? Don’t miss the strawberry version! Strawberry Picking, Sticky Fingers, and the Best Homemade Strawberry Ice Cream You Will Ever Make: Check it out right here!
Affiliate Disclaimer:
As an Amazon Associate I earn from qualifying purchases. This comes at no additional cost to you. We only recommend products that we believe will add value to our readers.
Leave a Reply