This site contains affiliate links, view the disclaimer page for more information.
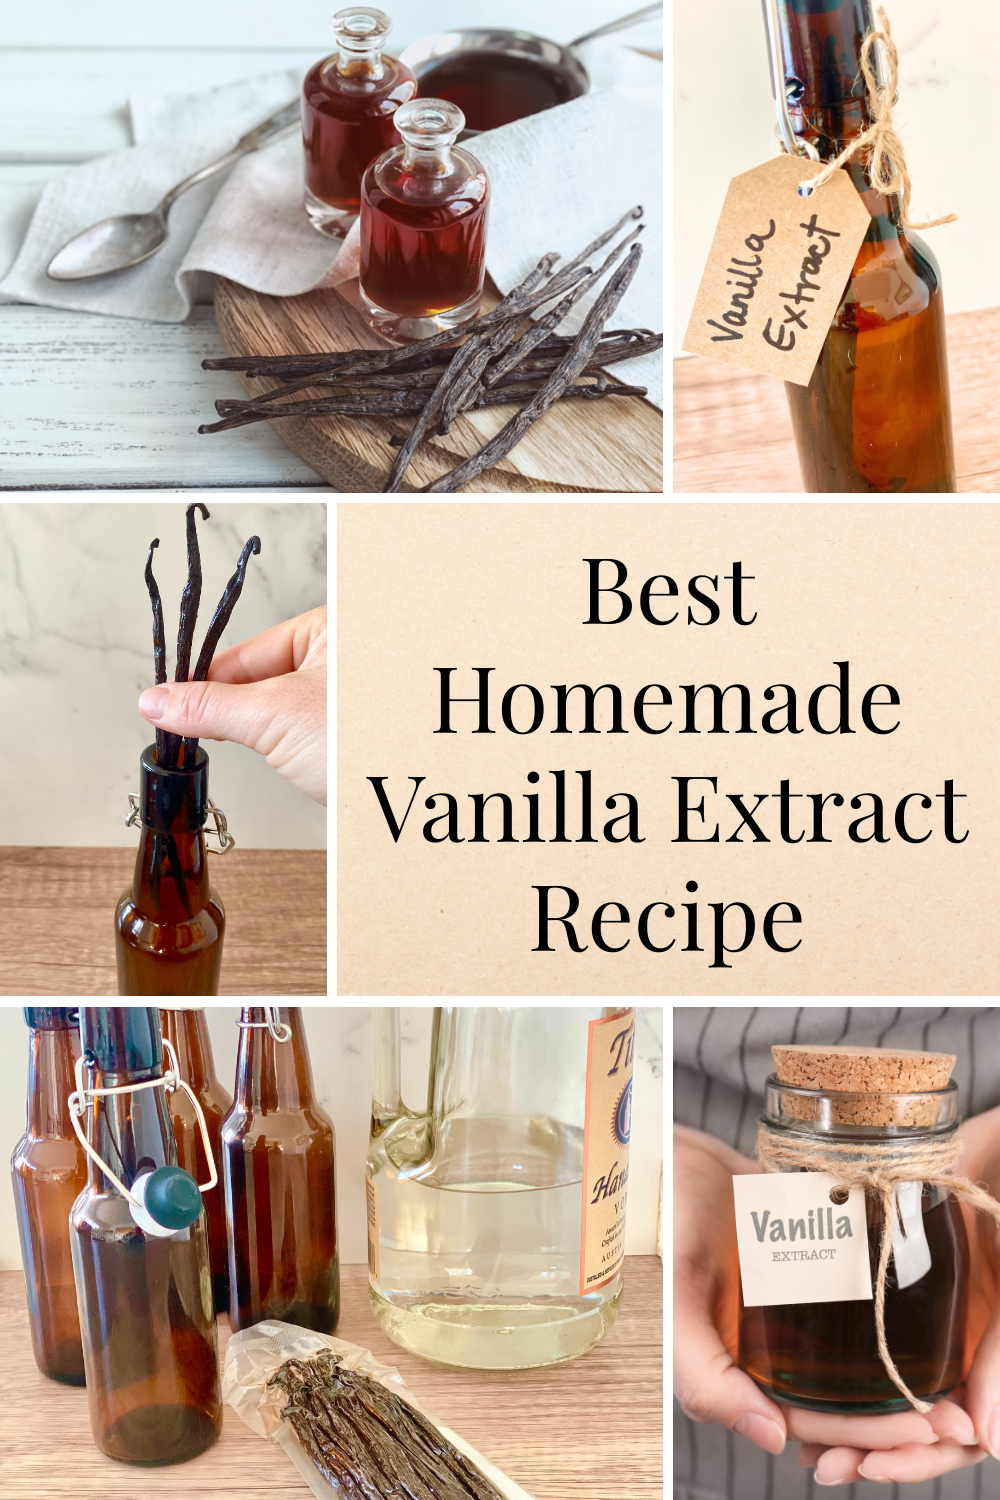
If you’ve ever wondered whether making your own vanilla extract at home is worth it, let me just tell you- this easy homemade vanilla extract recipe is a game changer. Not only is it incredibly simple (we’re talking two ingredients), but it’s also one of the most satisfying pantry projects I’ve ever tackled. And once you try it, you may never go back to the store-bought stuff again. It’s that good. Rich, aromatic, customizable, and economical over time- it checks all the boxes.
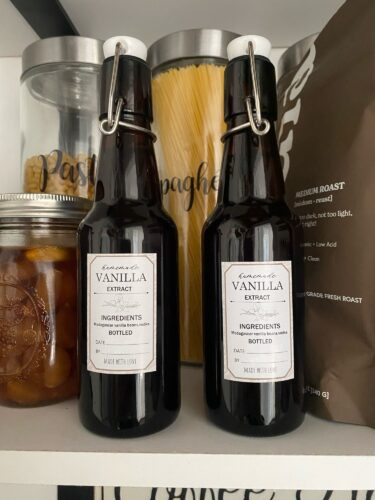
Table of Contents
Why I Started Making My Own Vanilla Extract
I used to be a loyal follower of whatever vanilla was on sale, usually the imitation kind, if I’m being honest. I baked with it, added it to my oatmeal, used it in smoothies, and didn’t give it much thought. That is, until I was knee-deep in holiday baking one year, went to pour out my last drop of vanilla, and realized I had none left, and no time to run to the store with two toddlers running wild in the kitchen! (OH NO!)
That baking disaster sparked a simple google search. I read about homemade vanilla extract and was surprised to learn how incredibly easy it is to make. It’s one of those old-fashioned, back-to-basics kind of kitchen staples that made me feel like a true home cook, even if I was still in my leggings with flour in my hair (and all over the floor).
What Makes This Recipe So Easy?
Two ingredients. That’s it:
- Vanilla beans
- Alcohol (vodka, bourbon, or rum)
Supplies Needed:
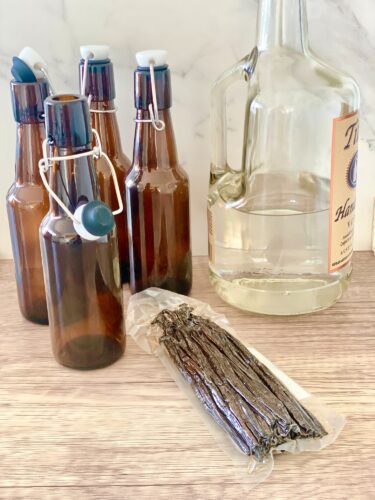
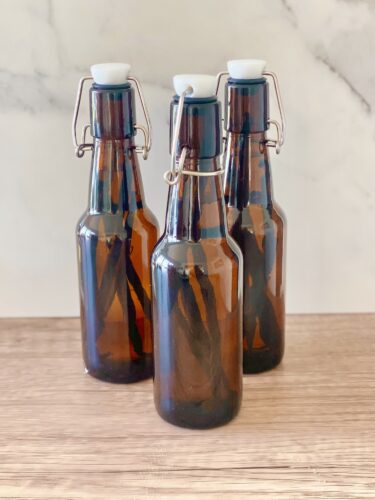
- 8.5 oz swing top glass bottles, leak proof (amber or clear, but amber helps preserve the extract better)
- Kitchen pouring funnel
- Homemade Vanilla Extract Labels: get my labels on Etsy
No cooking. No measuring cups (besides the alcohol). Just a little slicing, pouring, shaking, and waiting.
And while yes, it takes a few months to reach full strength, the beauty is that once you start a batch, you can keep topping it off like a sourdough starter and have vanilla extract ready to go forever.
My Homemade Easy Vanilla Extract Recipe
Ingredients:
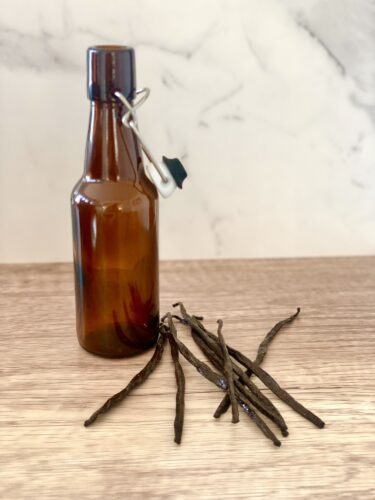
- 3-4 whole organic vanilla beans for each 8.5 oz jar(Madagascar, Tahitian, or Mexican beans all work well)
- 1 cup vodka (8 oz) (you can also use bourbon or dark rum for a deeper flavor)
Supplies:
- 8.5 oz swing top glass bottles, leak proof (amber or clear, but amber helps preserve the extract better)
- Kitchen pouring funnel
- small pairing knife
- (optional) Homemade Vanilla Extract Labels: get my labels on Etsy
Instructions:
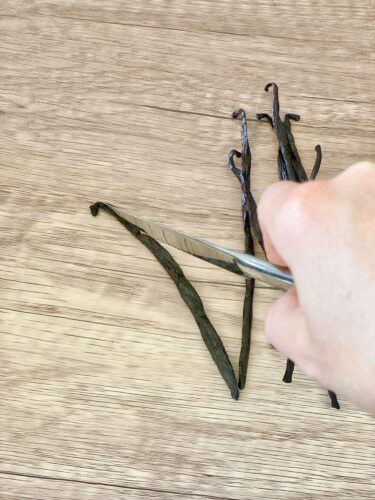
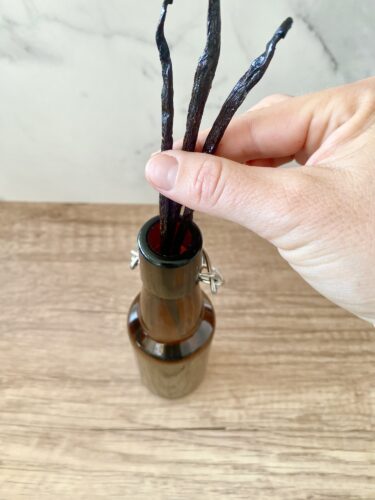
- Slice the beans: Using a sharp knife, split each vanilla bean lengthwise. You don’t have to scrape out the seeds- leave them in! They add flavor and those beautiful little specks we all love in vanilla ice cream.
- Place in jar: Add the 3-4 sliced beans to each jar.
- Add alcohol: Pour the 1 cup vodka (or your alcohol of choice) over the beans, covering them completely in the jar.
- Seal and shake: Screw the lid on tightly and give it a good shake.
- Store in a cool, dark place: Tuck it into a cupboard or pantry. Shake it once a week if you remember.
- Wait patiently: Let it steep for at least 8 weeks, though 3-6 months is ideal for full flavor. The longer it sits, the richer the taste.
That’s it! You now have homemade vanilla extract infusing in your own kitchen.
Why I Buy Vanilla Beans in Bulk
Vanilla beans, when stored properly, can last up to two years- sometimes longer. But they’re sensitive to air, moisture, and temperature. I keep mine in a dark, airtight jar or vacuum-sealed bag, tucked into a cool cabinet (definitely not the fridge as moisture ruins them fast).
I buy in bulk not just for savings, but for the convenience. Buying 10, 20, or even 50 beans at a time significantly reduces the cost per bean, and once you get into the rhythm of making vanilla extract (and maybe giving it as gifts), it just makes sense.
Plus, having a stash means I can whip up vanilla sugar, flavor whipped cream, steep them in milk, or even throw one in my oatmeal for an extra cozy vibe. They’re versatile and beautiful to work with. Bulk buying may sound like overkill, but trust me- once you start using real vanilla, you’ll want it in everything.
Pro Tips From My Kitchen to Yours
1. Start a batch now- thank yourself later.
It takes time to steep, so get it going early. Trust me, you’ll be glad you did when fall baking season rolls around.
2. Use good-quality beans.
Grade B beans are perfect for extract and more budget-friendly than Grade A beans. Grade B beans are drier, often shorter, and may have some blemishes, but are preferred for making vanilla extract due to their concentrated flavor.
3. Customize your alcohol.
Vodka is clean and classic. Bourbon adds warmth and depth. Rum leans sweet and tropical. Try all three and compare!
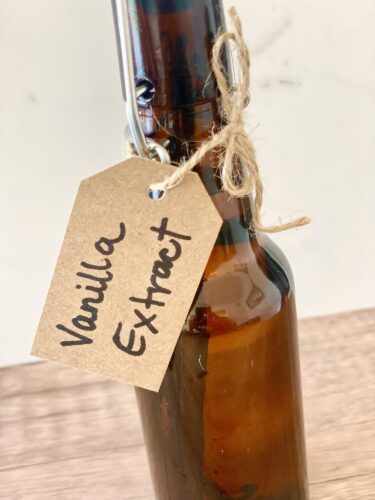
4. Label your jar.
Add the start date and bean type. It’s a simple touch that makes you feel like a real homestead wizard. Check out these homemade labels on Etsy, they are adorable, fit perfect on an 8 oz amber bottle and are a digital instant download. I purchase these labels on Amazon to print the digital labels linked above on Etsy. They are formatted perfectly!

Gifting Homemade Vanilla
The past few Christmas’, I gave 8 oz amber bottles of my homemade vanilla extract to my sisters, a few neighbors, some girlfriends, and the boys’ teachers. I tied little bows around the necks and printed these homemade labels from Etsy that have the bottled date and “made with love by:….” Everyone raved about the gift. They thought I was some kind of kitchen genius- but it was just beans, vodka, and time. It’s one of those rare, inexpensive gifts that feels both practical and personal.

Common Questions About Homemade Vanilla Extract
Q: How long does homemade vanilla extract last?
A: Basically forever. Alcohol is a natural preservative, so it’s shelf-stable and safe as long as the beans stay submerged.
Q: Can I reuse the beans?
A: Yes! They can be topped off with more alcohol 1–2 more times before they lose flavor.
Q: Can I use it before 8 weeks?
A: You can, but it won’t be as strong. I’ve done it in a pinch, but the full flavor really shines at 3-6 months.
Q: Can I use something other than vodka?
A: Absolutely. Just expect a slight change in flavor. Bourbon and rum are fantastic options!
Q: How long do vanilla beans store last?
A: When stored properly, can last up to two years- sometimes longer. They’re sensitive to air, moisture, and temperature, so make sure to keep them in a dark, airtight jar or vacuum-sealed bag, tucked into a cool cabinet.
Fun Ways to Use Your Homemade Vanilla Extract
Once your jar is ready, here are some of my favorite ways to use it:
- In homemade ice cream
- Stirred into Greek yogurt with berries, honey, and our Homemade Granola
- Added to smoothies or protein shakes
- Mixed into coffee or golden milk
- In pancake, waffle, and muffin batters
- And of course, in cookies, cakes, and our Blueberry Walnut Zucchini Bread
It’s one of those ingredients that turns basic into special.
Making this homemade easy vanilla extract recipe is one of those small, satisfying kitchen rituals that slows things down and adds joy to the everyday. It’s low effort, high reward, and once you experience the flavor (and the savings), there’s no going back.
You’re not just making extract. You’re creating a custom, handcrafted pantry staple that adds heart to your kitchen= and maybe even a few smiles to the faces of the people you gift it to.

So grab some beans, pour your vodka, and get that jar brewing. Your cookies (and future self) will thank you.
With love,
Bri & Cat
As an Amazon Associate I earn from qualifying purchases. This comes at no additional cost to you. We only recommend products that we believe will add value to our readers.
Leave a Reply