
This site contains affiliate links, view the disclaimer page for more information.
Beeswax lip balm recipe was one of the first five DIY projects I ever tried, and it completely changed how I think about skincare.
As a nurse practitioner and mom, I’ve always been conscious of ingredients and how what we put on our skin matters just as much as what we put in our bodies. But as a mom of two busy boys, I’ve also learned the hard way that convenience wins in day-to-day life. I used to grab chapsticks at the checkout line without thinking. They piled up in my purse, car, and bathroom drawers. But they never seemed to last, and worse, they left my lips feeling drier the more I used them.
One day, while decluttering (because let’s be honest, with kids there’s always clutter), I realized I had at least a dozen half-used lip balms rolling around. I flipped one over and looked at the ingredients. I couldn’t even pronounce half of them. That was my turning point.
I wanted something clean, something that worked, and something I felt good about handing to my kids when they inevitably asked, “Mom, can I have some?”
So I decided to make my own.
Table of Contents
My First Batch – Was a Disaster
I’ll be honest: my first attempt at a beeswax lip balm recipe was not the Pinterest-perfect moment I envisioned. I melted beeswax together with some oil and shea butter, added peppermint essential oil, and poured it into tins. What I didn’t realize? Essential oils float if you don’t stir them in thoroughly. One tin came out smelling like a candy cane explosion, while the other just smelled like beeswax.
My husband laughed when I tried the “peppermint bomb” tin because my lips tingled so much I looked like I’d eaten a mouthful of Altoids. But here’s the thing: even though it wasn’t perfect, it worked better than anything I’d bought. My lips stayed smooth, and for the first time, I didn’t feel the need to reapply every 15 minutes. That little win was enough to keep me going.
Now, a few years later, I have my beeswax lip balm recipe down to a science – and it’s the one I’m sharing with you today.
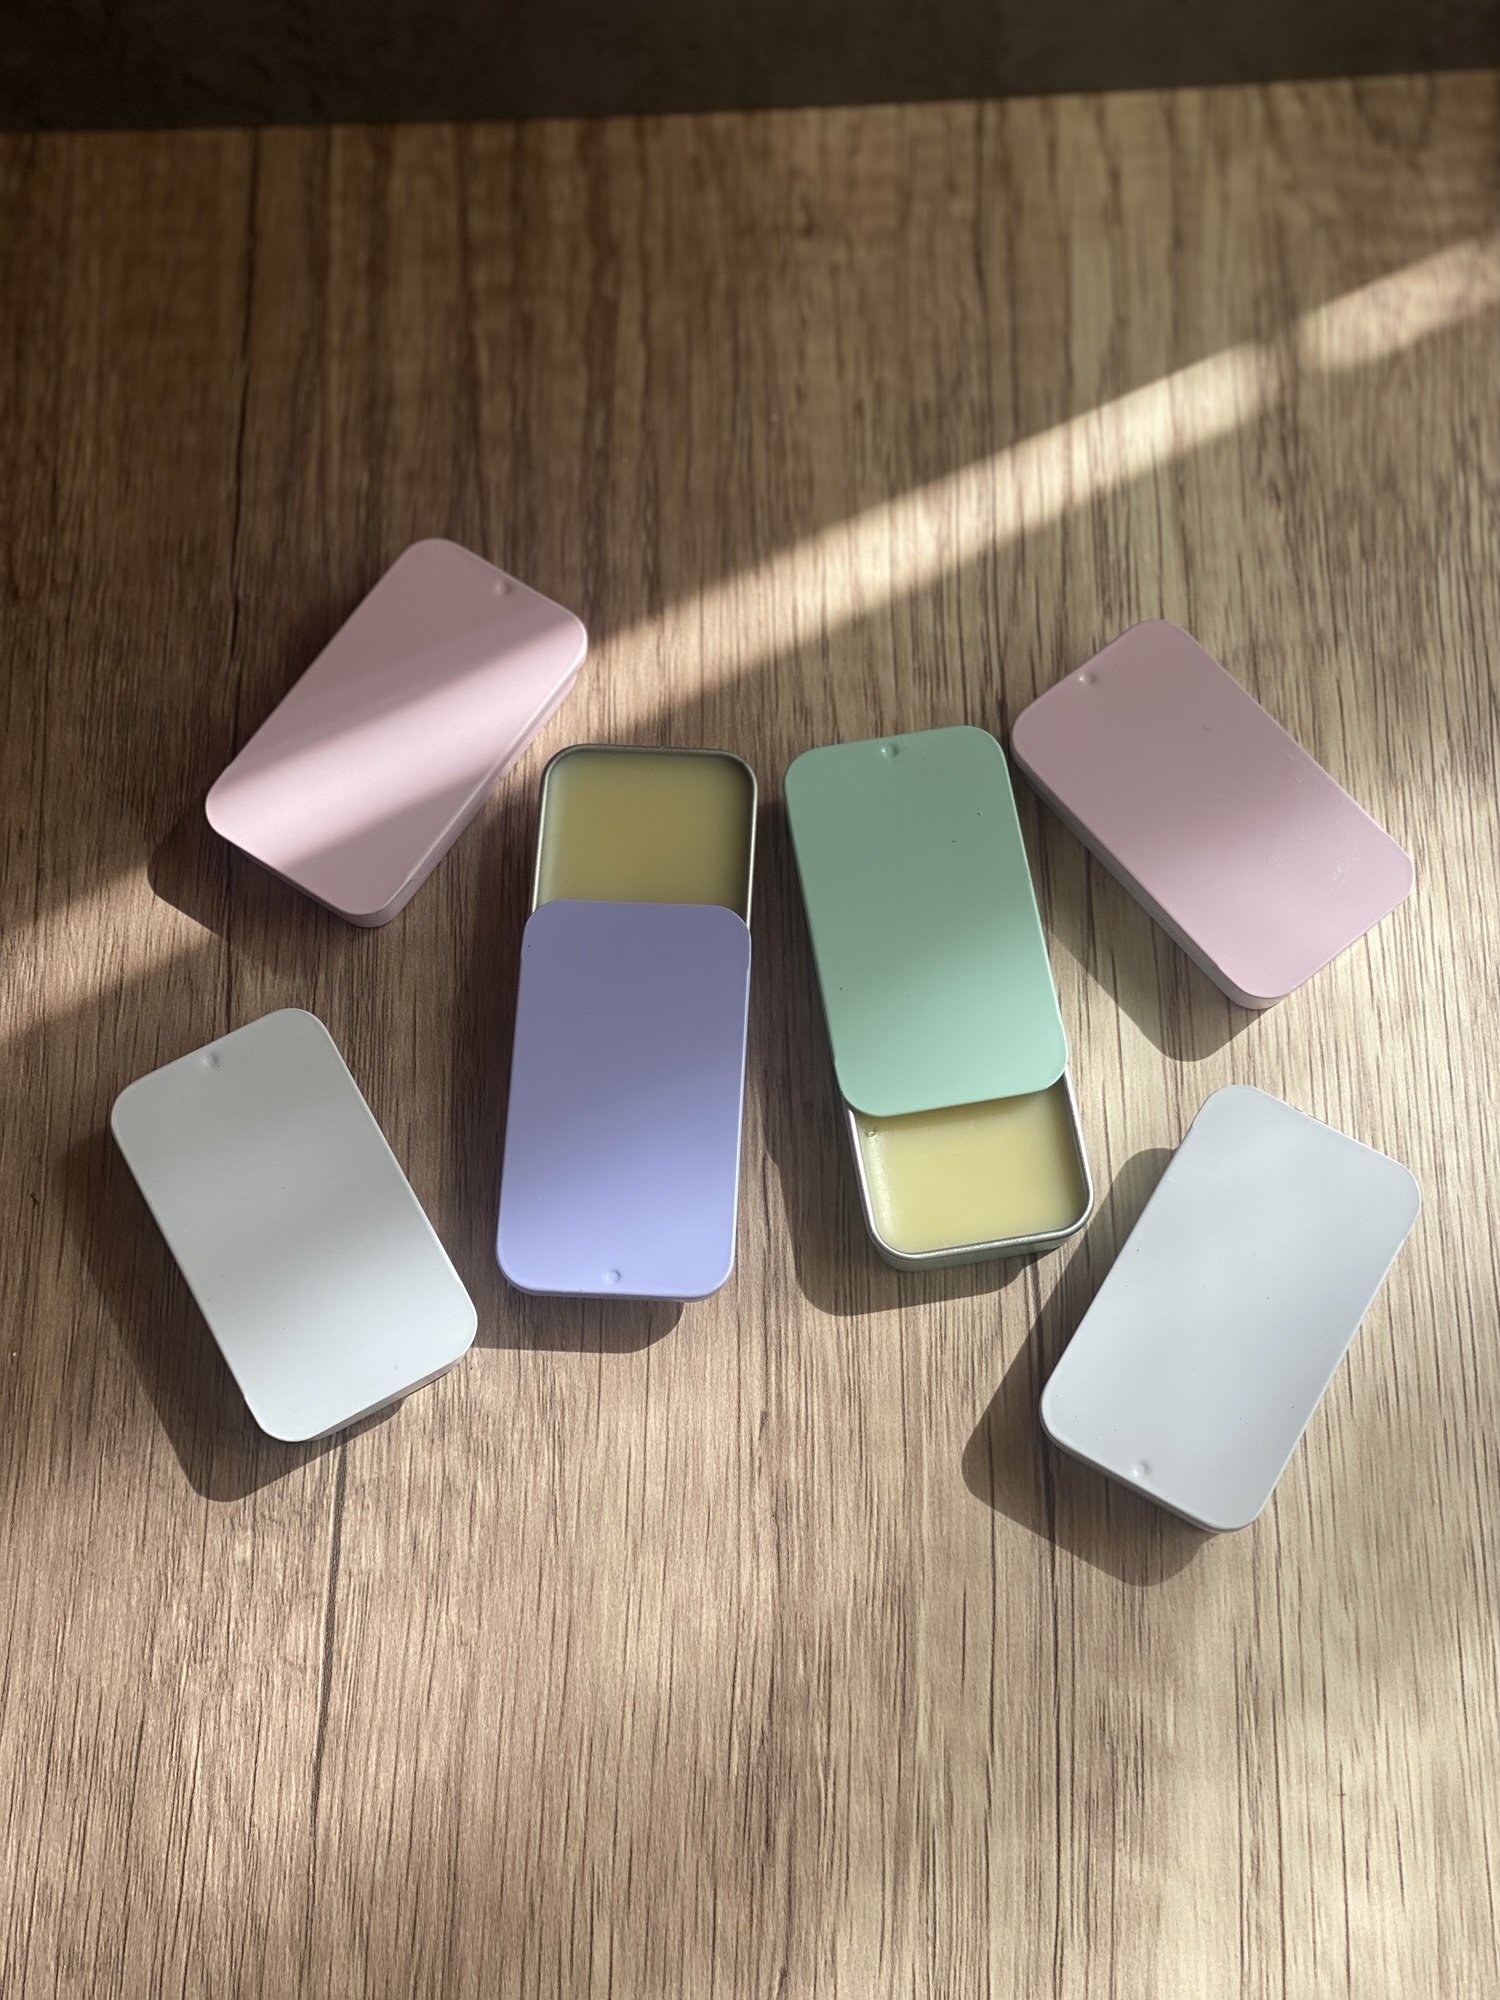
Simple Beeswax Lip Balm Recipe


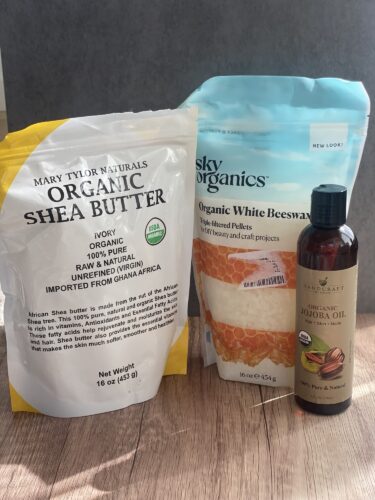
Ingredients (makes 6 × 1 oz tins):
- 5 tbsp beeswax pellets
- 5 tbsp coconut oil (make sure its unrefined, cold pressed)
- 5-6 drops of jojoba oil
- 5 tsp locally sourced honey (or swap for 4-5 drops essential oil: peppermint, lavender, orange or vanilla are my go-tos >> link below to essential oil products I use) Check out this easy 2 Ingredient Homemade Vanilla Extract Recipe here!
Instructions:
- In a heat-safe bowl melt the beeswax pellets in the microwave for 10-15 second intervals, stirring in between.
- Add in coconut oil and melt together.
- Add jojoba oil and stir until fully melted and combined.
- Then whisk in honey (or your essential oils). Stir very well to prevent separation.
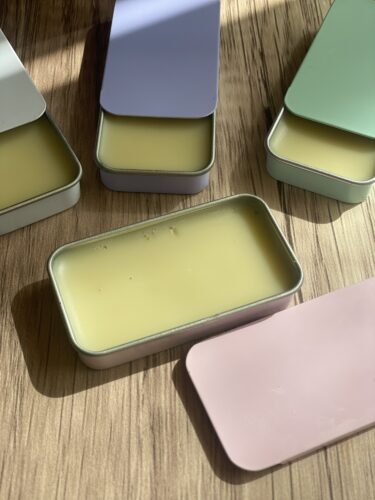
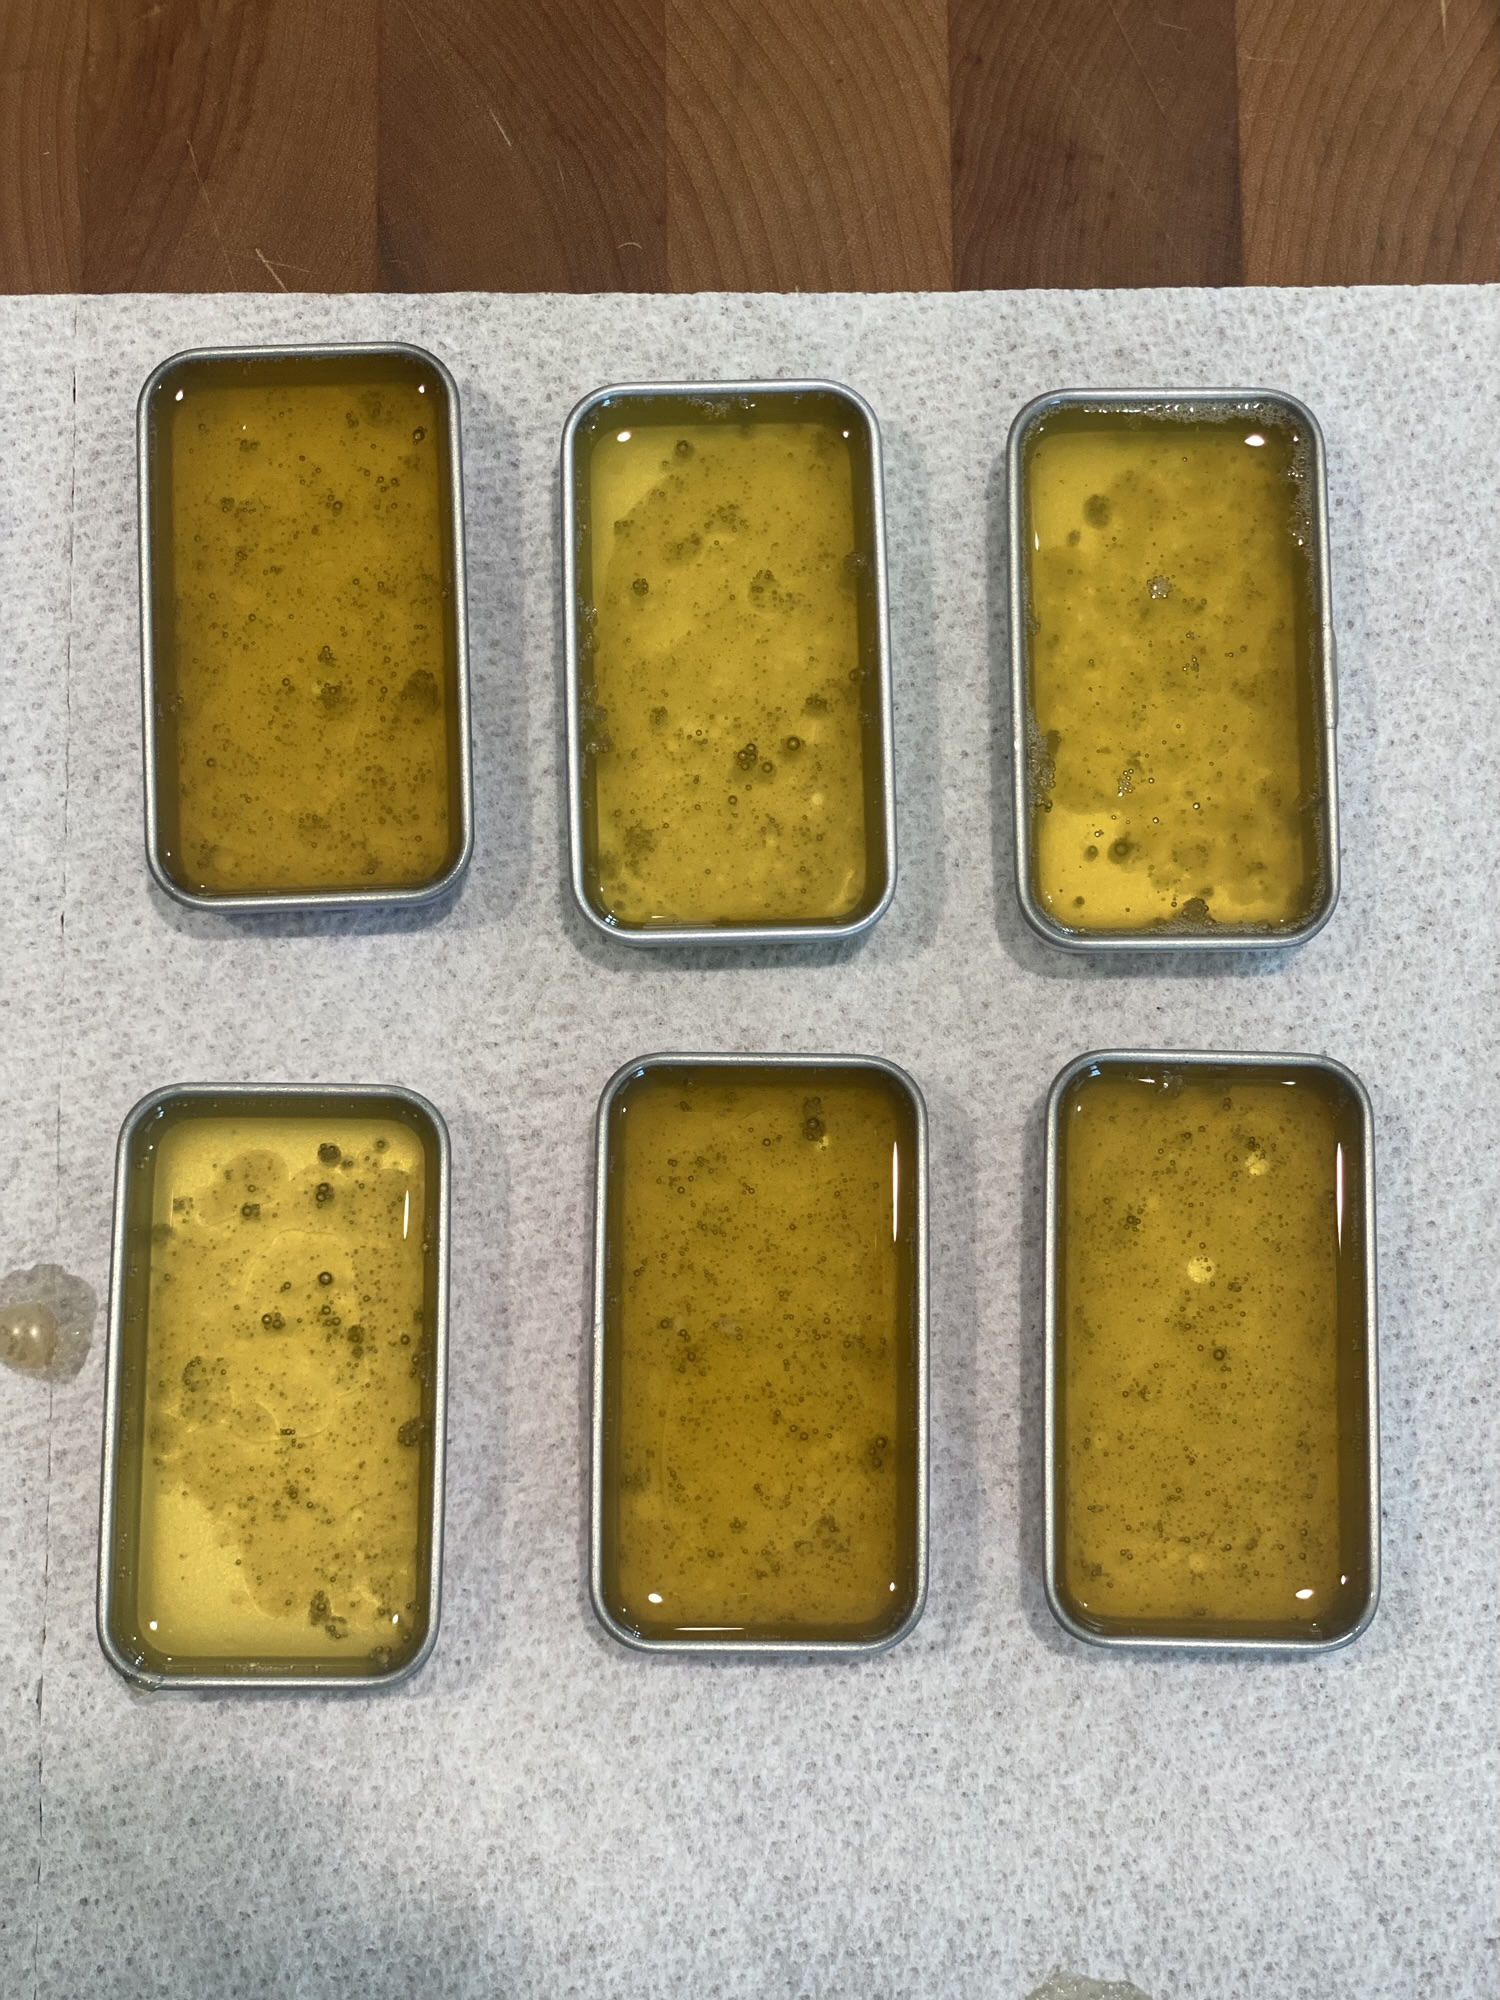
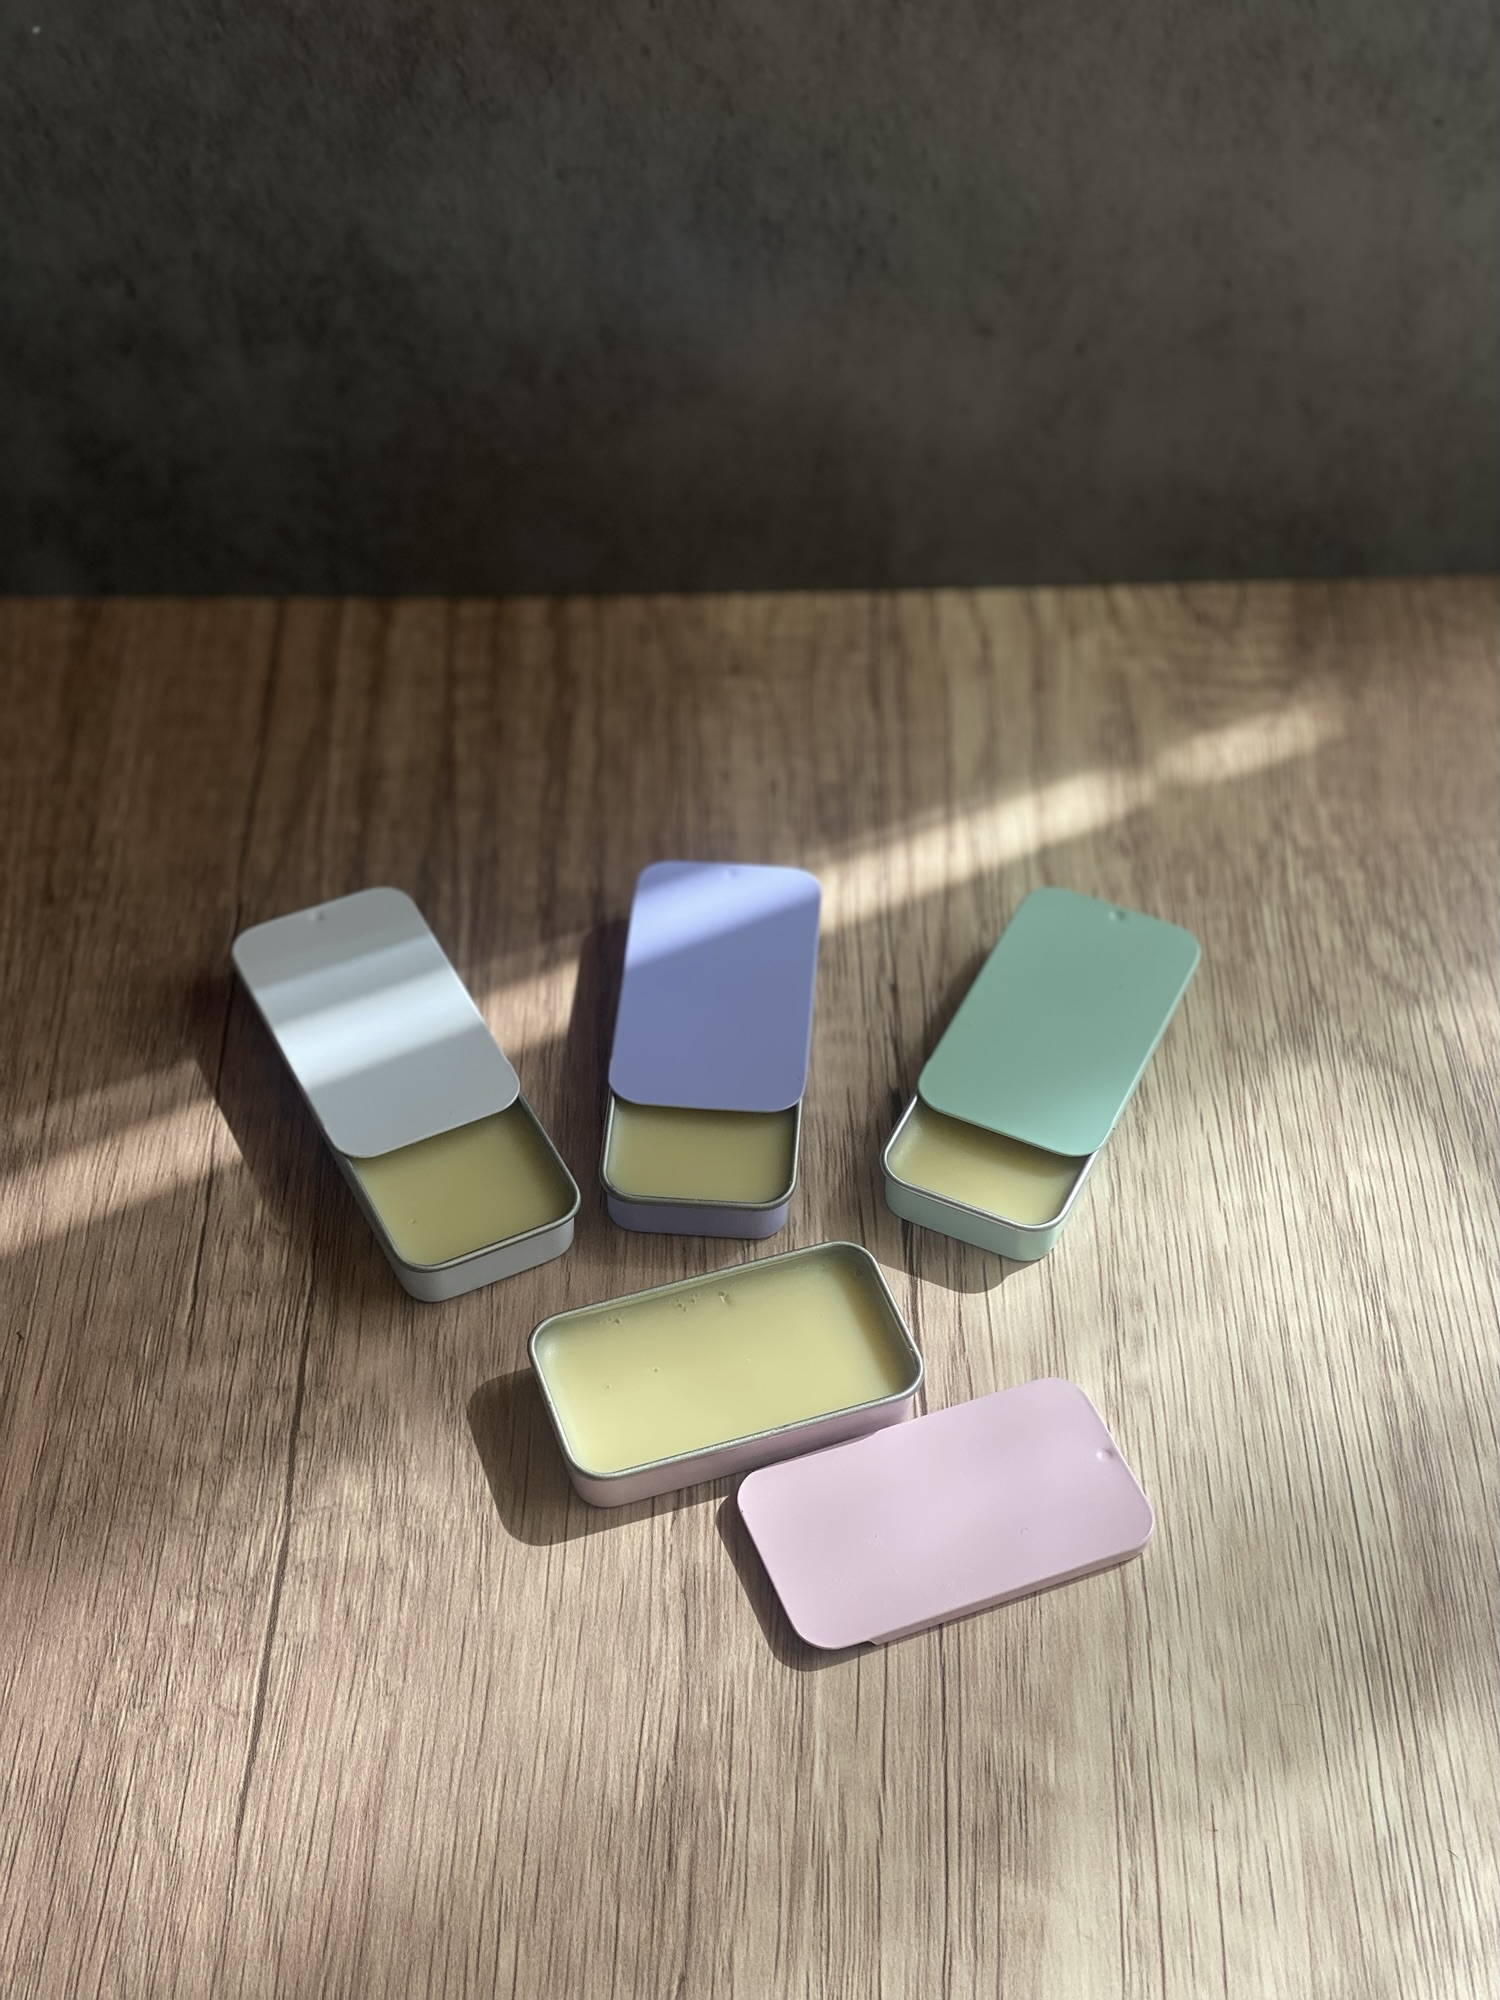
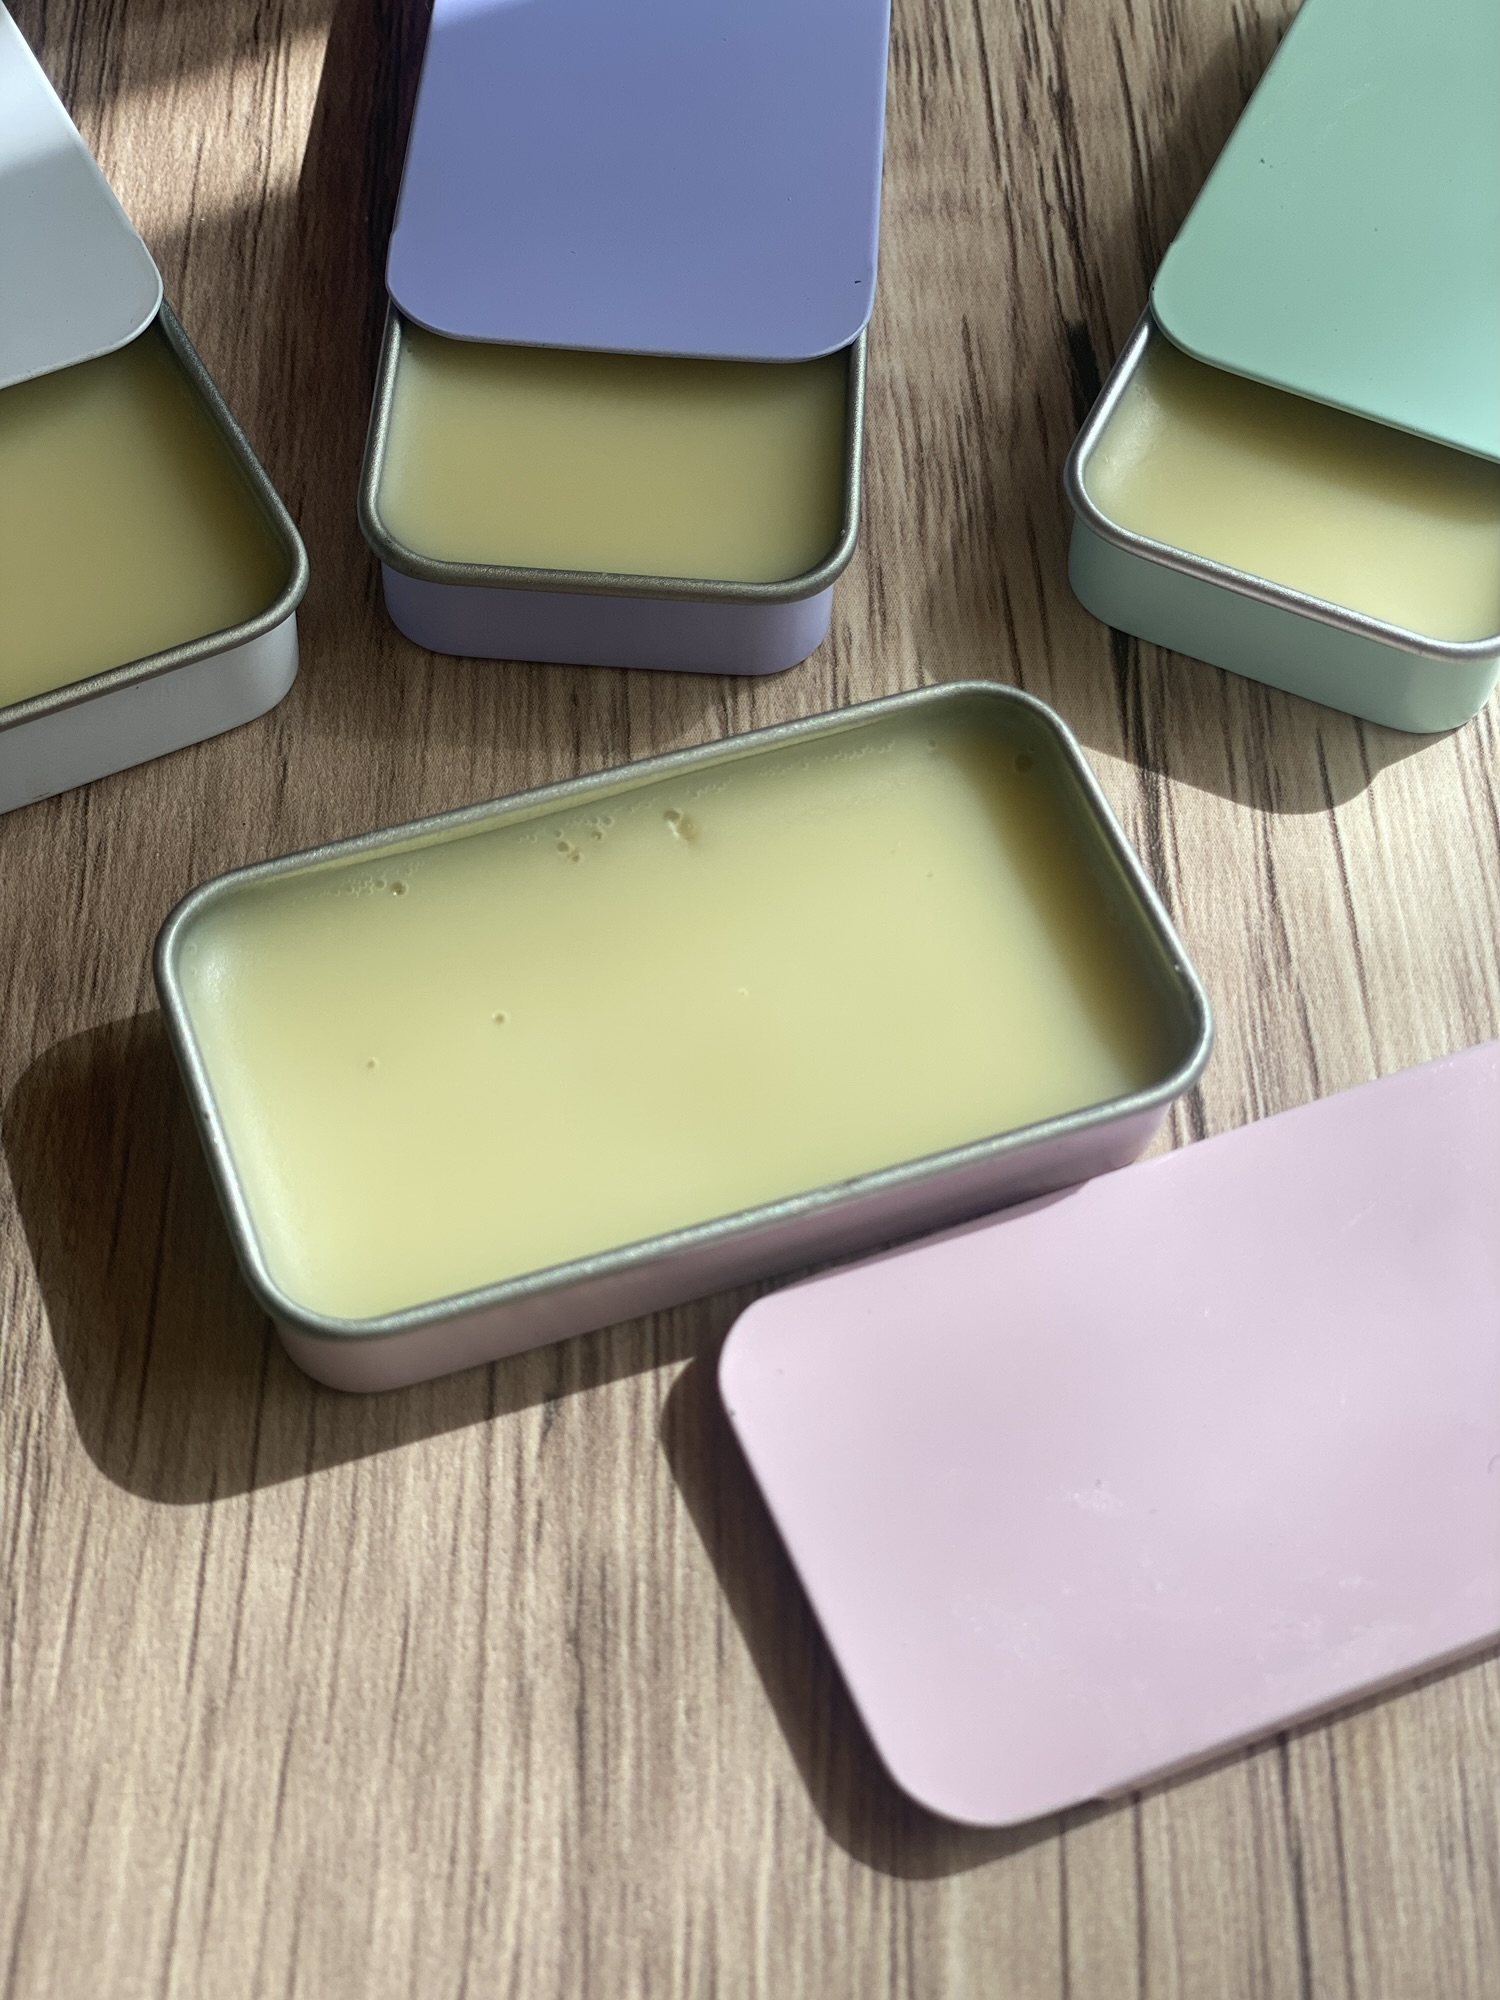
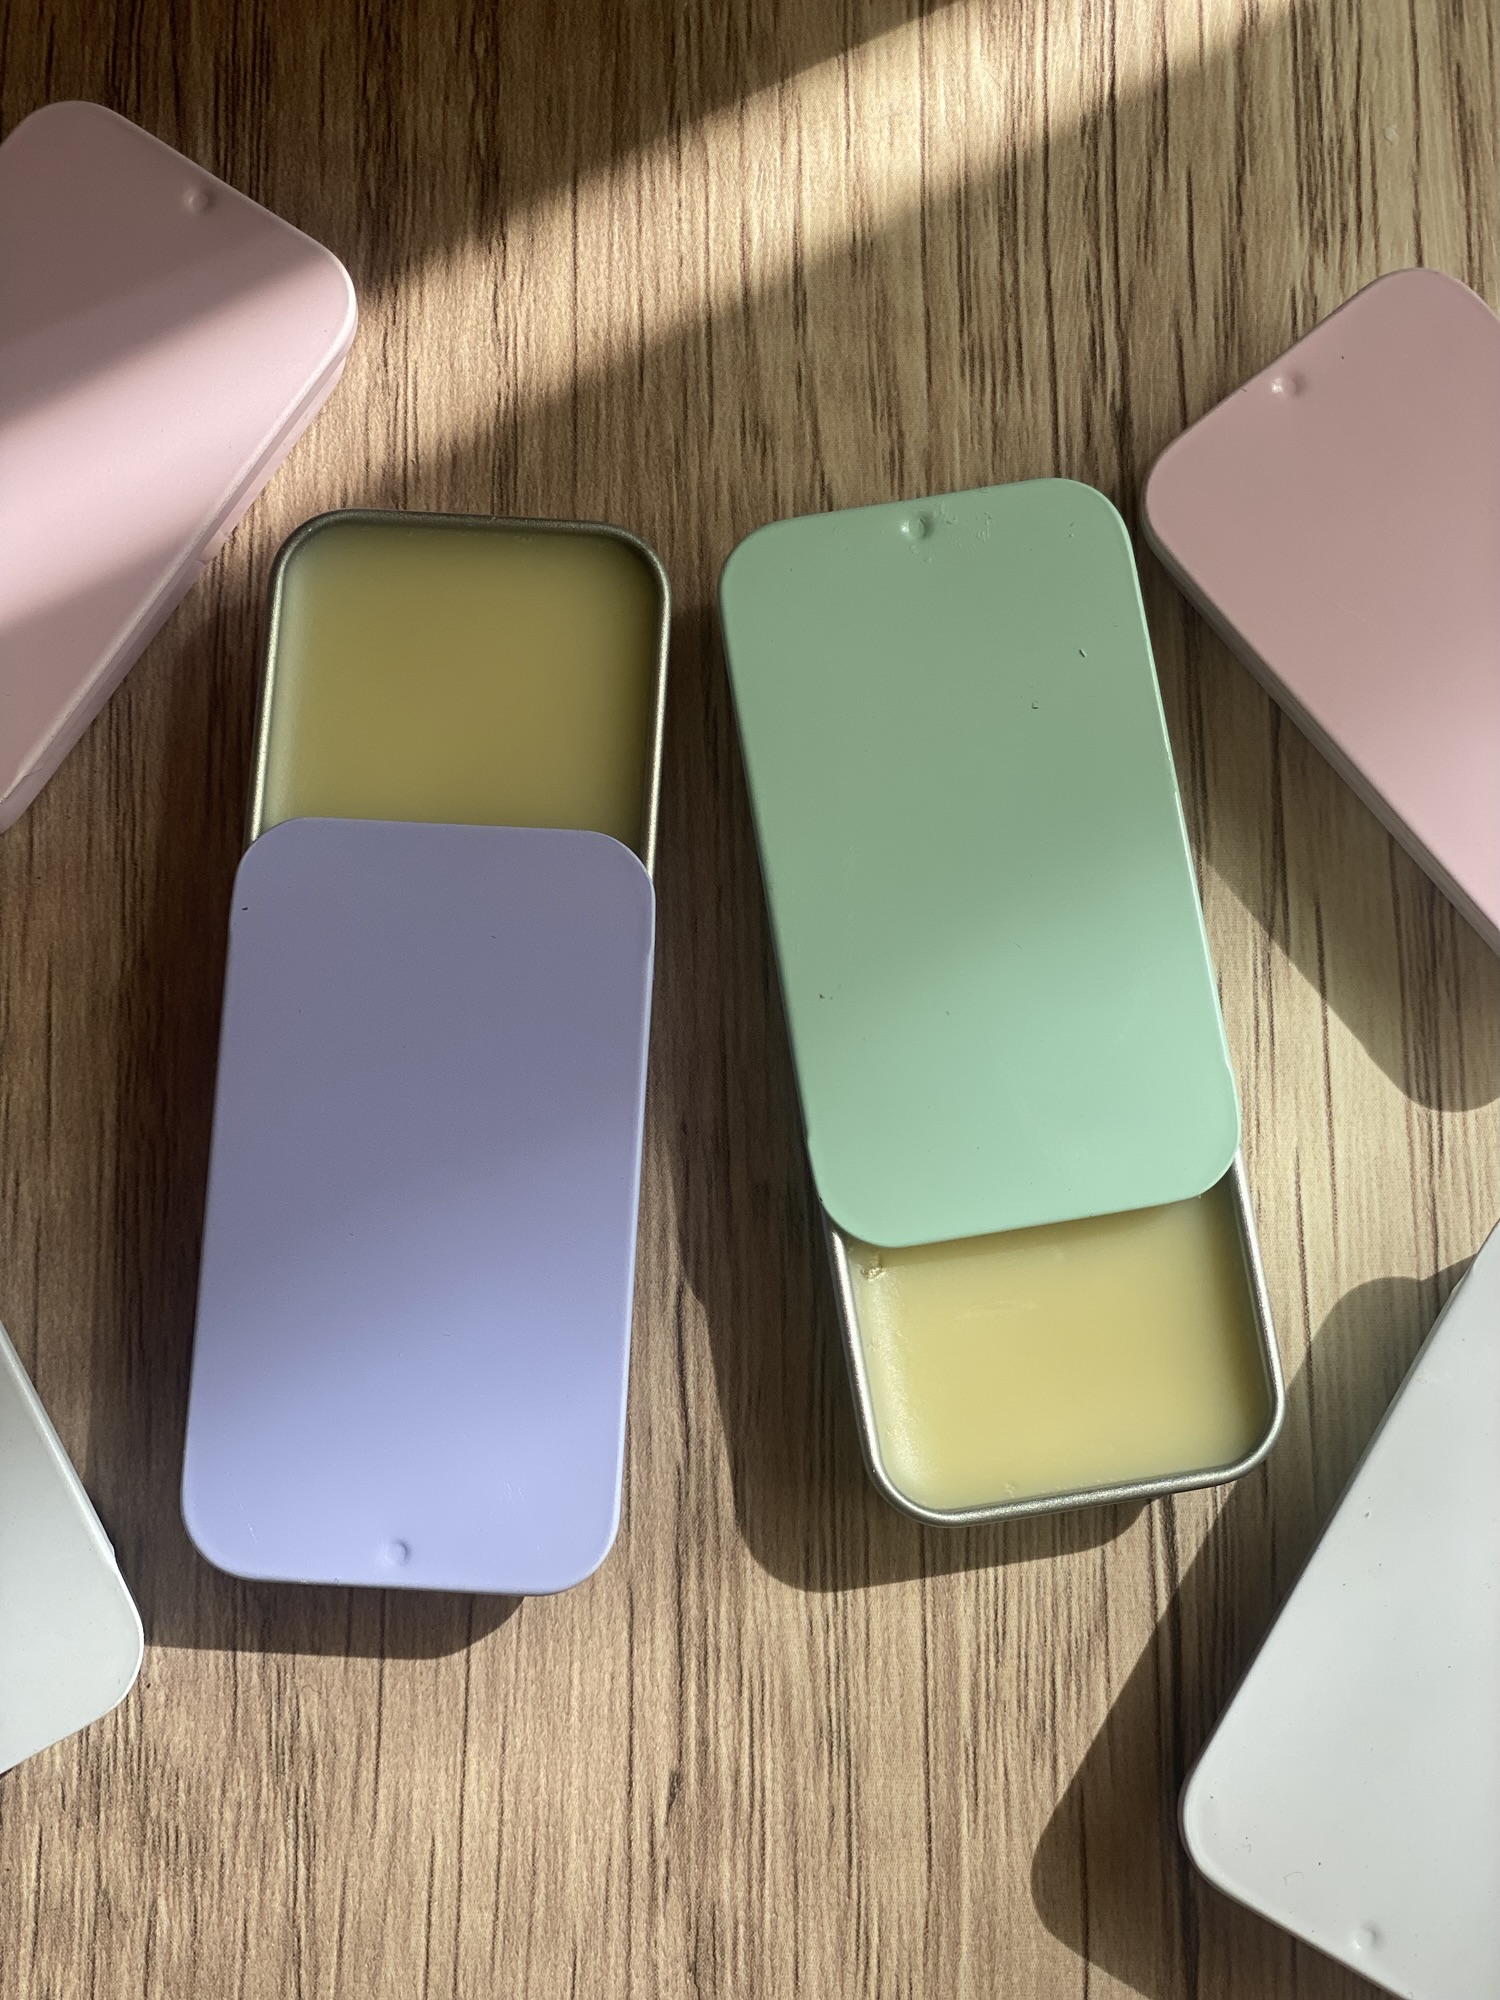
- Quickly pour (or spoon or use a dropper: I find this easier) the mixture into tins before it begins to harden.
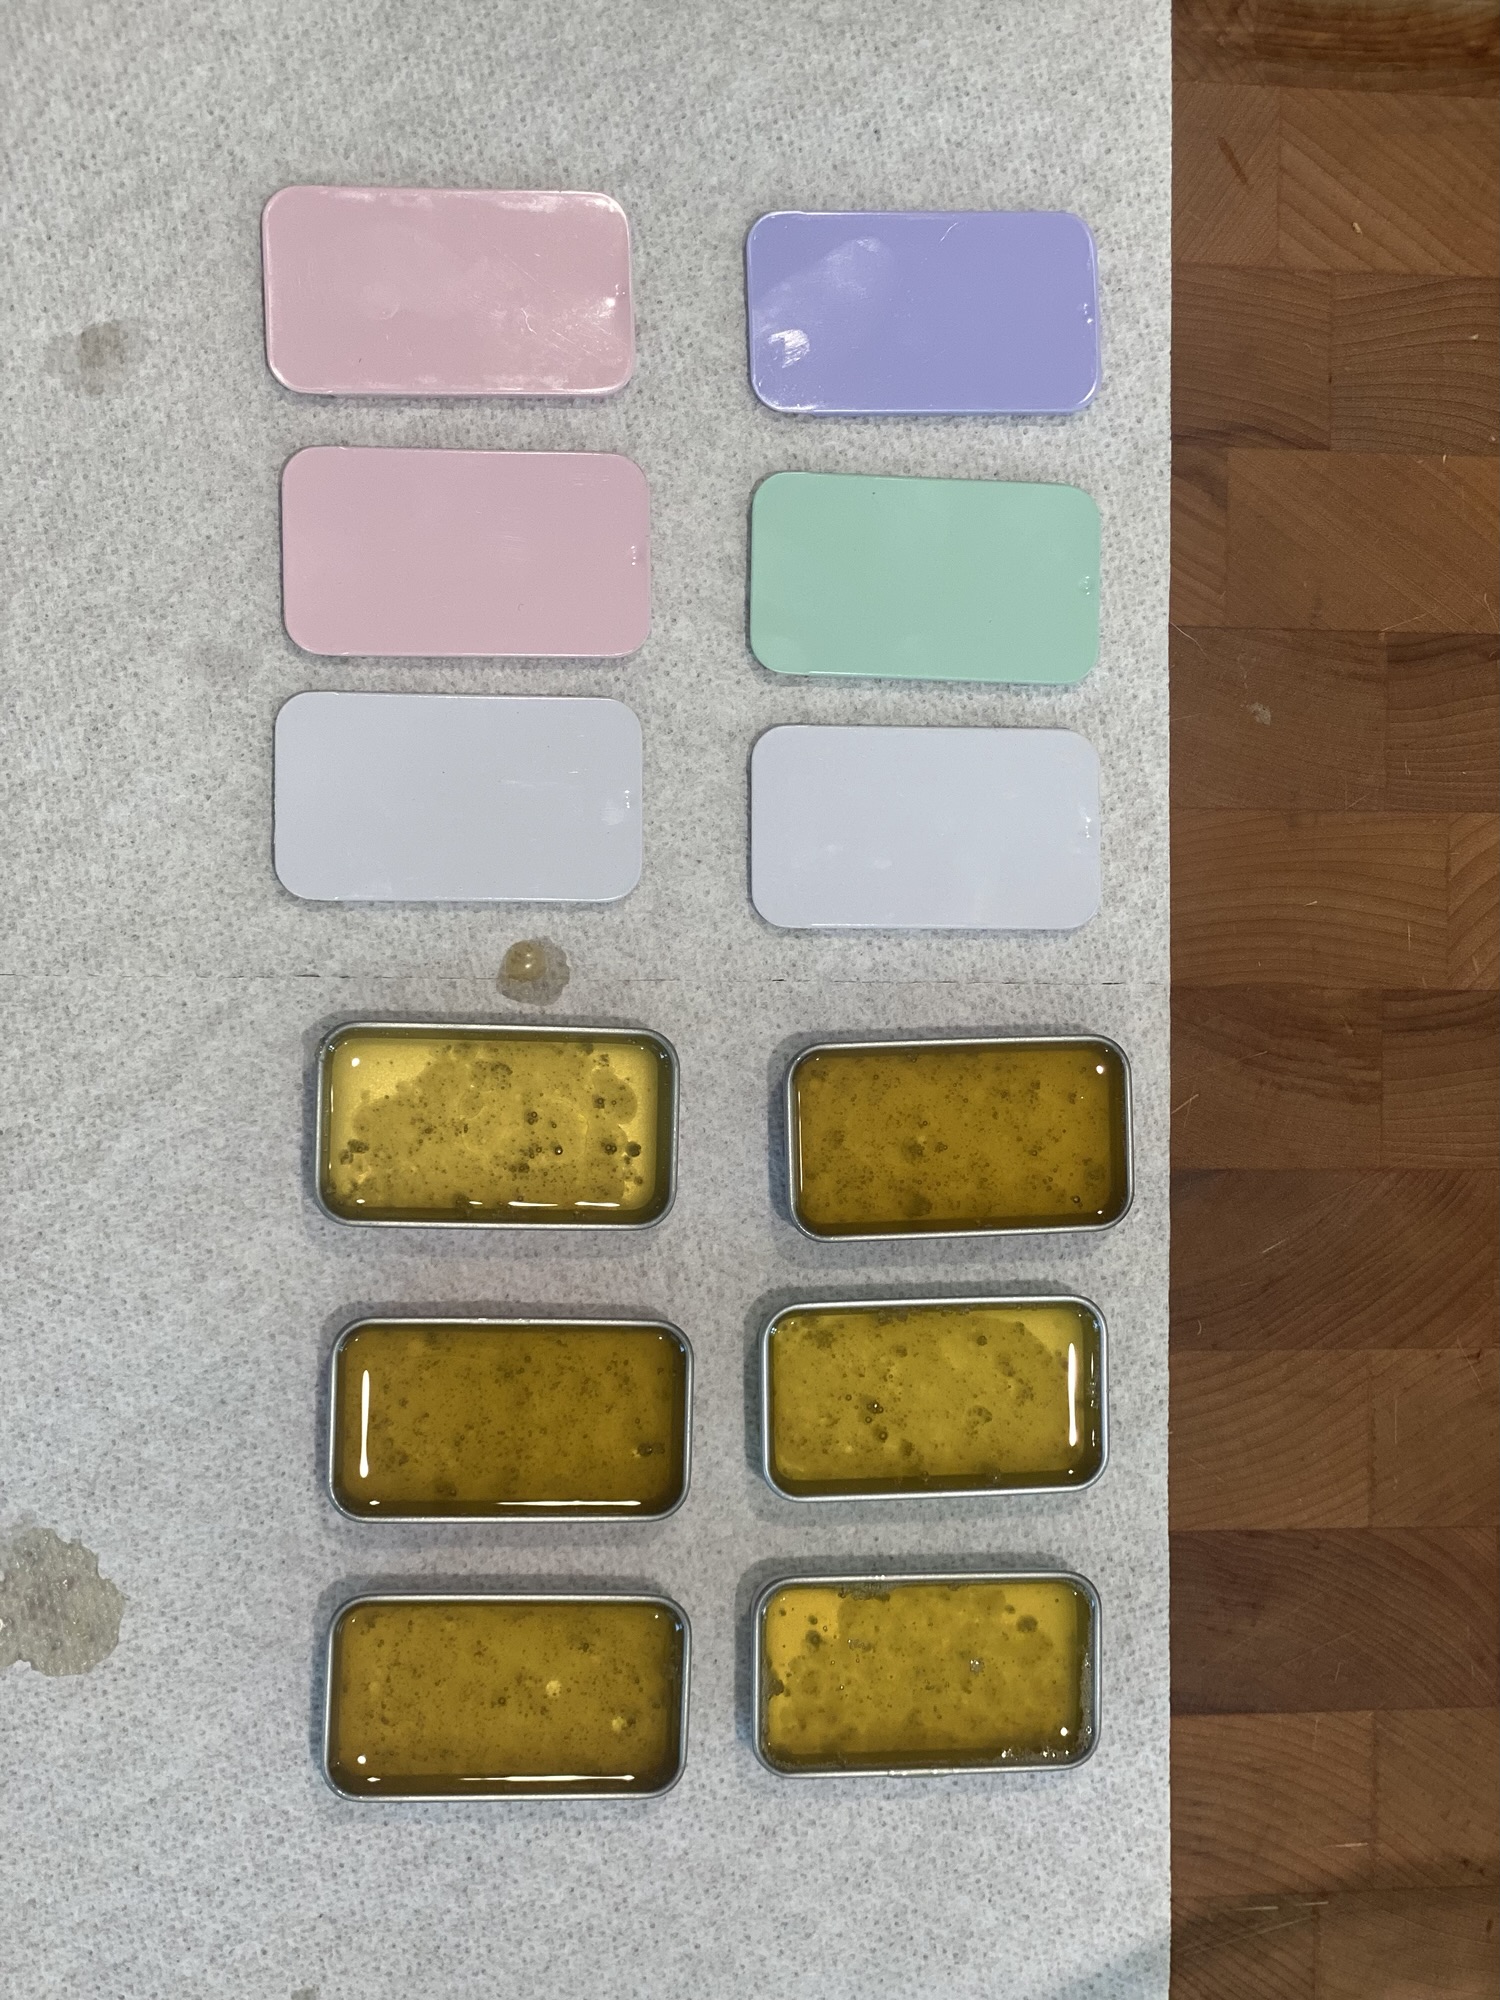
- Let cool completely before capping.
That’s it.
Four ingredients, five minutes of work, and you’ve got a clean, effective beeswax lip balm that feels luxurious.
Why Beeswax is the Secret Ingredient
The magic of this recipe is the beeswax. When I first started making my own skincare, I thought beeswax was just a thickener. But the more I learned, the more impressed I became.
Beeswax doesn’t just sit on your skin. Oh, does it do more:
- Locks in moisture without clogging pores
- Creates a natural protective barrier against wind and cold
- Contains vitamin A, which helps with skin repair and hydration
That’s why this recipe lasts on your lips longer than store-bought balms with petroleum jelly. Instead of a quick fix, it’s actually nourishing.
Customizing Your Lip Balm
Once you have the base recipe, you can customize it in so many fun ways:
- Peppermint Holiday Balm → peppermint essential oil + a drop of vanilla. Smells like candy canes.
- Lavender Nighttime Balm → lavender essential oil. I keep one by my bed to use before sleep.
- Citrus Sunshine Balm → sweet orange essential oil. Perfect pick-me-up in the morning.
- Tinted Balm → add a pinch of beetroot powder or mica for a natural tint.
My kids love the “cookie balm” I make with vanilla extract and lavender. They think it smells like sugar cookies fresh out of the oven.
I use these essential oil sets for many of my different DIY projects: Winter, Autumn, Spice, Basics.
Real-Life Tips From My Kitchen Experiments
- Ratio matters → Stick with equal parts beeswax, coconut oil, and jojoba oil. If you add too much beeswax, it gets hard as a rock. Too little, and it melts in your pocket.
- Tins vs tubes → Tins look cute and are perfect for gifts, but tubes are easier with kids. My boys will smear half a tin on their faces if I let them.
- Small batches → It’s tempting to make a ton at once, but I like smaller batches (the recipe above is for a larger batch). This way I can experiment with different scents and flavors.
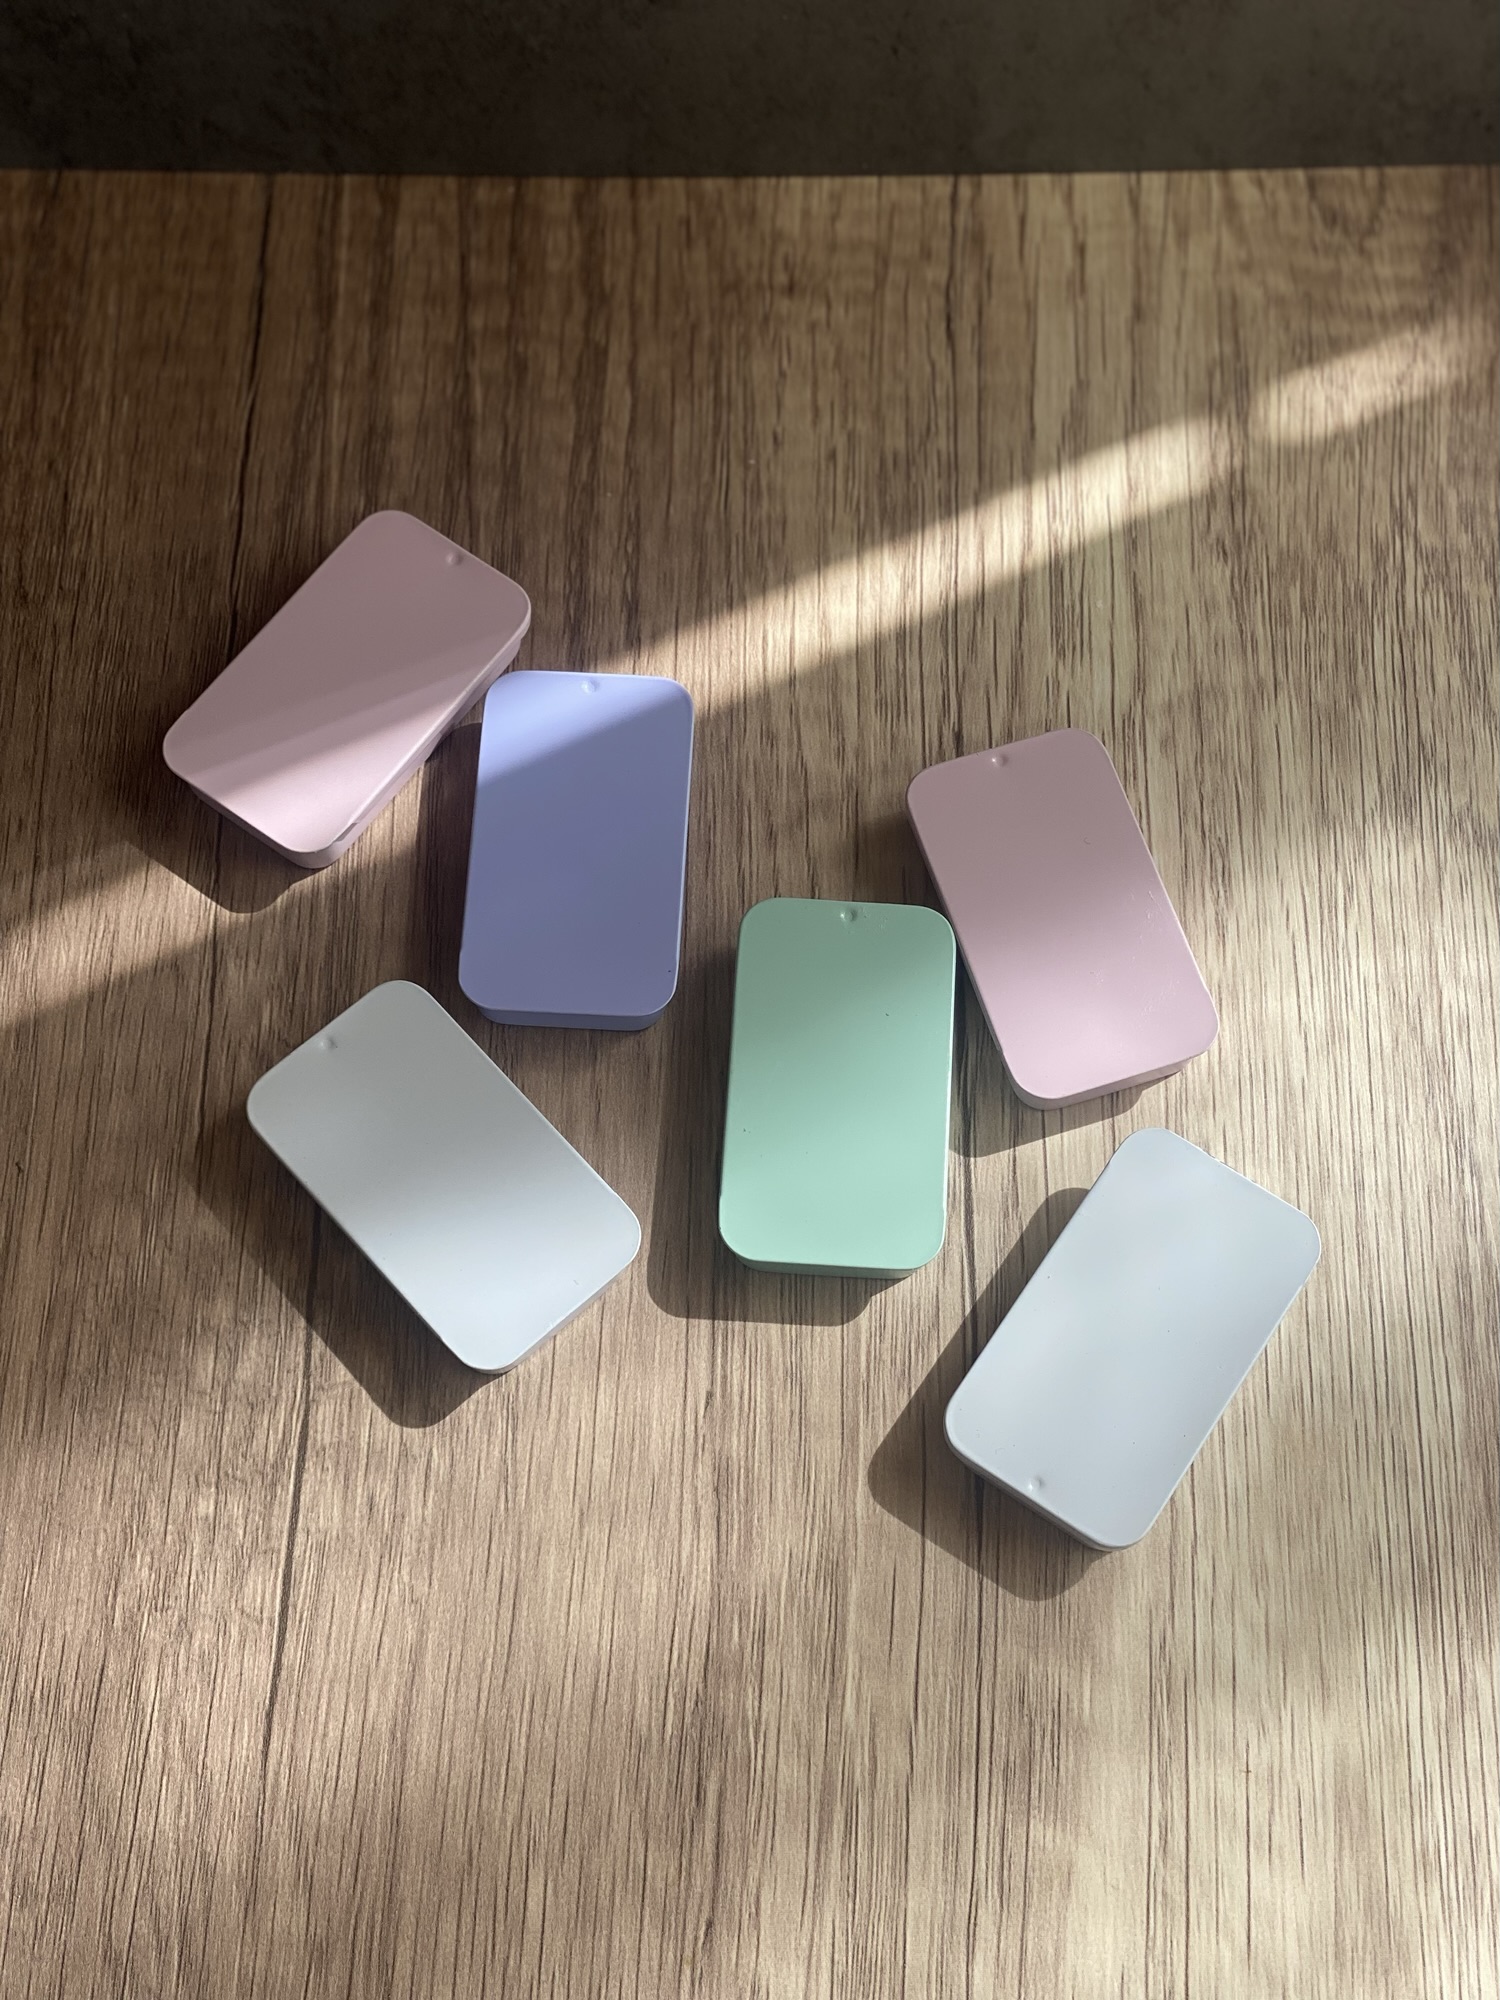
- Label it → I learned the hard way that unlabeled tins lead to confusion. Peppermint balm looks just like lavender balm until you put it on your lips.
My Family’s Lip Balm Tradition
The Christmas after I perfected my recipe, I decided to make a multiple batches for gifts. I packaged them in little bags with a sugar scrub, a tiny jar of body butter, simmer pot jars (or this fall simmer pot jar for a fall gift basket!) and homemade vanilla extract.
I’ll never forget my sister-in-law opening hers. She looked at me and said, “Wait, you MADE this?” She still asks for a refill every year. Now it’s become a tradition – my family knows they’ll get a batch of beeswax lip balm (and other homemade items!) in their stockings.
Even my boys’ teachers have gotten in on it. Last year, the boys and I made lip balms together as a “craft project.” Let’s just say more beeswax ended up on the counter than in the tins, but they were so proud handing them out. Their teachers loved them, and I loved that it was a project we could do as a family.
FAQs About Beeswax Lip Balm
Q: How long does homemade lip balm last?
A: Typically 6–12 months if stored in a cool, dry place.
Q: Can I make it vegan?
A: Yes! Swap beeswax for candelilla wax, though you’ll need a bit less since it’s harder than beeswax.
Q: Can I use shea butter or cocoa butter instead of coconut oil?
A: Absolutely. Substitute it with the same ratios.
Q: What about allergies?
A: If you’re gifting, avoid nut oils (like almond) unless you know the person doesn’t have allergies. Stick with shea butter and jojoba oil for safety.
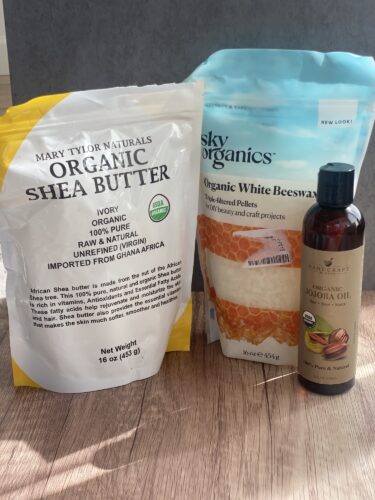
Where to Get Supplies
One of the most common questions I get is: where do you buy your supplies for your beeswax lip balm?
Here’s what I personally use (and will link for you):
- Beeswax pellets → easier to melt and measure than blocks.
- Jojoba oil → lightweight and perfect for lips.
- Raw honey → locally sourced is the best, can get it from a farmers market or grocery store.
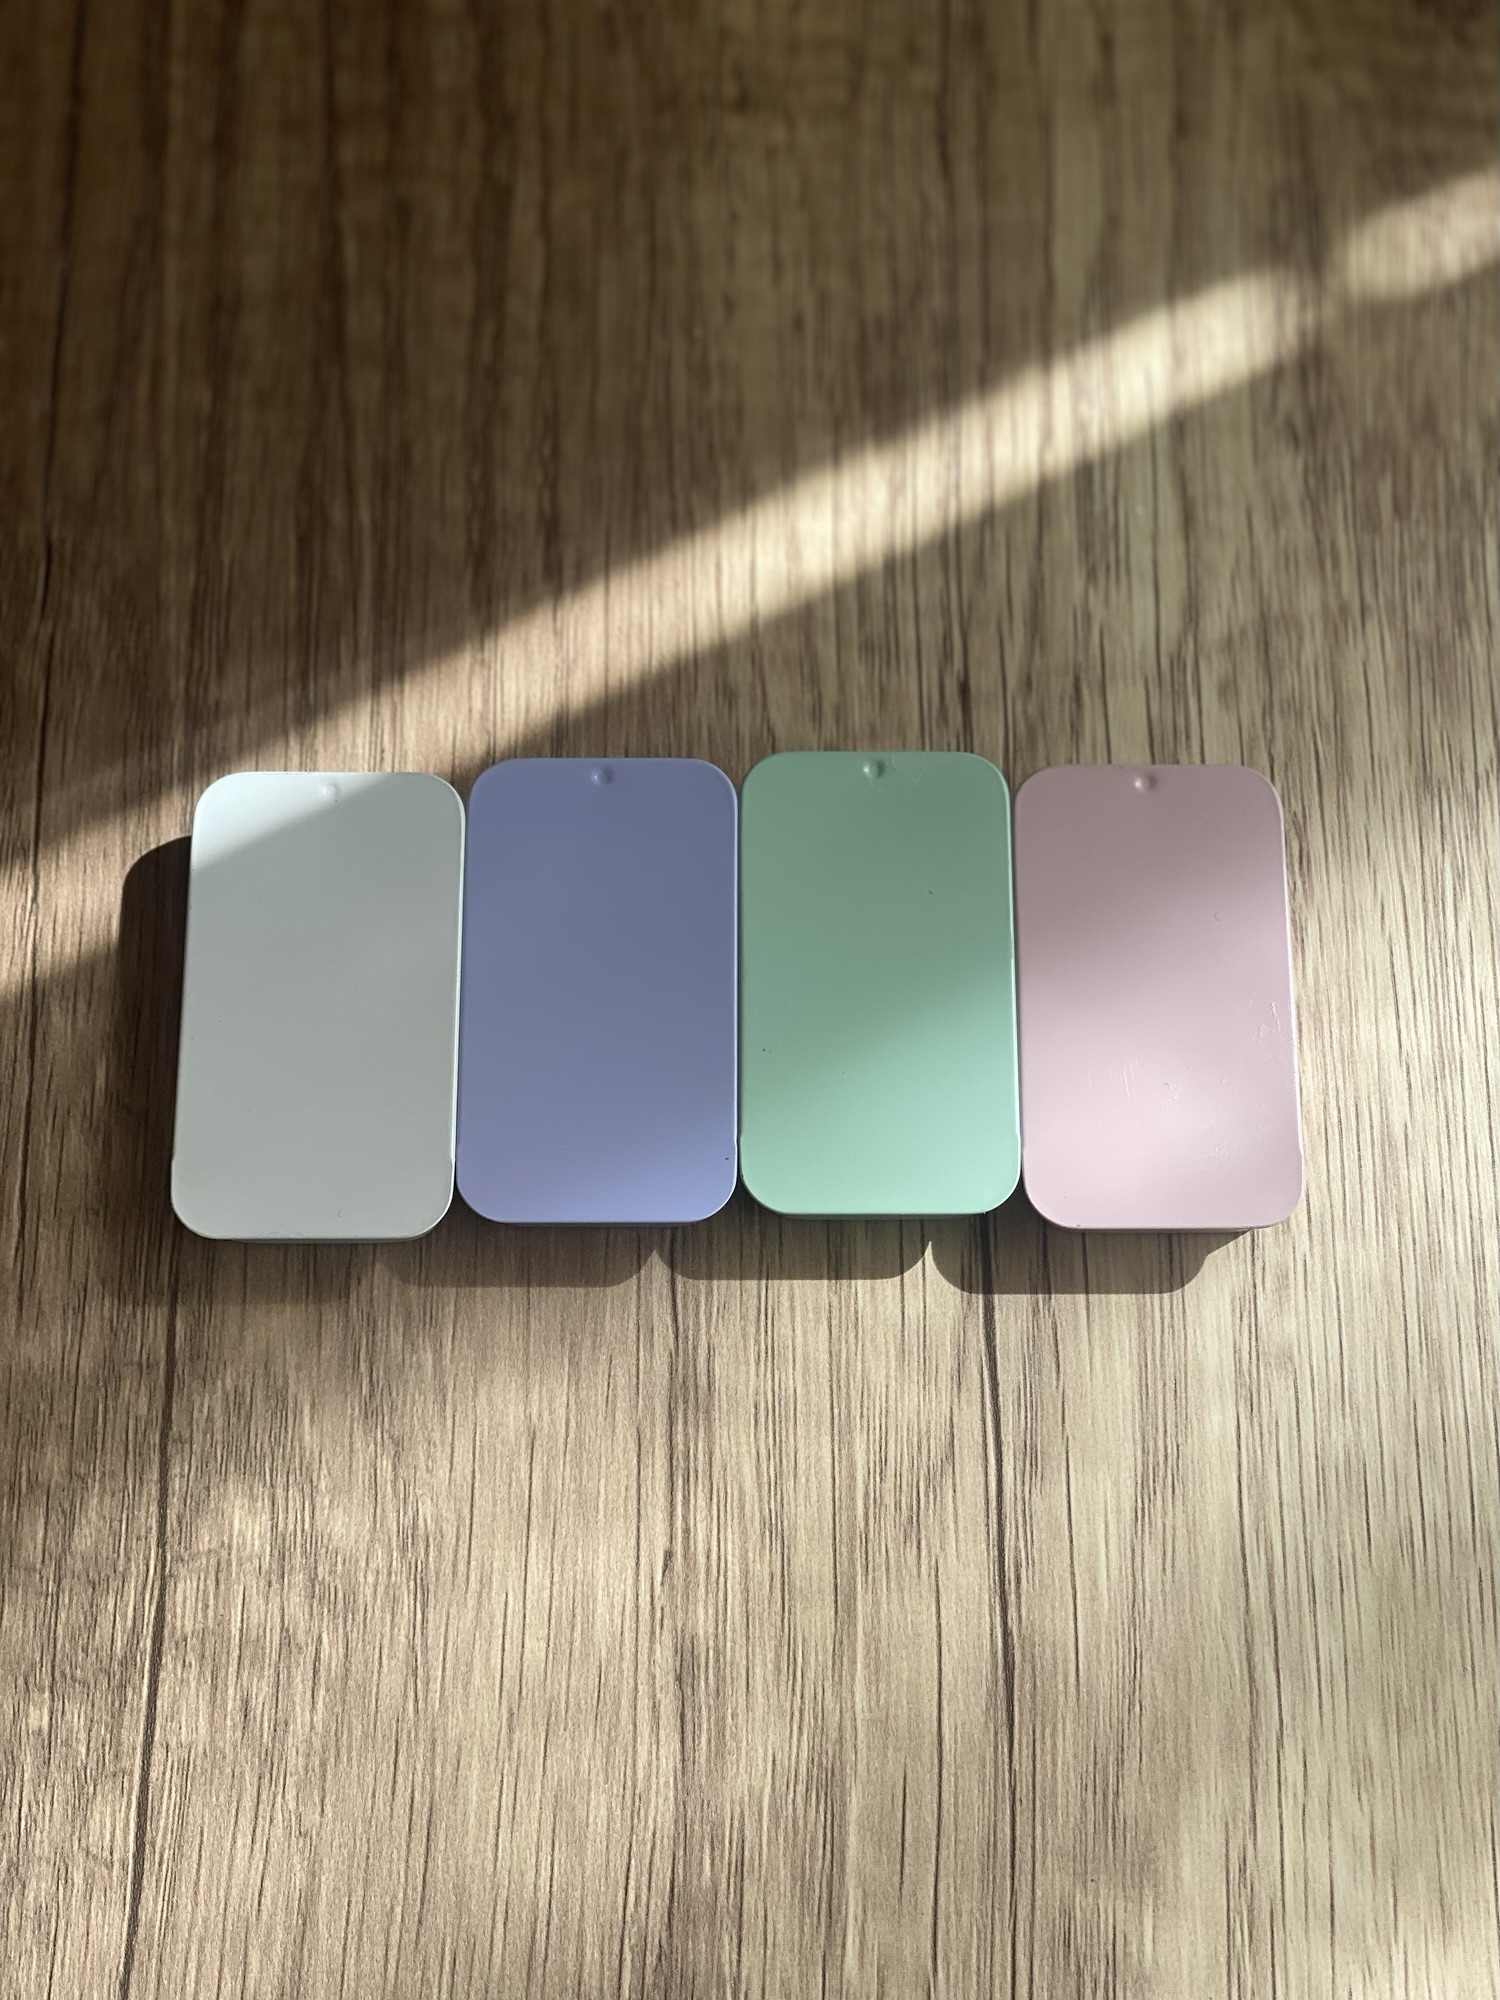
- Lip balm tins or tubes → 1oz tins are my favorite for gifts > plus these linked are adorable.
- Printable labels → for tubes, or tins: a simple way to make them look professional and gift-ready.
When you make your own, it’s fun to build a little “DIY kit” of supplies so you’re ready for the next batch.
Why I Keep Coming Back to This Beeswax Lip Balm Recipe
There are lots of fancy DIY skincare projects you can try, but this beeswax lip balm recipe is the one I return to again and again. It’s easy. It’s affordable. It’s clean. And it works.
I keep one in my car, one in my purse, and one in my coat pocket. My boys each have their own tin. And every winter, when the air gets dry and our lips start to crack, I’m grateful I took the time years ago to figure this out.
It’s more than just lip balm. For me, it’s about taking control of what goes on my body, modeling healthy habits for my kids, and creating small, thoughtful gifts that show love.
If you’ve been curious about making your own skincare but feel overwhelmed, start here. This beeswax lip balm recipe is quick, simple, and nearly foolproof. Once you make it, you’ll never go back to buying chapsticks at the checkout line.
And who knows? Maybe, like me, you’ll find that one small project leads to a whole lifestyle of DIY, clean living, and gifting with intention.
So grab some beeswax, coconut oil, and jojoba oil, and get started. Your lips (and your family) will thank you.
With love,
Bri & Cat
As an Amazon Associate I earn from qualifying purchases. This comes at no additional cost to you. We only recommend products that we believe will add value to our readers.
Leave a Reply