
This site contains affiliate links, view the disclaimer page for more information.
There’s something special about the smell of freshly baked bread filling the house. It’s warm, comforting, and nostalgic- like a hug from the past. This recipe has been passed down through generations in my family. My grandma made it by hand, kneading the dough with care, and then my mom learned from her. Growing up, I remember my mom making this bread in our kitchen, the aroma filling the house and making everything feel warm and homey. Now, I carry on the tradition, with a few modern tweaks of my own.
I’ve taken this classic recipe and given it a modern twist, making small changes while keeping the heart of it the same. Instead of sugar, I use honey for a more natural sweetness. While my grandma and mom kneaded the dough by hand, if my boys aren’t around to help me knead (as my oldest loves to help in the kitchen) then I rely on my trusty KitchenAid with a dough hook to do the heavy lifting. And the biggest difference? I mill my own flour.
If you’ve never worked with freshly milled flour before, let me tell you- it’s a game changer. It’s fresher, richer in nutrients, and gives the bread an incredible texture. For this recipe, I use soft white wheat berries, which I grind using my NutriMill Classic Grain Mill. The result? A wholesome, hearty bread that still has the same warmth and comfort as Grandma’s but with a boost of nutrition.
Whether you’re a seasoned bread maker or just getting started, this recipe is simple, forgiving, and perfect for everyday sandwiches, toast, or just slathering with butter and honey.
Table of Contents
Why Freshly Milled Flour?
Before we dive into the recipe, let’s talk about why milling your own flour is worth it.
- Maximum Nutrition – Store-bought flour is often stripped of vital nutrients during processing. Freshly milled flour retains all of its natural vitamins, minerals, and fiber.
- Better Flavor – Fresh flour has a rich, nutty flavor that makes homemade bread taste even better.
- No Preservatives – Commercial flour contains additives and preservatives to extend shelf life. Milling at home ensures your flour is as pure as possible.
- Customizable – You can choose different types of wheat berries to create unique flour blends for various recipes.
For this recipe, I prefer to use soft white wheat berries, which produce a slightly lighter texture perfect for sandwich bread. However, I have made this recipe with hard white wheat berries and it give is more depth and nuttiness.
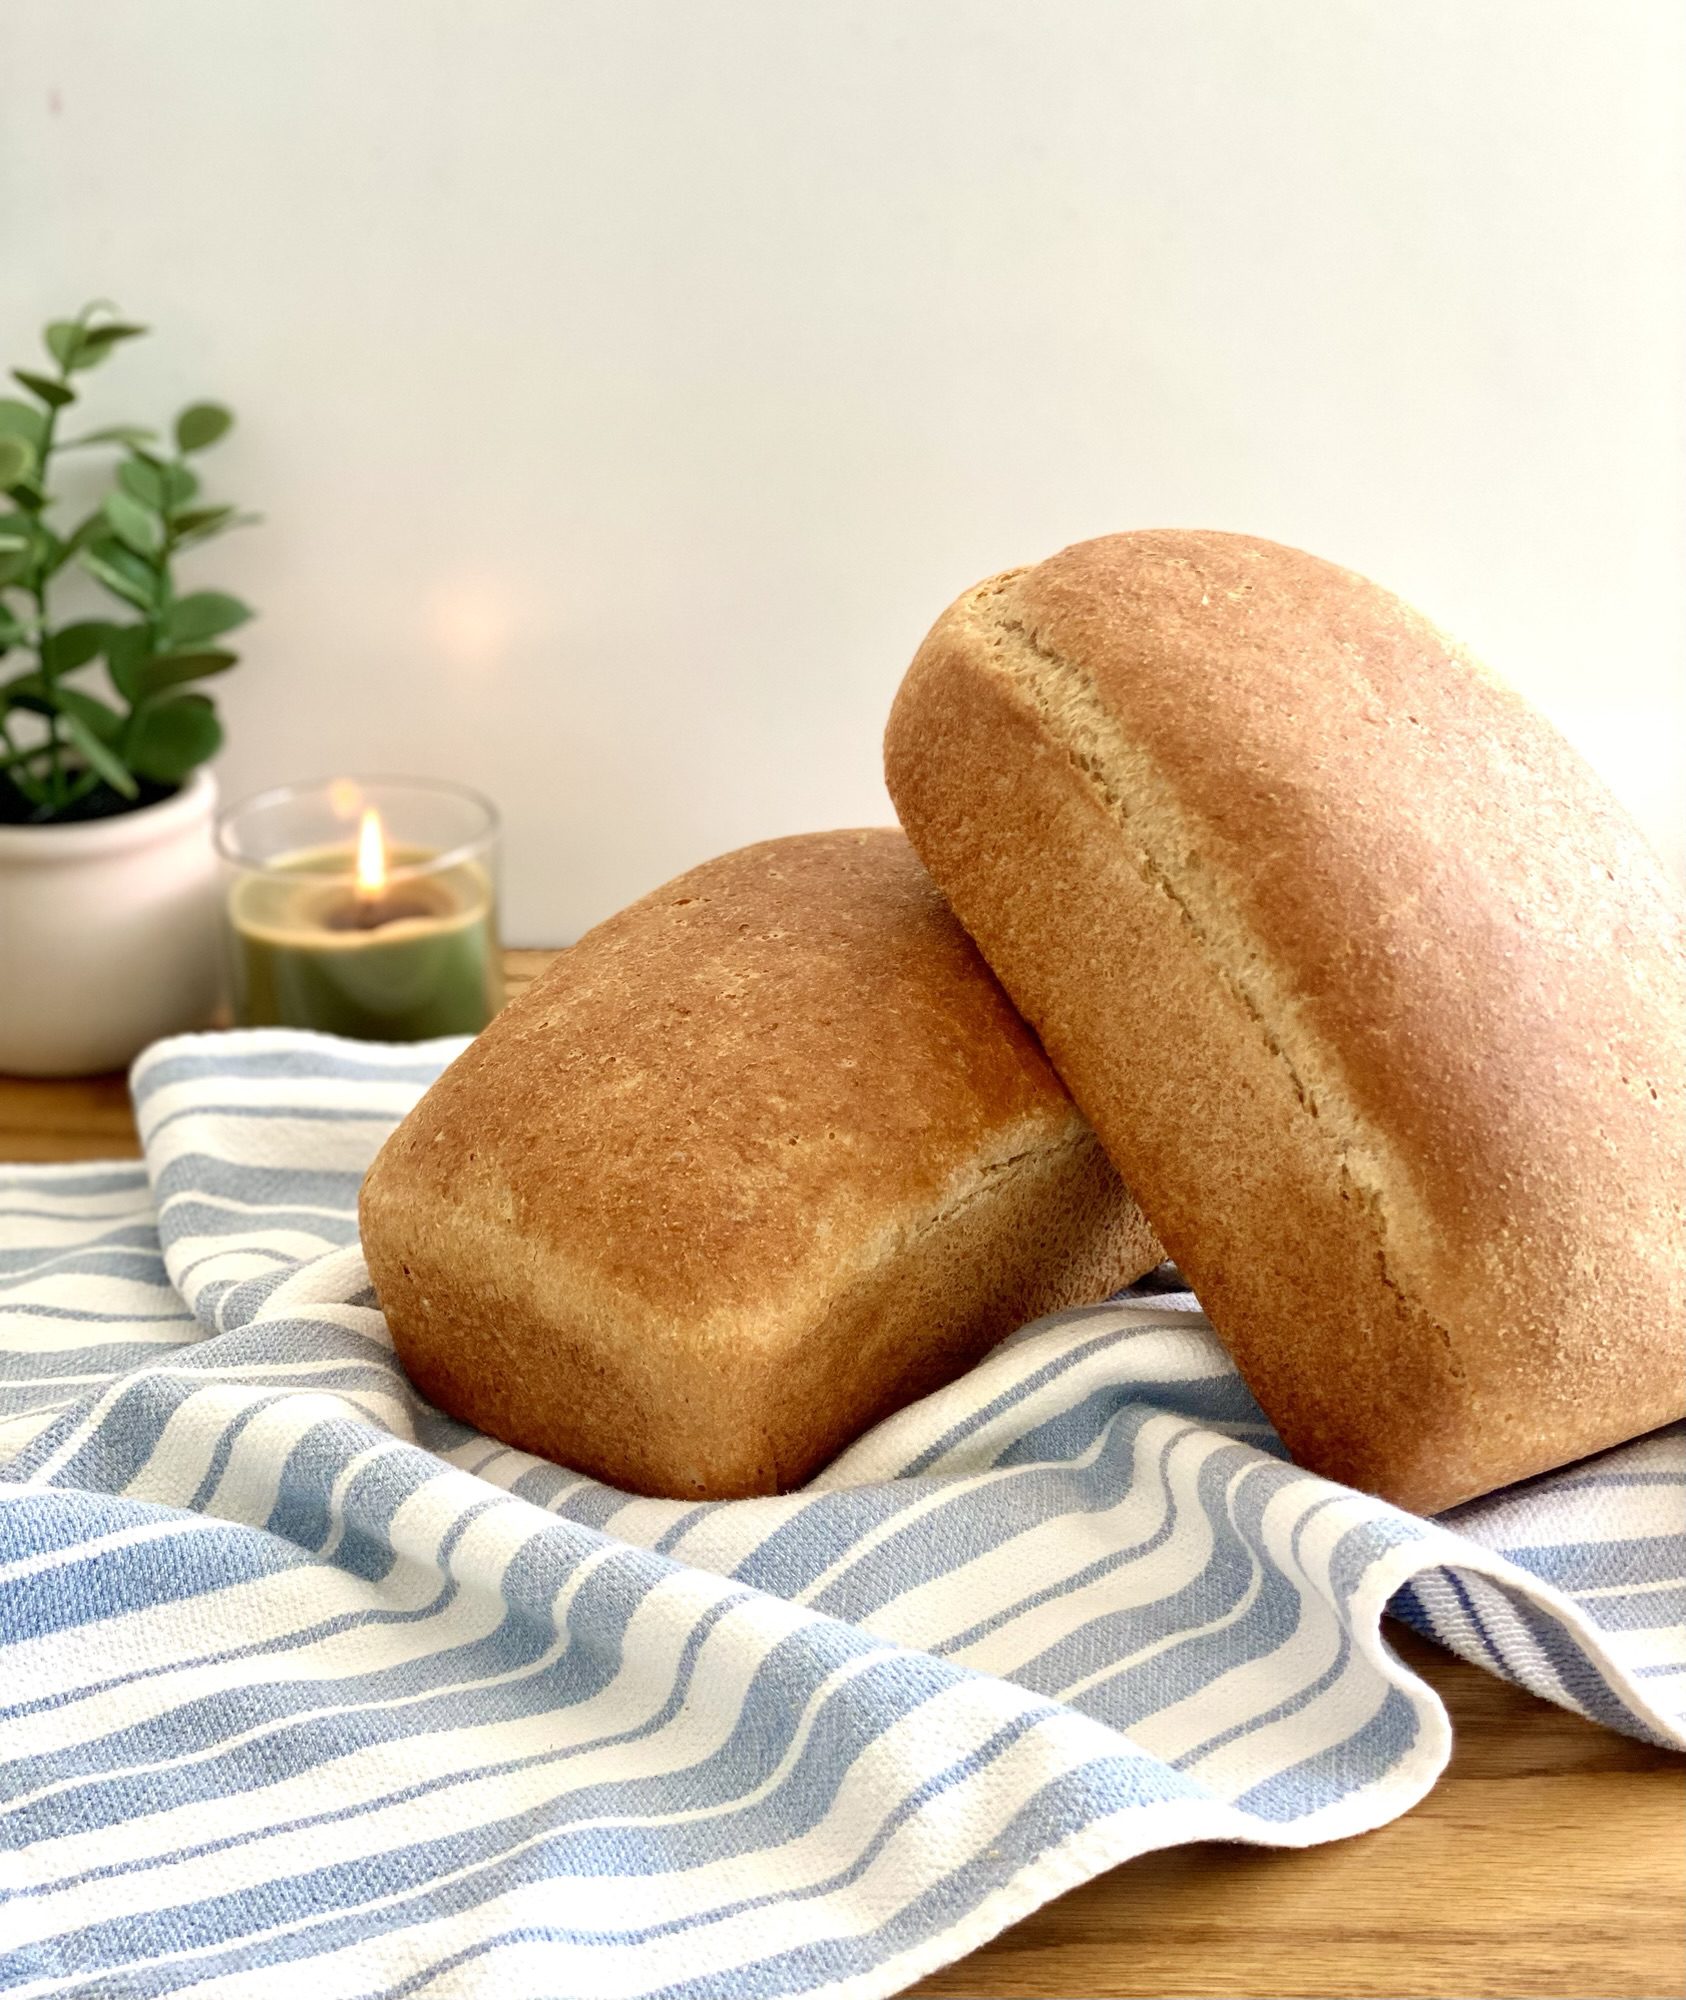
Grandma’s Classic Sandwich Bread (With a Modern Twist)
Ingredients
- 2 ½ cups warm water (about 110°F)
- ¼ cup honey (Grandma used sugar, but I love the mild sweetness of honey)
- 2 ¼ tsp (1 packet) dry active yeast
- 2 teaspoons salt
- 1/4 cup olive oil (or melted butter)
- 1 tbsp lemon juice (helps soften the whole wheat)
- 6 cups freshly milled flour (I mill a mixture of hard white and soft white wheat berries using the NutriMill Classic Grain Mill, however you can use all purpose or bread flour for this recipe)
Instructions
1. Activate the Yeast

- In a large mixing bowl, combine warm water and honey.
- Stir gently until all combined.
- Sprinkle the yeast into the bowl and let sit for 5-10 minutes, until the yeast becomes foamy and bubbly.
(This step is crucial! If your yeast doesn’t bubble, your water might be too hot or too cold, or the yeast might be expired.)
- Add in salt, olive oil, and lemon juice to the yeast mixture.
2. Add the Flour


- Add in 3 cups of flour one cup at a time, mixing well after each addition. Slowly add in the remaining flour in 1/3 cup increments.
- If using a KitchenAid with a dough hook, mix on low until the dough forms a ball and pulls away from the sides- about 5 minutes.
- If kneading by hand, mix with a wooden spoon or dough whisk, until a slightly sticky dough forms, then knead for about 10 minutes until smooth and elastic.
(Grandma kneaded hers by hand, and I think it’s a good tradition to carry on; my son loves to help me knead, even if it’s not the perfect technique, he is learning and having fun.)
3. First Rise

- Lightly coat a large bowl with oil and place the dough inside.
- Cover with a clean kitchen towel and let rise for 1 to 1.5 hours, or until doubled in size.
4. Shape the Loaves


- Once doubled, punch down the dough to release air.
- Transfer it to a floured surface and divide it into two equal portions.
- Shape each portion into a loaf and place in greased bread pans.
5. Second Rise
- Cover loaves with a towel and let rise again for about 1 hour, or until doubled.
6. Bake
- Preheat oven to 375°F.
- Bake loaves for 30-35 minutes, or until golden brown.
- Remove from pans and let cool on a wire rack before slicing.

Tips for the Perfect Loaf
- Use a thermometer – Check the temperature of your water before adding in the yeast to ensure the temperature is around 105-110°F. Too hot or too cold and the yeast could not activate.
- Let it cool completely – Cutting warm bread releases steam, making it gummy. Patience pays off!
- Store properly – Keep in an airtight container at room temperature for up to 4 days, or freeze for longer storage.
Bringing Tradition into the Modern Kitchen

There’s something special about carrying on family traditions while making them your own. My grandma’s recipe was simple, made with love, and meant to nourish her family. My mom continued that tradition, making this bread regularly when I was growing up. Now, I make it for my own family, with a few modern adjustments- swapping sugar for honey, using freshly milled flour, and letting my stand mixer do the kneading. The heart of the recipe, though, remains the same.
Turn Grandma’s Classic Sandwich Bread Into a Giftable Jar Mix
If you love sharing your love of baking-or just want a fun way to prep ahead-you can turn this recipe into a dry mix in a jar. I love this idea because it’s practical, thoughtful, and lets someone bake a warm loaf with minimal effort.
Here’s how I do it:
- Layer the dry ingredients (flour and salt) in a quart-sized mason jar.
- Attach a small packet of active dry yeast to the outside of the jar with a ribbon or twine.
- Include a little hand written recipe card or tag with instructions for adding the wet ingredients: honey, water, olive oil, and lemon juice.
When someone is ready to bake, they just proof the yeast in warm water and honey, mix in the dry ingredients, knead the dough, let it rise, and bake. It’s a simple, fail-proof way to create a loaf that feels homemade and comforting-without having to measure out ingredients.
I love gifting these jars to friends and family during the holidays. It’s such a personal little touch, and I know the recipient will feel the love with every slice of bread that comes out of the oven. Plus, it’s a way to share a bit of our family tradition in a modern, convenient way.
Check out other recipes in a jar to gift in 6 Easy, Thoughtful Homemade Christmas Gifts to Make From the Heart!

Every time I make this bread, I think of my mom kneading the dough in our kitchen, just as her mom did before her. The smell of it baking still brings me right back to childhood. Now, I get to share those moments with my own family, passing down not just a recipe, but a love for homemade food and the comfort it brings.
If you’re looking for a wholesome, homemade bread recipe that’s easy, delicious, and full of nostalgia, give this one a try. You might just start a new tradition of your own.
Have you ever tried milling your own flour? I’d love to hear about your experience! Drop a comment below and let’s talk all things homemade bread.
With love,
Bri & Cat
Related posts you might like:
Why I Mill My Own Flour at Home: A Journey to Healthier, Fresher Baking
The 5 Best Grain Millers and Tips to Start Milling Your Own Flour at Home
Affiliate Disclaimer:
As an Amazon Associate I earn from qualifying purchases. This comes at no additional cost to you. We only recommend products that we believe will add value to our readers.
Leave a Reply