This site contains affiliate links, view the disclaimer page for more information.
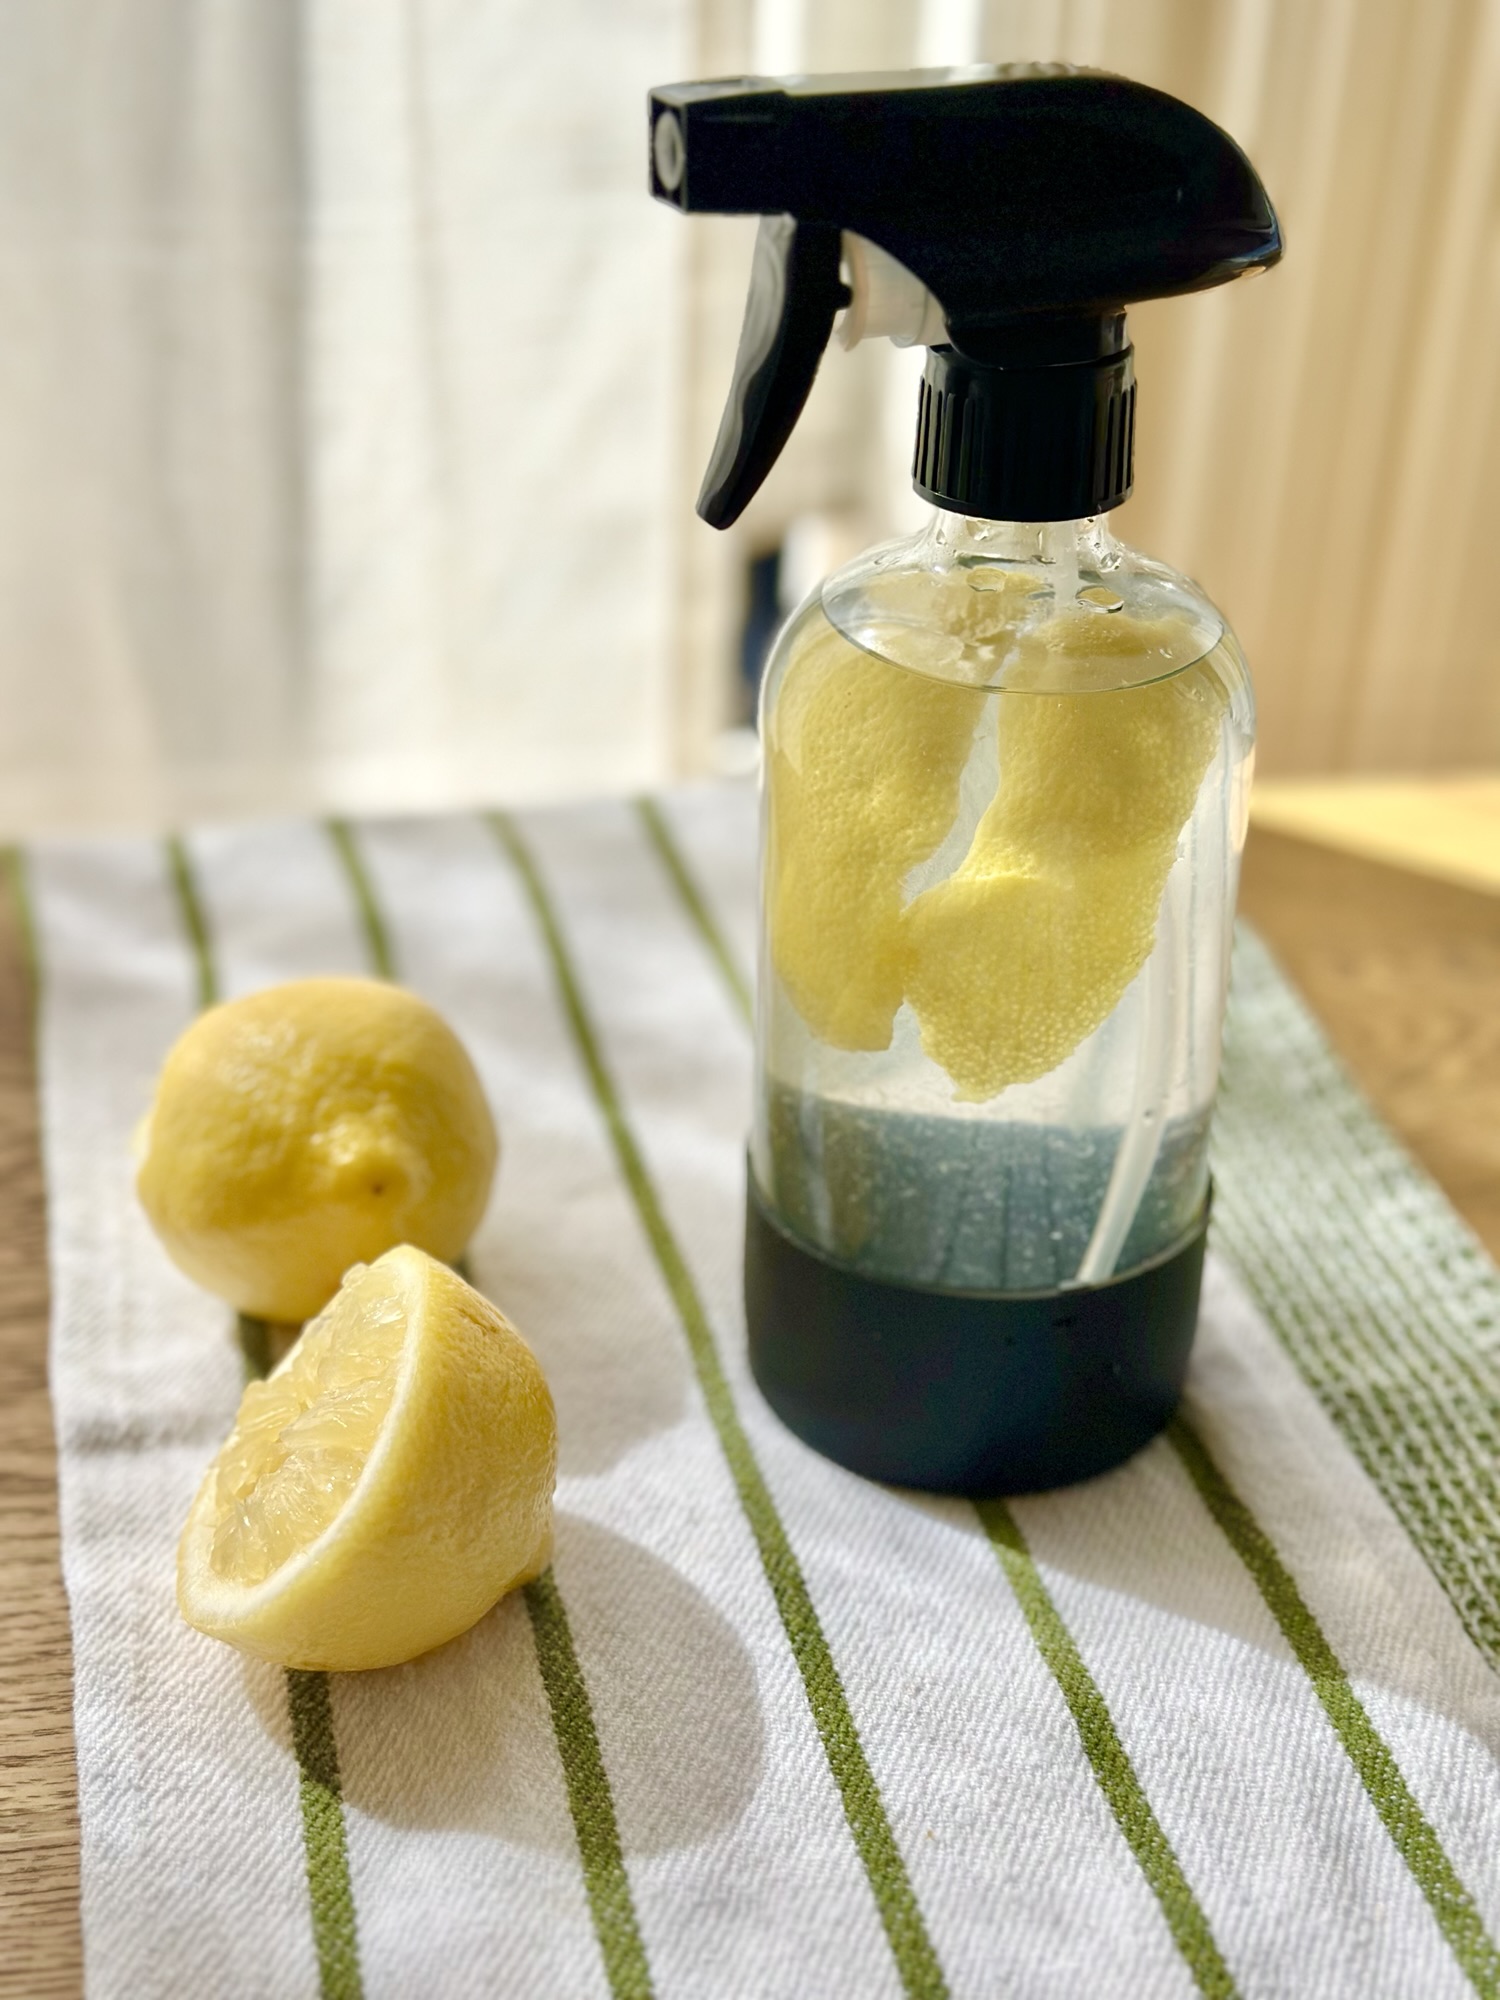
My DIY natural fruit wash spray sits in a glass bottle on the edge of my kitchen sink, and honestly, I can’t believe it took me this long to make it. If you’ve ever stood at your kitchen sink rinsing a bunch of grapes under the tap and thought, is this actually doing anything?, you’re not alone. I used to do the same thing. A quick rinse, maybe a rub with my thumb, and then straight into the fruit bowl. Done, right? Not quite.
It wasn’t until I started reading more about pesticide residues on conventional produce that I realized plain water wasn’t cutting it. And the more I looked into commercial fruit washes, the more I felt like I was trading one chemical problem for another, paying a premium price for a product I didn’t fully understand or trust. So I made my own. And it changed everything.
This post is going to walk you through exactly how to make a DIY natural fruit wash spray using just three simple ingredients you probably already have at home. I’ll share why it works, how to use it, and a few tips I’ve picked up from using it consistently. Whether you’re a health-conscious parent, someone who shops at the farmers’ market every weekend, or just a person who wants to feel better about what goes into their body, this one is for you.

Table of Contents
Why a DIY Fruit Wash Actually Matters
Let me be straight with you: I’m not here to panic anyone. But I do think it’s worth understanding what we’re washing off in the first place. According to the Environmental Working Group’s annual Dirty Dozen list, certain fruits and vegetables consistently test positive for multiple pesticide residues even after being washed. Strawberries, spinach, grapes, apples, bell peppers, these are some of the most commonly consumed produce items, and they also tend to carry the highest pesticide loads.
Here’s what plain water does: it rinses off surface dirt and some water-soluble residues. What it doesn’t do as effectively is break down waxy coatings that are often applied to produce (yes, that’s a real thing, both natural and synthetic waxes are used to preserve shelf life), or lift oil-based pesticide residues that cling to the skin. That’s where an acidic solution like vinegar comes in.

The science behind why this works:
- White distilled vinegar is acetic acid, which disrupts the cell walls of certain bacteria and helps dissolve pesticide residues
- Lemon juice adds citric acid, which has natural antibacterial and antifungal properties
- Together, they create a mildly acidic rinse that’s gentle on food but tough on residue
I want to be clear: this isn’t a miracle cure. No wash, DIY or commercial, will eliminate 100% of all pesticide residues. But research suggests that acidic washes do a meaningfully better job than water alone, and that matters. Every little bit counts when you’re eating this food every day.
Beyond the health angle, there’s the eco-friendly side of things. Commercial fruit washes typically come in plastic bottles with ingredient lists full of things I can’t pronounce. Making my own fruit wash means I control every single ingredient, reduce plastic waste, and spend a fraction of the cost. My current batch cost me less than fifty cents to make. The equivalent store-bought spray? Often $6–10 per bottle. That math alone was enough to convince me.
What You’ll Need: Ingredients
I love how simple it is. You do not need to order anything special. You probably already have everything in your kitchen.

Core Ingredients:
- 1 cup distilled white vinegar: the backbone of the recipe; go for the plain
- 1 cup water: filtered or tap is fine; distilled is great if you have it
- Juice of ½ a lemon: fresh is best (more on why below)
Optional but wonderful:
- A few lemon peels: adds a lovely citrusy scent and a little extra antibacterial punch
One tip I always share: use organic lemons when you can. Since you’re using the peel and the juice, it makes sense to avoid any pesticide residue on the lemon itself. I buy a small bag of organic lemons every few weeks specifically for this purpose, they also go into my water, my tea, and my cleaning sprays, so nothing goes to waste.
The simplicity of this list is part of what makes the recipe so trustworthy. When I first started making it, I kept expecting to need more. More ingredients, more steps, more time. But that’s the beauty of it, the chemistry does the work for you.
What You’ll Need: Supplies
This is equally minimal. You likely already have most of this:
- A glass spray bottle: I strongly recommend an amber or opaque bottle or keeping it in a dark place like under the sink. Light can degrade the acidity of the mixture faster, and glass is non-reactive, unlike some plastics that can leach into an acidic solution. I found a beautiful set of amber glass spray bottles online for about $12 and they’ve lasted me years.
- A kitchen funnel: optional, but trust me, it saves a lot of mess when pouring into a small bottle opening
- A measuring cup: for accuracy
- A lemon juicer: a simple handheld one works perfectly
That’s genuinely it. No special equipment. No fancy lab setup. Just a few items that probably live in your kitchen already.

Step-by-Step Instructions
This takes about five minutes from start to finish.
Step 1: Measure your vinegar. Pour 1 cup of distilled white vinegar into your measuring cup. If the smell hits you, it will, just know that it dissipates almost entirely once you spray it on your produce and rinse. The finished fruit doesn’t taste or smell like vinegar at all, I promise.
Step 2: Measure your water. Add 1 cup of water to the same measuring cup, or measure separately. Either way, you’re aiming for a 1:1 ratio of vinegar to water.
Step 3: Juice your lemon. Cut your lemon in half and juice one half using your juicer. You want about 1–2 tablespoons of fresh juice. Strain out the seeds if your juicer doesn’t catch them.
Why fresh lemon? Bottled lemon juice from concentrate works in a pinch, but it’s often pasteurized and preserved, which reduces the natural antibacterial compounds found in fresh citrus. Fresh juice is always my first choice.
Step 4 (optional): Add lemon peels. Drop two or three small pieces of lemon peel into the bottle. This is purely a sensory upgrade, the peels release a little citrus oil over time that keeps the spray smelling fresh and bright. I never skip this step anymore.

Step 5: Combine everything in your bottle. Using your funnel, carefully pour the vinegar, water, and lemon juice into the spray bottle. Secure the lid tightly.
Step 6: Shake gently. Give it a light swirl to combine everything. You’re ready to go.
Step 7: Use it. Spray directly onto your fruits and vegetables, generously, then let it sit for about 30 seconds to a minute. For items with a lot of crevices (like grapes or strawberries), I sometimes give them a gentle rub. Then rinse thoroughly under cool water. That’s the whole process. Five minutes, three ingredients, done.

Tips for Best Results
Over the months I’ve been using this spray, I’ve picked up a few things that make a big difference:
Shake before each use. The mixture can separate slightly as it sits. A quick shake before you grab the bottle ensures it’s properly combined every time.
Make a fresh batch every 2 weeks or so. The acidity and antibacterial properties of lemon juice are most potent when fresh. After about two weeks, the lemon juice starts to degrade and lose effectiveness. I usually make a new batch on my weekly grocery day so it stays fresh.
Be gentle with delicate fruits. I learned this the hard way with strawberries. Their surface is incredibly porous and thin-skinned. While the spray is totally safe for them, I now use a lighter mist and rinse them quickly rather than letting the mixture sit. Berries in general respond better to a brief spray and immediate rinse versus soaking.

Produce that loves this wash:
- Apples and pears (spray and rub, then rinse)
- Grapes (spray the whole bunch, let sit, rinse under running water)
- Cucumbers (spray and scrub lightly with a brush)
- Bell peppers (spray and wipe with your hands)
- Leafy greens like romaine or kale (spray over the leaves, toss gently, rinse)
- Stone fruits like peaches and nectarines (spray and rub, rinse well)
For produce with thick, inedible rinds, like avocados, melons, or citrus , you might wonder if it matters. It does. When you cut into an avocado, your knife can drag bacteria from the exterior skin through the flesh. Washing the outside of melons and avocados is a food safety habit worth keeping, and this spray is perfect for it.
Additional Uses That Surprised Me
Once I made this spray, I started finding other uses for it around the kitchen. A few that I swear by now:
Cutting board deodorizer and light disinfectant. After chopping onions or garlic, a quick spray and wipe leaves my wooden and plastic boards smelling clean and fresh. The vinegar does the real work here.
Counter freshener. I keep a second bottle (same formula) under my kitchen sink specifically for counters. It’s not a replacement for a proper disinfectant when needed, but for everyday maintenance, it’s excellent.
Refrigerator drawer refresh. Every couple of weeks, I pull out my produce drawers, spray them down, wipe clean, and let them dry. The vinegar naturally neutralizes odors without leaving any chemical residue behind.
Great for households with kids or people with sensitive skin. This is one of the main reasons I started making it in the first place, I wanted to know that whatever touched my family’s food was safe. There are no synthetic fragrances, no preservatives, nothing that would irritate skin or airways. If a kid accidentally gets spray on their hands while helping in the kitchen, there’s zero concern. That peace of mind is priceless.

FAQ: What I Get Asked Most
Q: Can I use lemon juice from concentrate instead of fresh?
A: You can, but I don’t recommend it as your first choice. Concentrated lemon juice has often been processed and preserved in ways that reduce its natural citric acid potency and strip out some of the volatile compounds that make fresh lemon juice an effective antibacterial agent. Fresh is always better here. If concentrate is all you have, use it, the vinegar is doing most of the heavy lifting anyway.
Q: Can I double or triple the recipe?
A: Absolutely. The formula is infinitely scalable as long as you maintain the 1:1 ratio of vinegar to water and adjust the lemon juice proportionally. For a double batch, use 2 cups vinegar, 2 cups water, and the juice of a full lemon. Just make sure you have a large enough bottle to store it all.
Q: Is this safe for all fruits and vegetables?
A: For the vast majority, yes. The mixture is mildly acidic but nothing your produce can’t handle with a good rinse. The main exceptions are very delicate berries (strawberries, raspberries) and thin-skinned produce that can absorb the flavor if soaked too long. A quick spray and rinse is always safer than prolonged soaking for these items.
Q: Will my produce taste like vinegar?
A: Not if you rinse thoroughly. I’ve never once tasted vinegar on anything I’ve washed with this spray. The key is a good rinse, 20 to 30 seconds under running cool water is plenty for most produce.
Q: Can I add essential oils for extra antibacterial power?
A: Some people do, but I prefer to keep food-contact items free of anything that isn’t food-safe itself. If you do add essential oils like tea tree or lemon, use food-grade versions only, and only a drop or two. Personally, I like keeping the formula simple, the vinegar and lemon are doing enough good on their own.

DIY Natural Fruit Wash Spray Recipe:
A simple, non-toxic 3-ingredient spray that removes pesticide residues, bacteria, and waxy coatings from fruits and vegetables, better than water alone and costs pennies to make.
Ingredients
- 1 cup distilled white vinegar
- 1 cup water
- 1½ tbsp fresh lemon juice (about ½ lemon)
- 3 lemon peels, optional for freshness
Instructions
- Measure vinegar and water into a measuring cup and stir briefly to combine.
- Squeeze half a lemon to get the juice. Use fresh lemon for best antibacterial results, avoid concentrate if possible.
- Using a funnel, pour the vinegar, water, and lemon juice into a clean glass spray bottle. Add lemon peels if using.
- Seal the bottle and shake gently to combine. Store at room temperature or in the fridge for up to 2 weeks.
- Spray generously onto fruits and vegetables, let sit for 30–60 seconds, then rinse thoroughly under cool running water.
Notes Shake before each use. For delicate berries like strawberries, use a light mist and rinse immediately. Works great on apples, grapes, cucumbers, bell peppers, and leafy greens. Also doubles as a natural cutting board deodorizer and kitchen counter spray. Use organic lemons when possible.
Why I’ll Never Go Back to Store-Bought Fruit Wash Spray
Here’s what I keep coming back to: this spray is everything I want in a cleaning product for food. It’s made from ingredients I understand, costs almost nothing, takes five minutes to make, and genuinely works.
But more than the practical side, making this spray changed something small but meaningful in how I think about my kitchen. It reminded me that not every problem needs a store-bought solution. That sometimes the best tools are the simple ones. That vinegar and a lemon, two things that humans have been using for thousands of years, are still doing their job just fine.
If you’ve been skeptical about DIY cleaning and food prep products, I get it. The internet is full of “natural” remedies that sound great and do nothing. This isn’t one of them. The acidic chemistry is real, the results are noticeable, and the ingredients are completely safe.

To recap what makes this DIY natural fruit wash spray worth making:
- Non-toxic and completely food-safe
- Reduces pesticide residues and bacteria more effectively than water alone
- Three ingredients, five minutes, done
- Costs less than fifty cents per batch
- Versatile, works on virtually all produce and doubles as a kitchen surface spray
- Better for the environment than plastic-packaged commercial alternatives
I genuinely hope you try it. Make a batch this weekend, use it for a week, and tell me you’re not converted. Start with your apples or your grapes, produce you eat every day, and notice how much more confident you feel about what you’re putting in your body. Here’s to eating well, and washing well, from now on.
With love,
Bri & Cat
Affiliate Disclaimer:
As an Amazon Associate I earn from qualifying purchases. This comes at no additional cost to you. We only recommend products that we believe will add value to our readers.

DIY Natural Fruit Wash Spray
Ingredients
- 1 cup distilled white vinegar
- 1 cup water
- 1.5 tbsp fresh lemon juice (about ½ lemon)
- 3 lemon peels optional for freshness
Equipment
- 1 glass spray bottle
- 1 Kitchen Funnel
- 1 lemon juicer
Method
- Measure vinegar and water into a measuring cup and stir briefly to combine.
- Squeeze half a lemon to get the juice. Use fresh lemon for best antibacterial results, avoid concentrate if possible.
- Using a funnel, pour the vinegar, water, and lemon juice into a clean glass spray bottle. Add lemon peels if using.
- Seal the bottle and shake gently to combine. Store at room temperature or in the fridge for up to 2 weeks.
- Spray generously onto fruits and vegetables, let sit for 30–60 seconds, then rinse thoroughly under cool running water.
Leave a Reply