
This site contains affiliate links, view the disclaimer page for more information.
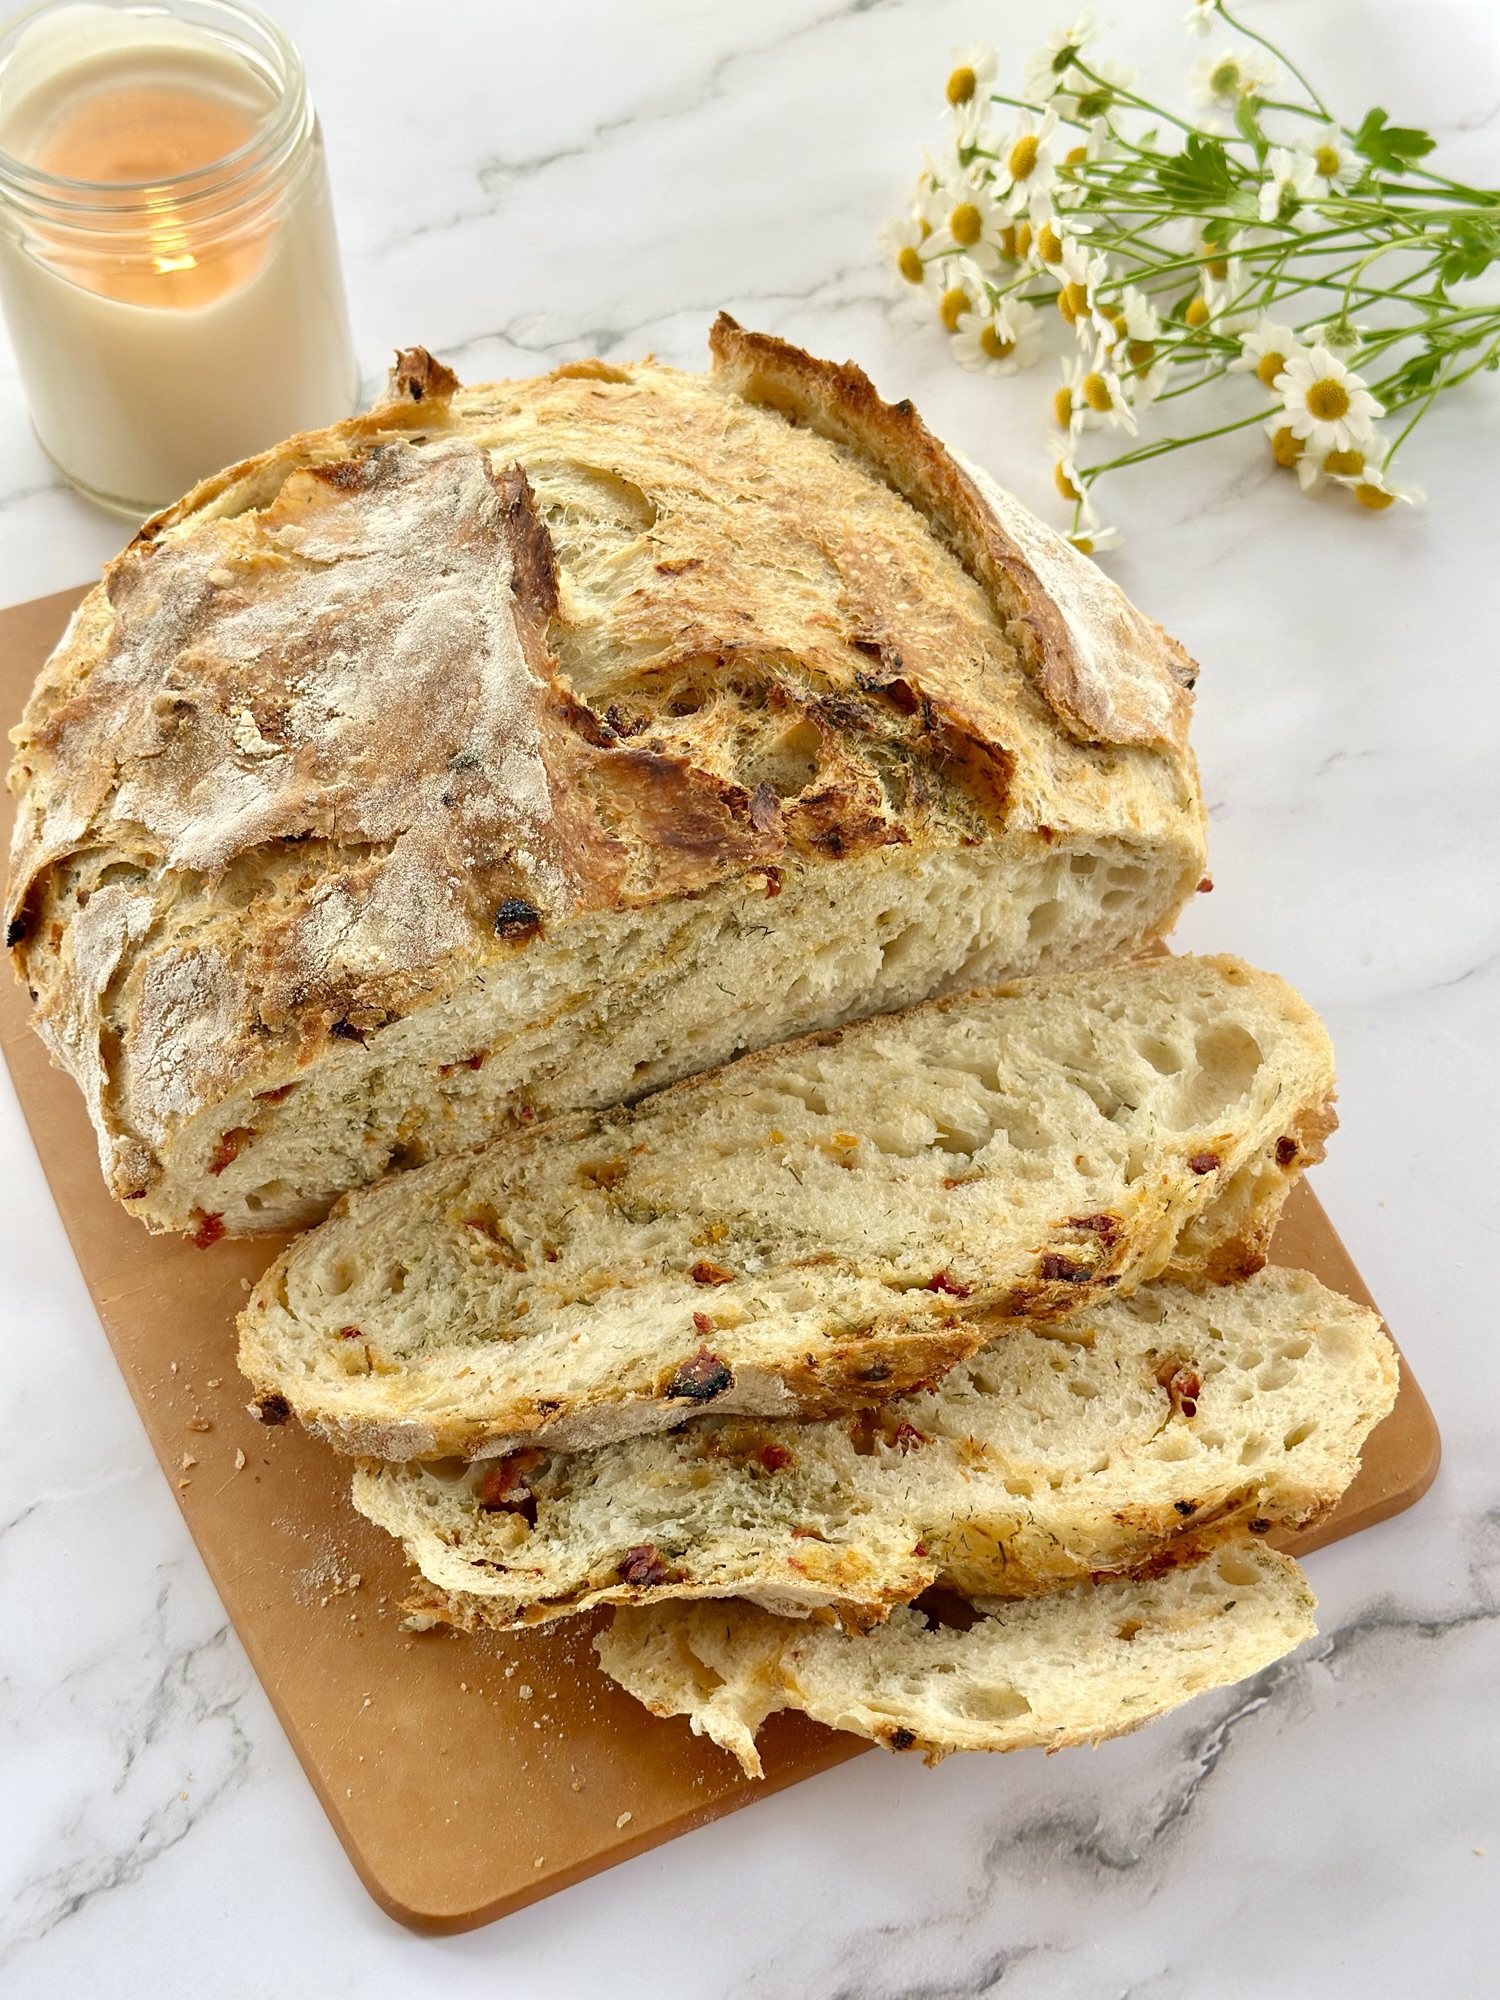
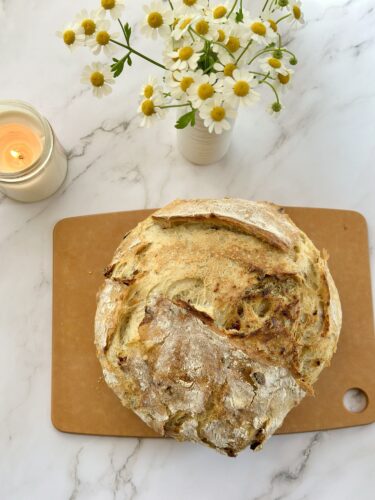
I have made a lot of bread in my kitchen, but this Sun-Dried Tomato Dill Artisan Bread might be the one that gets requested the most by friends and family. It has that bakery-style crust, a soft chewy interior, and little pockets of sun-dried tomato and dill in every bite. If you have ever stood in front of a bakery case admiring a beautiful herb studded loaf and thought there is no way I could make that at home, I am here to tell you that you absolutely can.
This bread is a no-knead artisan loaf, which means you do not need a stand mixer, you do not need any special bread making skills, and you do not need to spend all day babysitting dough. What you do need is a little patience, a dutch oven, and a willingness to let time do most of the work for you.
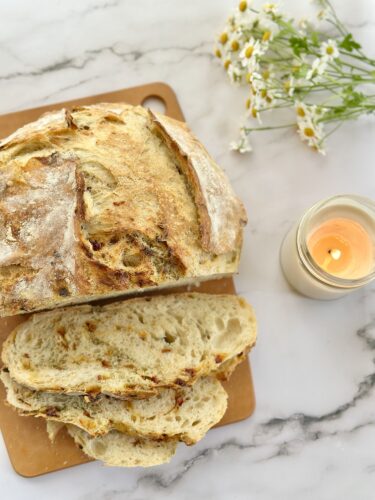
I started making artisan bread at home because I wanted that rustic, crackly crust without buying an expensive bread maker or investing in a bunch of equipment I would only use once. Once I figured out the no-knead method, I realized I could make endless variations. This Sun-Dried Tomato Dill Artisan Bread came about because I had a jar of sun-dried tomatoes in the fridge that needed to be used and a garden full of dill that was practically begging to be picked. The combination turned out so good that it has become a regular in my baking rotation ever since.
If you love bread with texture and flavor built right in, keep reading. I am walking you through every step of this Sun-Dried Tomato Dill Artisan Bread recipe, plus sharing some hard-earned tips for working with high hydration dough, because friends, this dough is sticky.
Table of Contents
Why You Will Love This Sun-Dried Tomato Dill Artisan Bread
Let me give you a few reasons this loaf deserves a spot in your baking rotation.
- No kneading required. You are letting time and a few gentle stretch and folds do the work that a stand mixer or your own two hands would normally do.
- The dutch oven creates steam that gives you that shatteringly crisp, bakery quality crust without any special equipment.
- It is endlessly versatile. Serve it with soup, turn it into toast for sandwiches, or set it out on a cheese board and watch it disappear.
- It looks impressive. Nothing makes people think you are a skilled baker quite like pulling a scored, golden artisan loaf out of the oven.
- The flavor combination of sun-dried tomato, dill, and garlic powder is savory, herby, and a little tangy, which makes this bread taste incredible on its own, no butter required, though butter is never a bad idea.
Every time I make this Sun-Dried Tomato Dill Artisan Bread, someone asks me for the recipe. It has that effect on people.
A Quick Note on This Recipe Before We Start
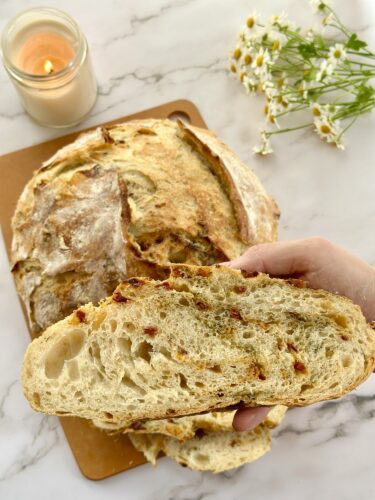
I want to be upfront with you. This is a high hydration dough, which means it has a higher ratio of water to flour than a typical bread dough. That is exactly what gives this bread its beautiful open crumb and chewy texture, but it also means the dough is going to be sticky. If you have made traditional kneaded bread before, this dough is going to feel different in your hands, and that is completely normal.
I will walk you through exactly how to handle it, and I have a whole tips section further down dedicated to working with sticky, high hydration dough. Do not let the stickiness scare you off. I promise it is worth it.
Ingredients You Will Need
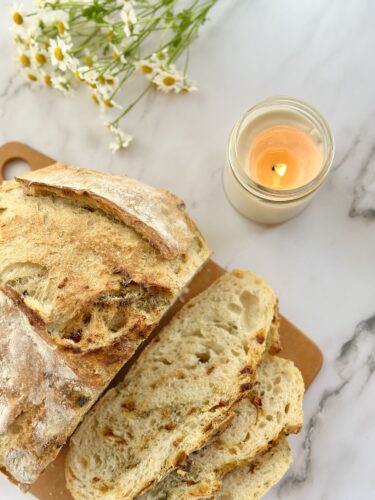
Here is everything you need to make this Sun-Dried Tomato Dill Artisan Bread. I will break down a few of these so you understand why each one matters.
- 1 3/4 cup water
- 3 cups flour
- 1 teaspoon granulated sugar
- 1 teaspoon salt
- 1 packet active dry yeast, which is about 2 1/4 teaspoons
- 1/4 cup sun-dried tomatoes, chopped
- 2 teaspoons dill
- 1 teaspoon garlic powder
A Few Notes on Ingredients
The water temperature matters more than you might think. You want it around 110 degrees, which is warm to the touch but not hot enough to burn you. If your water is too hot, it can actually kill the yeast before it has a chance to do its job. I always test mine with a kitchen thermometer just to be safe, especially since a batch of dead yeast means a flat, dense loaf instead of a beautifully risen one.
Sun-dried tomatoes add so much flavor to this bread. I like to use the kind packed in oil because they are softer and easier to chop, plus that little bit of oil clinging to them adds richness to the dough. If you are using dry-packed sun-dried tomatoes, you may want to rehydrate them in warm water for about ten minutes first so they are not tough little chunks in your finished loaf.
Dill is one of those herbs that people either love or feel neutral about, but in this bread it really shines. I have made this with both dried dill and fresh dill, and both work beautifully. If you are using fresh dill, you will want to use a bit more since dried herbs are more concentrated in flavor.
Garlic powder rounds out the savory profile of this bread. It is subtle, but it ties the sun-dried tomato and dill together so well.
Equipment You Will Need
- A large mixing bowl
- A dutch oven with a lid
- Parchment paper
- A bench scraper or clean, wet hands
- A sharp knife or bread lame for scoring the dough
That is it. No stand mixer, no bread machine, no fancy proofing baskets required.
Step by Step Instructions for Sun-Dried Tomato Dill Artisan Bread
Blooming the Yeast
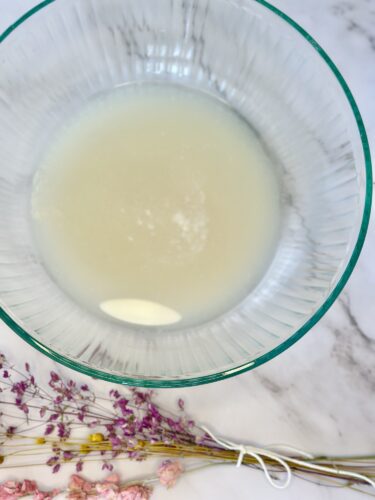
In a large mixing bowl, combine the sugar, warm water, and the packet of active dry yeast. Give it a gentle stir and then let it sit for about five to ten minutes. You are looking for the mixture to get foamy and bubbly on top. This step is called blooming the yeast, and it is basically how you confirm your yeast is alive and active before committing your flour to it.
I never skip this step, even though it adds a few extra minutes to the process. There is nothing worse than mixing your whole dough only to realize an hour later that your yeast was dead and your dough never rose.
Mixing the Dough
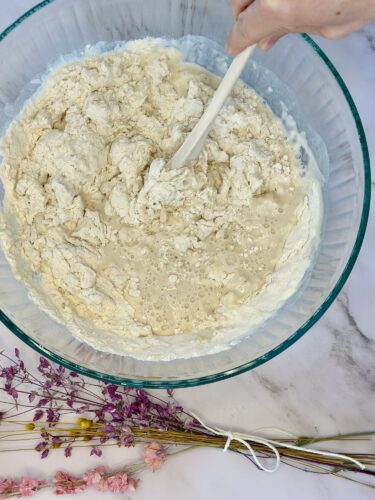
Once your yeast has bloomed and looks nice and foamy, add the flour and salt to the bowl. Mix everything together until it is just combined. You do not need to knead this at this point. You are simply looking for a shaggy, somewhat sticky dough with no dry flour pockets remaining.
This is the beauty of the no-knead method. You are not developing gluten through kneading, you are developing it through time.
The First Rise
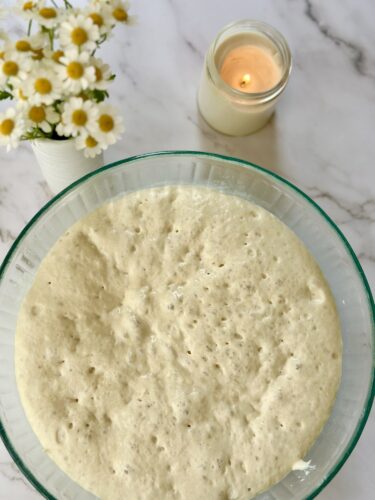
Cover your bowl with a clean towel or plastic wrap and let the dough rise at room temperature for one hour, or until it has doubled in size. I like to place my bowl somewhere warm and draft free, like inside my oven with just the oven light on, which creates the perfect gently warm environment for yeast to do its thing.
Adding the Sun-Dried Tomatoes, Dill, and Garlic Powder
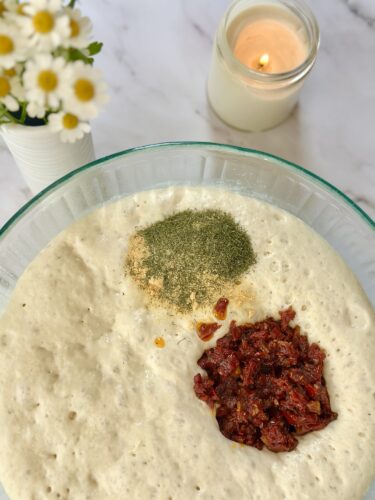
Once your dough has doubled, it is time to add in the sun-dried tomatoes, dill, and garlic powder. Sprinkle these over the top of the dough, then fold each corner of the dough into the center using two forks or wet hands. Wet hands work great here because the dough is sticky and wet fingers keep it from clinging to you the way dry fingers would.
Fold in each corner, turning the bowl as you go, until the tomatoes, dill, and garlic powder are somewhat distributed throughout the dough. Do not worry about getting it perfectly even at this stage. You will have more chances to work everything in during the stretch and fold process.
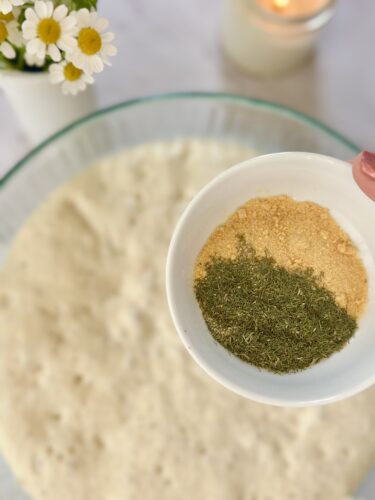
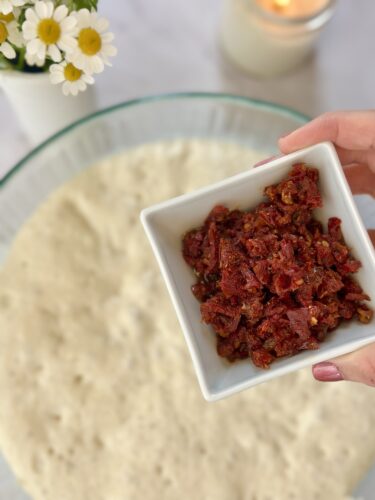
The Second Rise and Stretch and Folds
Let the dough rise for another hour. Then it is time for a series of stretch and folds, which is the technique that replaces traditional kneading in this Sun-Dried Tomato Dill Artisan Bread recipe.
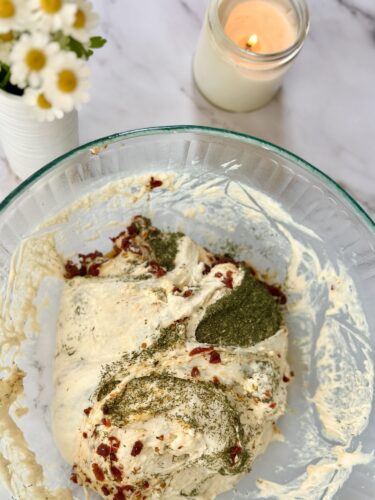
To do a stretch and fold, wet your hands slightly, grab one side of the dough, stretch it upward, and fold it over itself into the center. Rotate the bowl a quarter turn and repeat. Do this four to five times. You should start to feel the dough coming together into more of a cohesive ball, and you will notice the sun-dried tomatoes, dill, and garlic powder becoming more evenly distributed throughout.
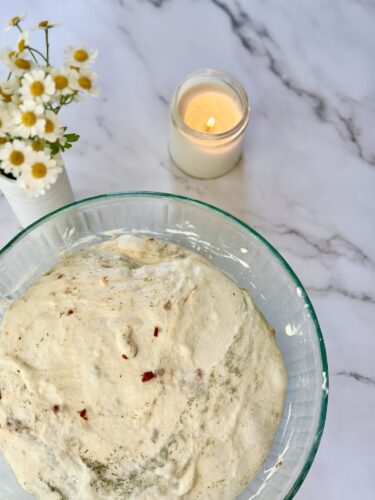
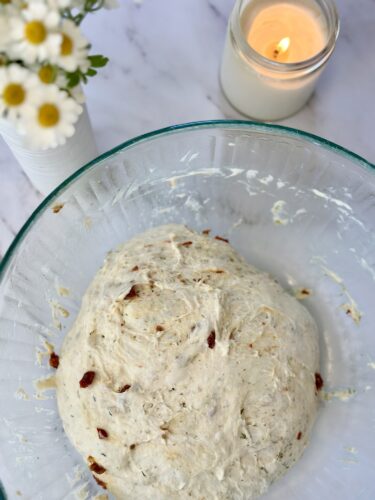
Let the dough rest another 30 to 45 minutes after this set of stretch and folds.
Preheating Your Dutch Oven
While your dough is in this final rise, preheat your oven to 450 degrees with your dutch oven inside, lid on. This is an important step for this Sun-Dried Tomato Dill Artisan Bread because a properly preheated dutch oven is what gives you that beautiful, crackly crust. The dutch oven acts like a mini steam oven, trapping the moisture released from the dough as it bakes and creating an environment similar to a professional bread oven.
I recommend giving your dutch oven at least 30 minutes to fully preheat. You want it screaming hot when your dough goes in.
Shaping and Scoring
After your dough has had its final rest, do one more series of four to five stretch and folds. Then place the dough onto a piece of floured parchment paper. Sprinkle a little more flour over the top of the dough, and use a sharp knife or bread lame to score the top. Scoring is not just decorative. It gives the bread a controlled place to expand as it bakes, which prevents it from cracking randomly in the oven.
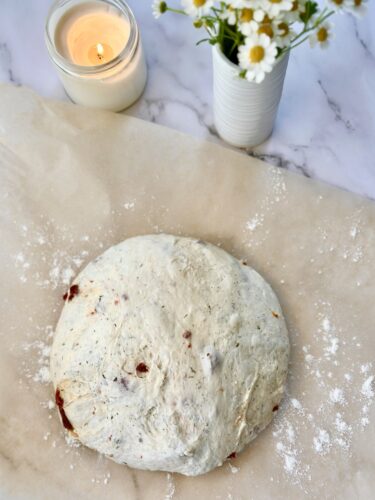
I like to do one long score down the center, or sometimes a few diagonal slashes if I am feeling a little more creative. Either way works beautifully for this loaf.
Baking Your Sun-Dried Tomato Dill Artisan Bread
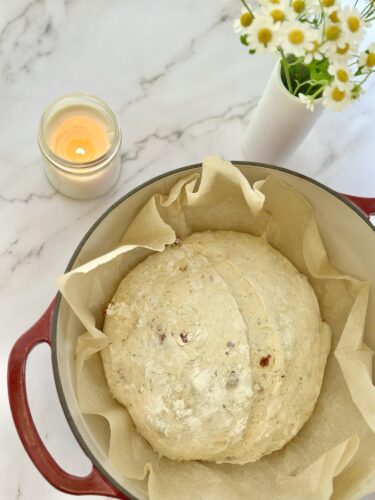
Carefully remove your hot dutch oven from the oven, and using the parchment paper as a sling, lower the dough and parchment into the dutch oven. Cover with the lid and bake for 30 minutes.
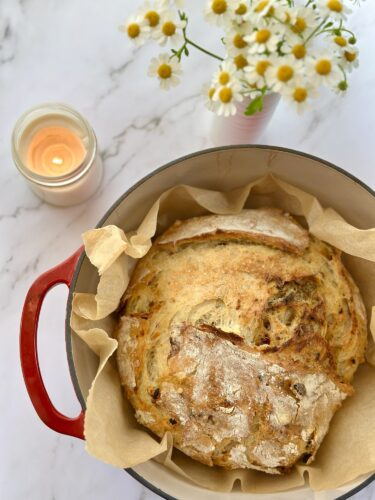
After 30 minutes, remove the lid and bake for another 10 minutes. This final uncovered bake is what gives your Sun-Dried Tomato Dill Artisan Bread that deep golden color and crisp crust.
Cooling
I know it is tempting to slice into a fresh loaf the moment it comes out of the oven, but let this bread cool on the counter for at least 15 to 20 minutes before cutting. The bread is still cooking internally from residual heat, and cutting too early can lead to a gummy texture. Trust me, the wait is worth it.
Tips for Working with High Hydration Dough
Since this Sun-Dried Tomato Dill Artisan Bread uses a high hydration dough, I want to give you some real talk tips for handling it, because it can catch you off guard if you are used to traditional bread dough.
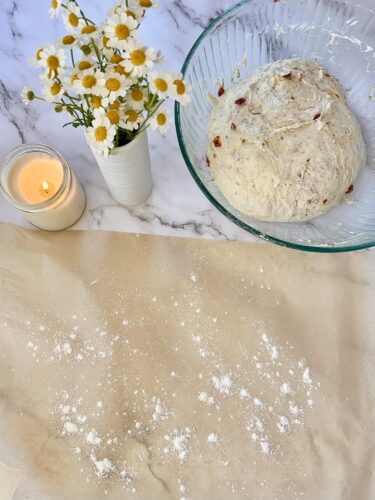
- Wet your hands, not the flour. When dough is this sticky, your instinct might be to add more flour. Resist that urge. Adding extra flour will change the hydration ratio and can result in a denser loaf. Instead, keep a small bowl of water nearby and wet your hands before handling the dough.
- Use a bench scraper. If your hands are struggling to manage the dough, a bench scraper is a total game changer for scooping, folding, and moving the dough around without it sticking to everything in sight.
- Chill it if you need to. If the dough feels completely unmanageable, place it in the refrigerator for 30 to 40 minutes. The cold firms up the dough just enough to make it easier to shape without changing the final texture of your bread.
- Trust the process. High hydration dough will never feel like the smooth, elastic dough you get from kneading. It is supposed to be a little loose and sticky. That stickiness is actually what creates those beautiful irregular air pockets in the finished crumb.
- Work quickly during stretch and folds. The longer you handle sticky dough, the stickier it can feel. Move with purpose during your stretch and fold sessions rather than lingering.
- Flour your surface, not your dough. When shaping, flour the parchment paper or your work surface generously rather than working extra flour into the dough itself.
Once you get comfortable with high hydration dough, you will find it is not nearly as intimidating as it first seems. I remember the first time I made a dough this sticky I nearly gave up and added another cup of flour. I am so glad I did not, because that decision would have completely changed the texture of this bread.
How to Serve Sun-Dried Tomato Dill Artisan Bread
This bread is delicious all on its own, but here are a few of my favorite ways to serve it.
- Slice it thick and serve alongside a bowl of soup for dipping. It is especially good with tomato soup, since the flavors complement each other so well.
- Toast slices and top with butter or olive oil for a simple, flavorful breakfast or snack.
- Serve it on a charcuterie or cheese board. If you love a good whipped feta or whipped goat cheese, this bread makes the perfect vehicle for scooping up a bite.
- Use it as the base for an incredible sandwich. The herby, savory flavor pairs so well with turkey, mozzarella, or a simple caprese combination.
How to Store Your Sun-Dried Tomato Dill Artisan Bread
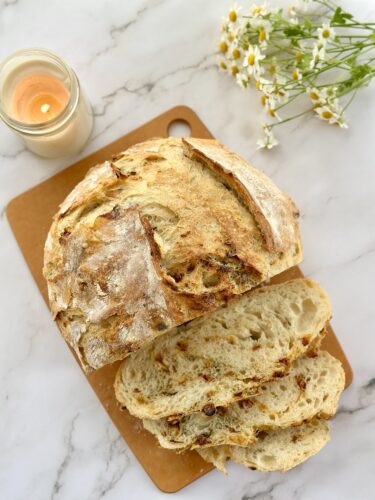
To keep this bread fresh, store it at room temperature in a paper bag or wrapped in a clean kitchen towel for up to two to three days. I do not recommend storing artisan bread in plastic, since it traps moisture and can make that beautiful crust go soft.
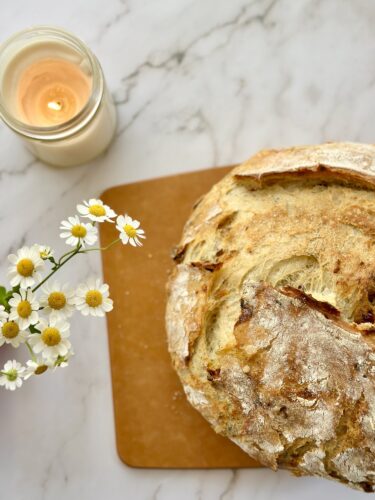
If you want to keep it longer, this bread freezes wonderfully. Slice it first, then store the slices in a freezer safe bag. That way you can pull out just what you need and toast slices straight from frozen.
To refresh day-old bread, pop it in a 350 degree oven for about 5 to 10 minutes. This helps re-crisp the crust and warms the loaf back up like it is fresh from the oven.
Frequently Asked Questions
Can I use fresh dill instead of dried dill in this recipe?
Yes, you can use fresh dill in this Sun-Dried Tomato Dill Artisan Bread. Since fresh herbs are less concentrated than dried, you will want to use about three times the amount, so roughly two tablespoons of fresh dill in place of the two teaspoons of dried dill.
Why is my dough so sticky?
This is completely normal. This Sun-Dried Tomato Dill Artisan Bread uses a high hydration dough, which means there is more water relative to flour than a traditional bread recipe. That extra moisture is exactly what creates the light, chewy texture and open crumb this bread is known for.
Can I make this bread ahead of time?
Absolutely. You can prepare the dough the night before and let it do its first rise slowly in the refrigerator overnight, then bring it to room temperature the next day before continuing with the recipe.
Can I add cheese to this bread?
Yes, this bread would be delicious with a handful of shredded parmesan or asiago folded in along with the sun-dried tomatoes and dill.
What if I do not have a dutch oven?
A dutch oven is really what gives this bread its signature crust, but if you do not have one, you can use an oven safe pot with a lid, or even a large cast iron skillet covered with foil.
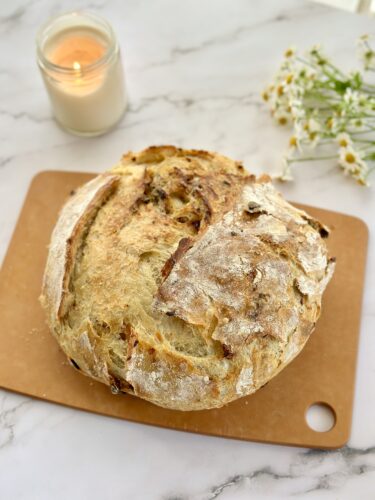
Final Thoughts on This Sun-Dried Tomato Dill Artisan Bread
This Sun-Dried Tomato Dill Artisan Bread has become one of my favorite recipes to bake, not just because of how it tastes, but because of how forgiving and simple the process is once you understand what you are working with. Yes, the dough is sticky. Yes, it takes a few hours of rising time. But most of that time is hands off, and the payoff is a loaf that looks and tastes like it came straight from an artisan bakery.
If you try this recipe, I would love to hear how it turns out for you. Did you add any twists of your own? Did the high hydration dough throw you for a loop the first time, the way it did for me? Let me know in the comments, and if you make this bread, be sure to tag us so we can see your beautiful loaves.
If you like this recipe check out other versions of my artisan loaf bread:
Herby Olive Artisan Bread Loaf (Same Day, No Knead, Dutch Oven Method)
Same Day Artisan Bread: Crusty, Chewy, and Easier Than You Think
Happy baking, friends.
With love,
Bri and Cat
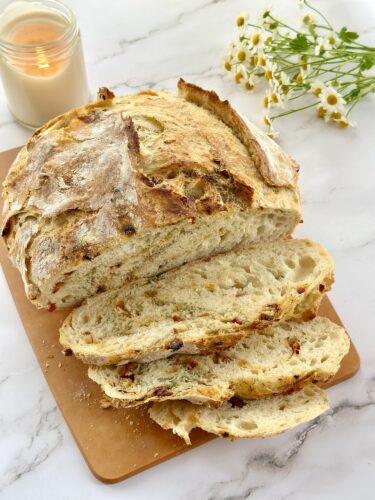
Sun-Dried Tomato Dill Artisan Bread
Ingredients
- 1 3/4 cup water
- 3 cups flour
- 1 teaspoon granulated sugar
- 1 teaspoon salt
- 1 packet active dry yeast 2 1/4 teaspoons
- 1/4 cup sun-dried tomatoes chopped
- 2 teaspoons dill
- 1 teaspoon garlic powder
Equipment
- Large mixing bowl
- Dutch oven with lid
- Parchment paper
- Bench scraper or clean, wet hands
- Sharp knife or bread lame (for scoring)
- Kitchen towel or plastic wrap
Method
- In a large mixing bowl, combine the sugar, warm water (around 110 degrees), and yeast packet. Let sit for 5 to 10 minutes until foamy.
- Add the flour and salt to the bowl and mix until just combined. The dough will be shaggy and sticky.
- Cover the bowl and let the dough rise at room temperature for 1 hour, or until doubled in size.
- Sprinkle the sun-dried tomatoes, dill, and garlic powder over the dough. Fold each corner into the center using two forks or wet hands.
- Let the dough rise for another hour. Then perform 4 to 5 stretch and folds, wetting your hands as needed, until the mix-ins are distributed and the dough forms a ball. Let rest another 30 to 45 minutes.
- While the dough rests, preheat the oven to 450 degrees with the dutch oven inside, lid on, for at least 30 minutes.
- Do another set of 4 to 5 stretch and folds. Place the dough on floured parchment paper, sprinkle flour over the top, and score with a sharp knife or bread lame.
- Using the parchment as a sling, lower the dough into the hot dutch oven. Cover and bake for 30 minutes. Remove the lid and bake 10 more minutes, until deep golden brown.
- Let the bread cool on the counter for 15 to 20 minutes before slicing.
Notes
- This is a high hydration dough, so stickiness is normal. Wet your hands instead of adding extra flour.
- Use a bench scraper if the dough is hard to manage.
- If the dough feels too sticky to shape, chill it in the refrigerator for 30 to 40 minutes to firm it up.
- Flour your work surface generously rather than working extra flour into the dough.
- Move with purpose during stretch and folds, since lingering can make sticky dough feel stickier.
Affiliate Disclaimer:
As an Amazon Associate I earn from qualifying purchases. This comes at no additional cost to you. We only recommend products that we believe will add value to our readers.
Leave a Reply