
This site contains affiliate links, view the disclaimer page for more information.
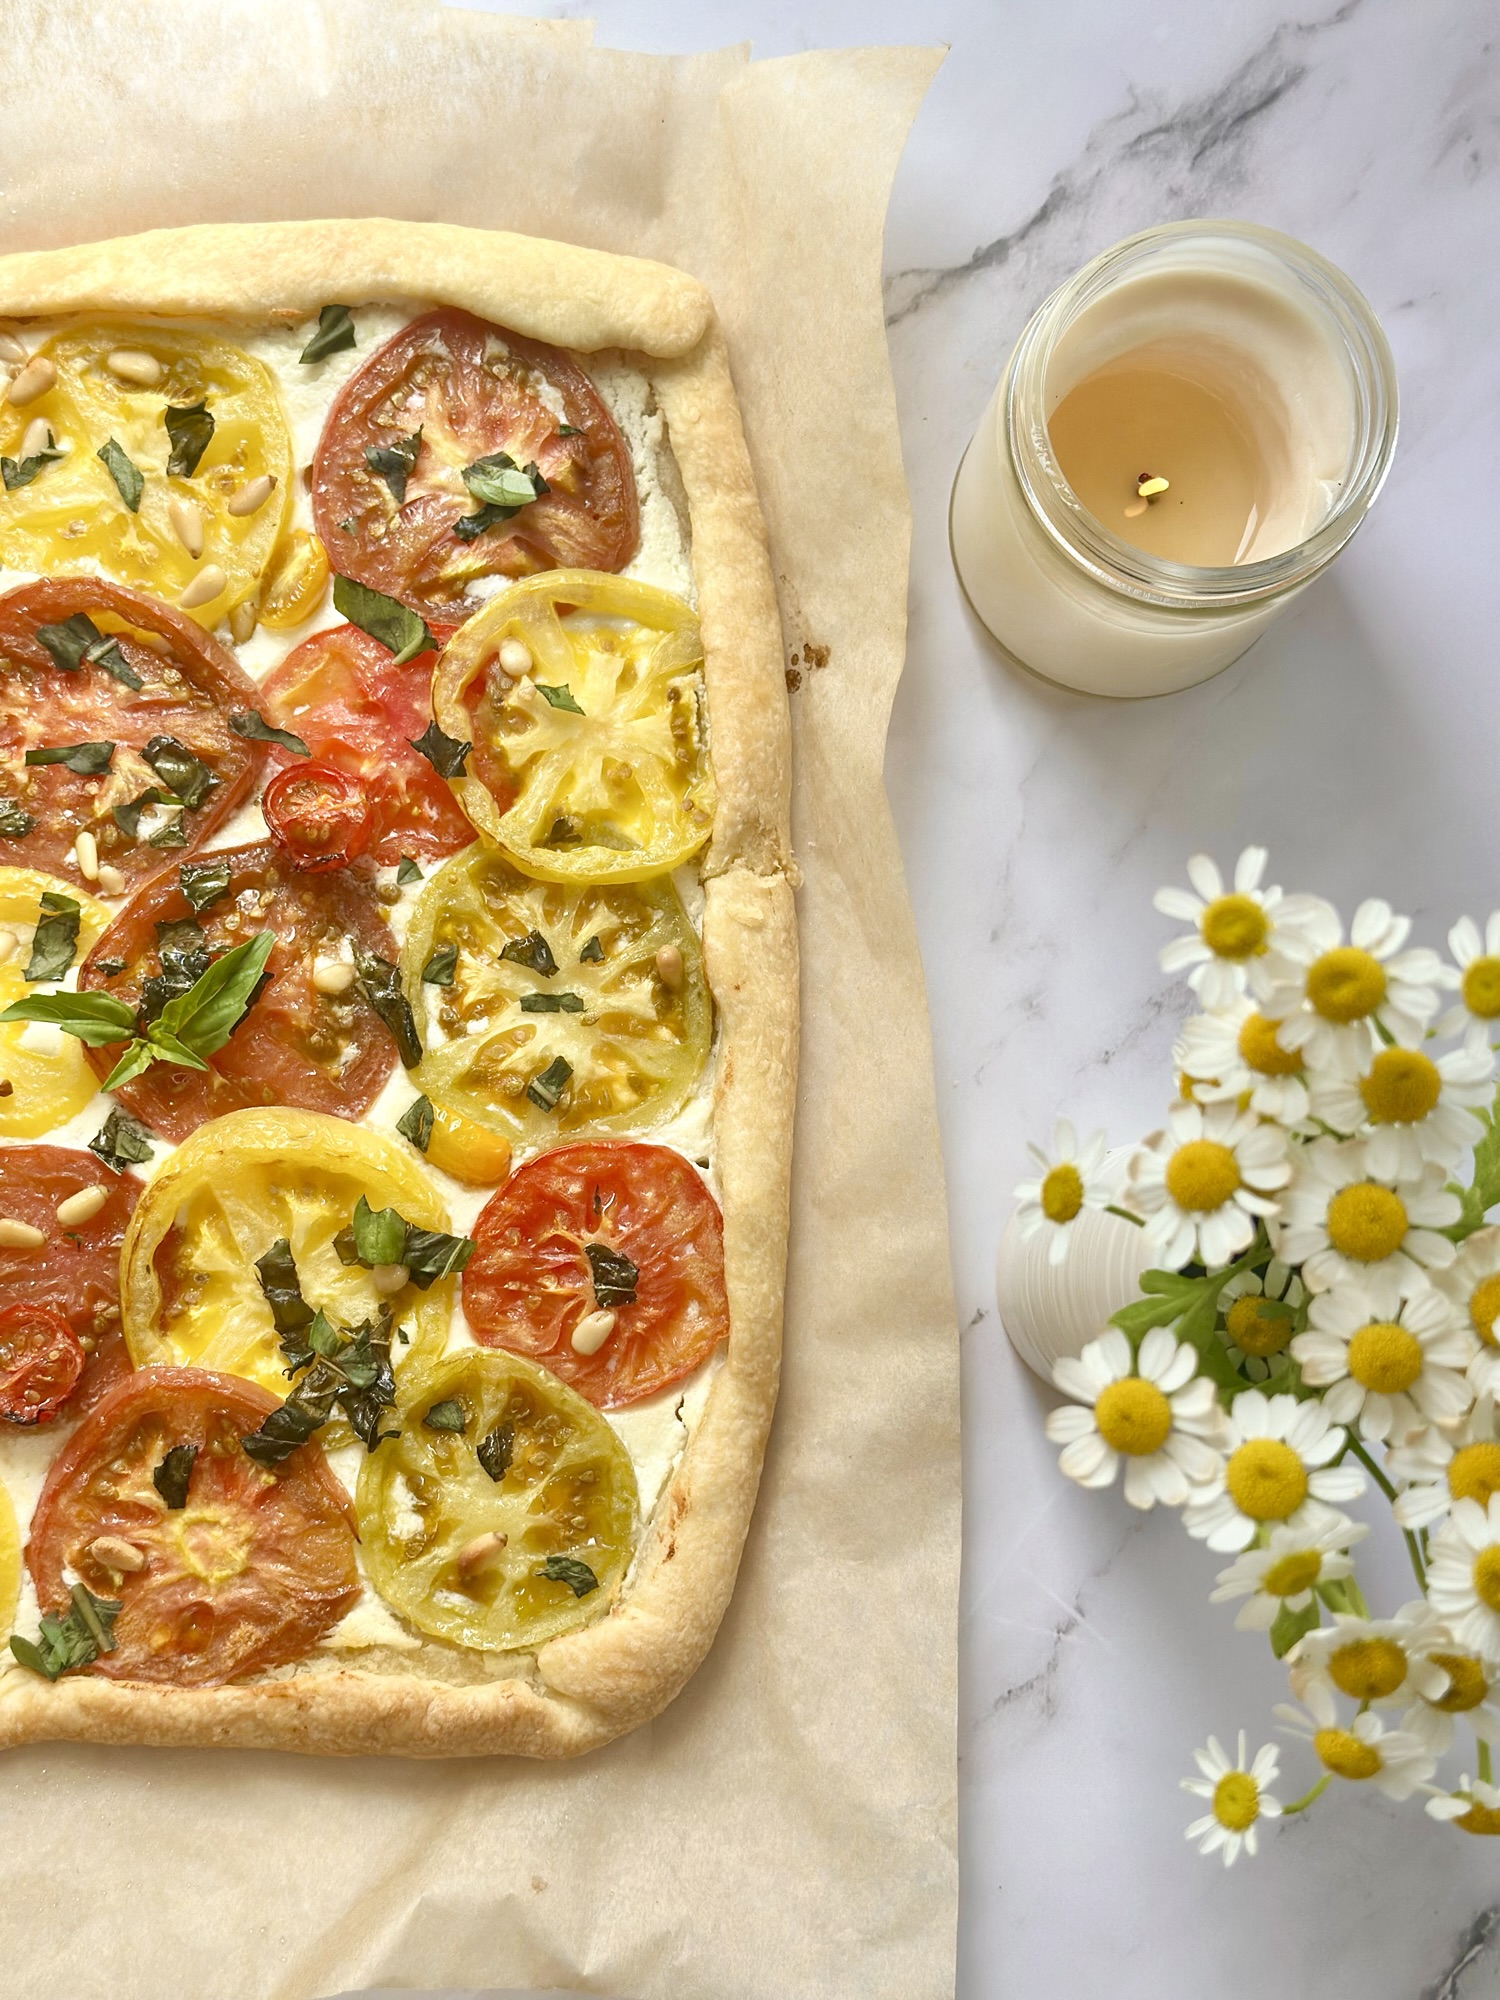
If you are looking for a tomato puff pastry tart that looks like it took hours but actually took twenty minutes of hands on time, you have found the right recipe. I make this tart almost every week in the summer, and I am not exaggerating when I say it might be the single easiest way to impress a table of people who think you spent all afternoon in the kitchen.
I first made this tart on a night when I had exactly one hour before people showed up for dinner and a produce drawer full of heirloom tomatoes I had bought on impulse at the farmers market that morning. You know how it goes. You see those tomatoes stacked up in every shade of red, orange, and almost purple, and you cannot help yourself. You buy way more than you need because they are just that pretty. Then you get home and realize you have no plan for them.
That is exactly how this tomato puff pastry tart was born. I had a sheet of puff pastry in the freezer, a block of feta in the fridge, and a small handful of basil from my window box. Twenty five minutes later, I had a golden, bubbling tart that disappeared before I even got a chance to take a proper photo of it. Since then, it has become one of my most requested recipes, both from friends who come over for dinner and from readers on the blog.
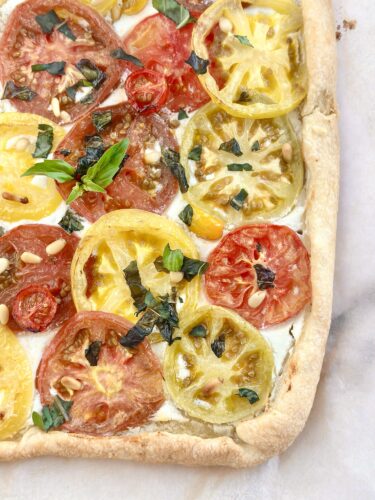
If you have been following Bri and Cat for a while, you know I love a recipe that delivers big flavor without a big time commitment. This one checks every box. Let me walk you through exactly how I make it, plus all the little tips I have picked up along the way that make the difference between a soggy tart and one with a perfectly crisp, golden crust.
Table of Contents
Why This Tomato Puff Pastry Tart Works So Well
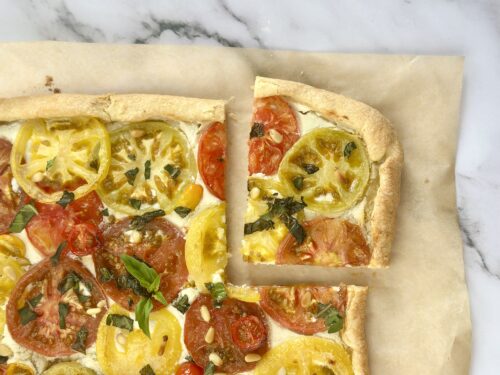
There is something about the combination of flaky, buttery puff pastry with tangy whipped feta and juicy heirloom tomatoes that just works. It is the kind of dish that feels a little fancy but is honestly one of the most forgiving recipes I make.
Here is why I keep coming back to it.
- It uses store bought puff pastry, so there is no dough making involved
- The whipped feta comes together in a food processor in under five minutes
- It is endlessly adaptable depending on what tomatoes or herbs you have on hand
- It works as an appetizer, a light dinner, or a brunch centerpiece
- It looks like a professional bakery item even though it is genuinely simple
Have you ever wanted to serve something at a dinner party that gets people asking “wait, you made this?” This tart is that dish. Every single time I bring it to a gathering, at least one person asks for the recipe before they have even finished their first bite.
The Star Ingredients
Let me break down what goes into this tomato puff pastry tart, because the ingredient list is short but every single item matters.
For the Whipped Feta
- One block of feta cheese
- Two cloves of garlic
- Juice of half a lemon
- One tablespoon of olive oil
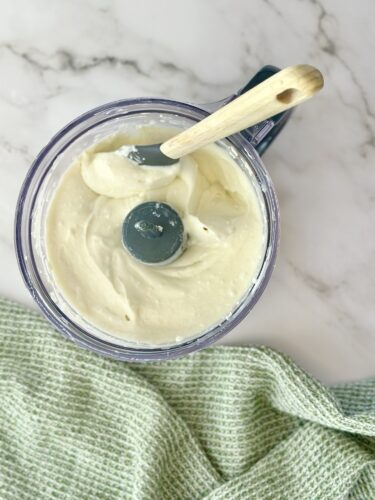
That is it. Four ingredients that blend into something creamy, tangy, and so much better than plain feta crumbles. I promise you, once you make whipped feta this way, you will want to put it on everything. I have used leftover whipped feta as a dip for crackers, a spread on sandwiches, and a topping for roasted vegetables.
For the Tart
- One sheet of puff pastry
- Heirloom tomatoes, sliced
- Fresh basil, chopped
- Pine nuts
- Olive oil for coating
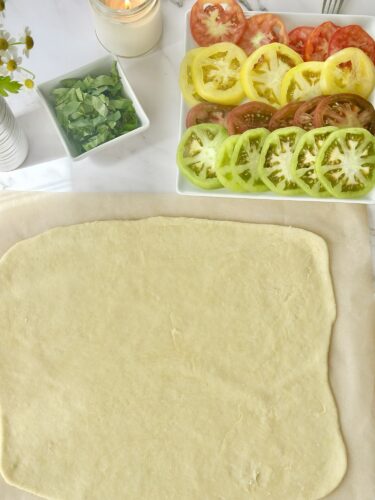
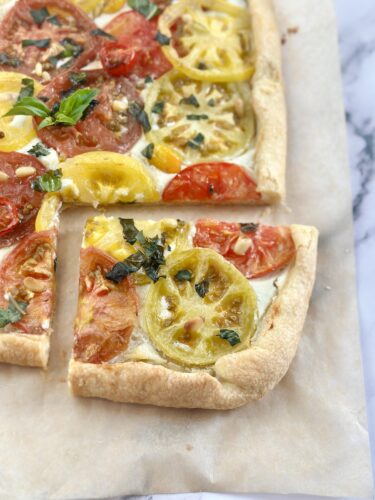
I want to talk about the tomatoes for a second, because they really are the heart of this recipe. Heirloom tomatoes come in so many different colors and sizes, and part of the fun of making this tart is choosing a mix that looks beautiful once it is sliced and arranged. I like using a combination of a deep red variety, a yellow or orange one, and something with a little green striping if I can find it. The visual contrast makes the tart look like something out of a magazine, and honestly, it tastes just as good as it looks.
How to Make Whipped Feta
Let me walk you through the whipped feta first, since this is the base of the entire tart and honestly could be its own recipe.
Start by breaking your block of feta into a few large chunks and adding it to a small food processor. Add your two cloves of garlic, the juice of half a lemon, and one tablespoon of olive oil. Blend until the mixture is completely smooth. This usually takes me about one to two minutes, and I like to stop halfway through to scrape down the sides so everything blends evenly.
You are looking for a texture that is smooth and spreadable, almost like a thick hummus. If it feels too thick to spread easily, you can add a small splash of olive oil to loosen it up.
Once it is smooth, place the whipped feta in the fridge until you are ready to assemble the tart. This step is important. Chilling the feta helps it firm up slightly, which makes it much easier to spread evenly over the puff pastry without tearing the dough.
I will be honest, sometimes I make a double batch of whipped feta just so I have extra for snacking while the tart bakes. There is no shame in that game.
Assembling the Tomato Puff Pastry Tart
Now for the fun part. This is where the tart really comes together, and I promise the process is much simpler than it looks in photos.
Step One: Roll Out the Puff Pastry
Start by rolling out your puff pastry so it is roughly the size of your baking sheet. Most store bought puff pastry sheets come close to this size already, so you may only need to roll it out slightly to fit. I like to do this on a piece of parchment paper so I can transfer the dough directly onto the baking sheet without stressing about tearing it.
If your puff pastry feels too soft or sticky to work with, pop it back in the fridge for five to ten minutes. Cold puff pastry is much easier to handle and bakes up flakier than pastry that has gotten too warm.
Step Two: Spread the Whipped Feta
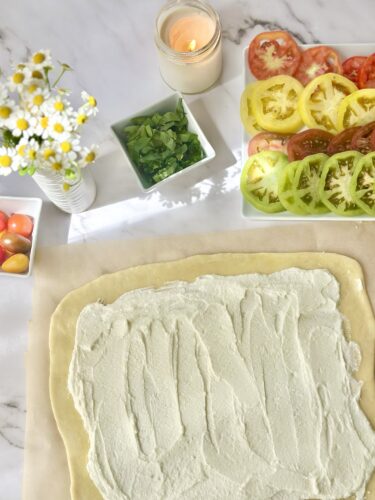
Take your chilled whipped feta and spread it evenly across the puff pastry, leaving about a one inch border around the edges. This border is what you will fold over later, so do not skip it even if you are tempted to use every last bit of feta right up to the edge.
I like to use an offset spatula for this step, but the back of a spoon works just as well. You want an even layer, not too thick, so that the tart bakes evenly and the pastry underneath still has a chance to get crisp and golden.
Step Three: Layer the Tomatoes
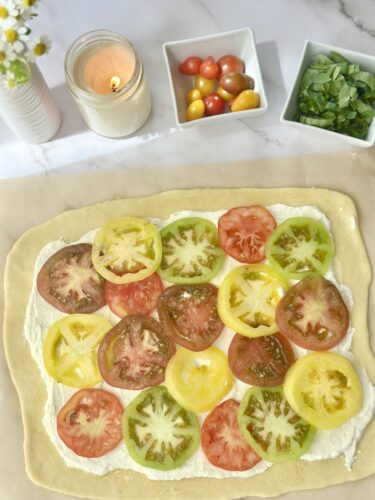
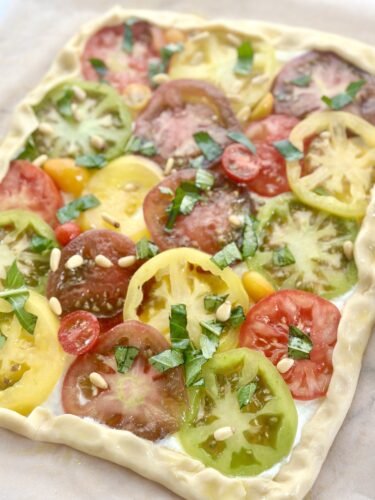
Next comes the best part. Arrange your sliced heirloom tomatoes over the whipped feta layer. I like to overlap them slightly, almost like shingles on a roof, so every bite gets a good amount of tomato.
This is where you get to have some fun. If you have a mix of colors, alternate them for visual interest. If you only have one variety, that is completely fine too. The tart will still taste incredible.
Step Four: Add Basil and Pine Nuts
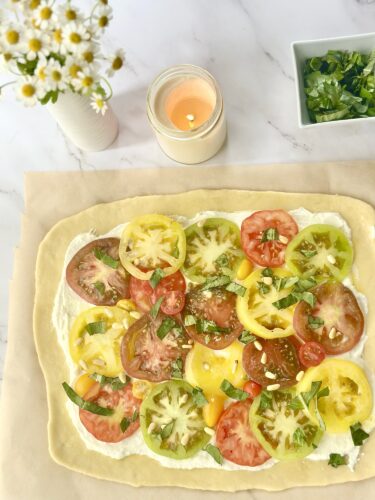
Scatter your chopped basil evenly over the tomatoes, followed by a generous sprinkle of pine nuts. The basil adds a fresh, slightly peppery flavor that balances out the richness of the whipped feta, and the pine nuts bring a subtle crunch and nutty flavor that ties the whole tart together.
Step Five: Coat with Olive Oil
Lightly coat or spray the top of the tart with olive oil. I use a glass refillable olive oil spray container and love it! Check it out HERE. This step matters more than you might think. Without it, the basil and the edges of the tomatoes can burn or dry out in the oven before the pastry has a chance to fully bake through. A light coating of olive oil protects everything on top and helps it caramelize beautifully instead of scorching.
Step Six: Fold the Edges
Now fold over that one inch border of puff pastry you left earlier, working your way around the edges to create a rustic frame around the filling. It does not need to be perfect. In fact, I think the imperfect, slightly rustic look is part of the charm of this tart.
Once the edges are folded, lightly coat them with olive oil as well. This helps them turn a deep golden brown as they bake.
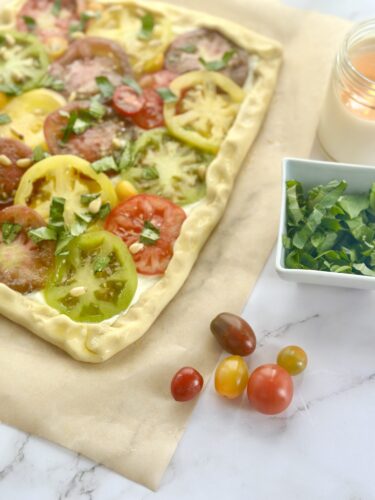
Step Seven: Bake
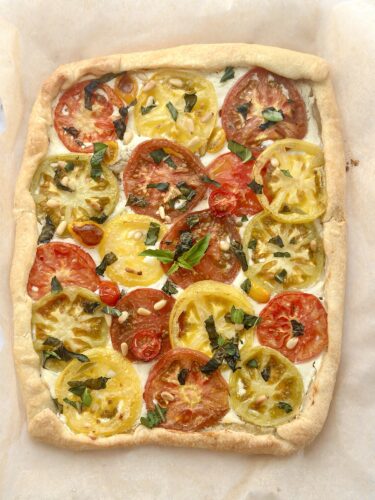
Bake your tomato puff pastry tart in an oven preheated to 400 degrees for 20 to 25 minutes, until the edges are golden brown and puffed up. You will know it is ready when the pastry looks flaky and crisp, and the tomatoes have softened slightly and released some of their juices.
I always tell people, do not rush this step. Every oven runs a little differently, so keep an eye on it starting around the eighteen minute mark. Once those edges hit that deep golden color, it is ready to come out.
Tips for the Best Tomato Puff Pastry Tart
Over the many times I have made this tart, I have picked up a few tricks that make a real difference in the final result.
Salt your tomatoes first if they are especially juicy. Some heirloom varieties hold a lot of moisture, and if you are worried about a soggy tart, sprinkle your sliced tomatoes with a little salt and let them sit on a paper towel for ten minutes before assembling. This pulls out excess liquid and helps keep your crust crisp.
Keep the puff pastry cold. Warm puff pastry does not puff up nearly as well in the oven. If your kitchen is warm or you are taking your time assembling, slide the whole tray back into the fridge for a few minutes before baking.
Toast your pine nuts. This is optional, but if you have an extra five minutes, toasting the pine nuts in a dry pan before adding them to the tart brings out even more of their nutty flavor.
Make the whipped feta ahead of time. The whipped feta actually gets better after sitting in the fridge for a few hours, since the flavors have more time to meld together. I often make it the night before I plan to assemble the tart.
Do not skip the olive oil coating. I know it feels like an extra step, but it truly does prevent the basil and tomato edges from burning while the pastry bakes through.
Serving Suggestions
This tomato puff pastry tart is incredibly versatile when it comes to serving. Here are a few of my favorite ways to enjoy it.
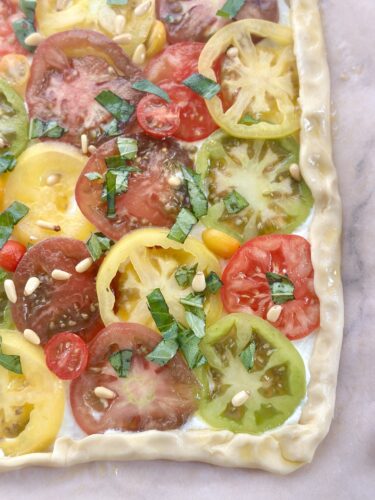
- Slice it into small squares and serve as an appetizer at a dinner party or summer gathering
- Pair a larger slice with a simple arugula salad dressed in lemon and olive oil for a light dinner
- Serve it alongside eggs for a weekend brunch spread
- Bring it to a potluck, since it holds up well even at room temperature
I have served this at everything from casual backyard dinners to more put together gatherings, and it fits in every time. It has that rare quality of feeling special without being fussy.
If you want to take it a step further for a dinner party, a chilled glass of dry rose or a crisp Sauvignon Blanc pairs beautifully with the tangy feta and sweet tomatoes.
Storage and Reheating
If you happen to have leftovers, and that is a big if in my house, this tart stores well for a day or two in the fridge. Keep it in an airtight container, or simply cover the baking sheet with foil if you have space.
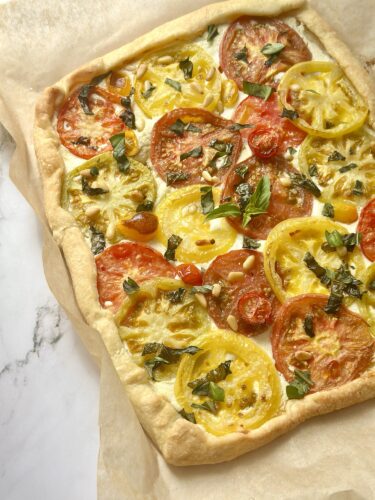
When it comes to reheating, please resist the urge to microwave it. I know it is tempting when you want a quick bite, but the microwave will leave you with a soft, slightly soggy pastry instead of that crisp, flaky texture you worked so hard for.
Instead, pop it back into an oven preheated to 350 degrees for about eight to ten minutes, just until it is warmed through and the edges have crisped back up. This little extra step makes such a difference in bringing the tart back to life.
Why I Keep Making This Tart
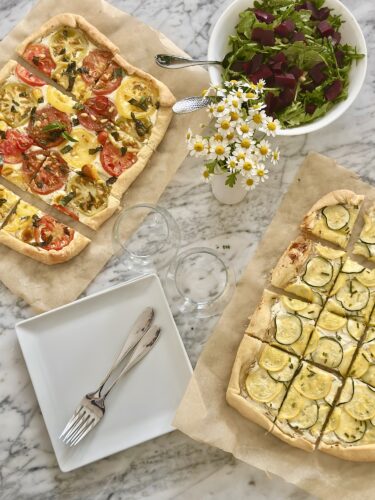
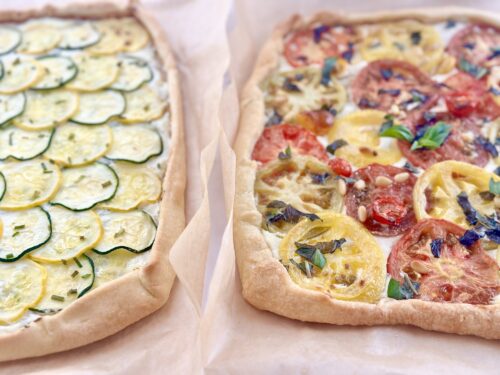
I think what I love most about this tomato puff pastry tart is how it captures everything I want out of a summer recipe. It uses ingredients that are at their absolute best during tomato season, it comes together with minimal effort, and it never fails to make people feel like they are eating something special. I also love how pretty and colorful it is, I also sometimes experiment with using cherry tomatoes. I also made a courgette tart with whipped goat cheese and served them together.
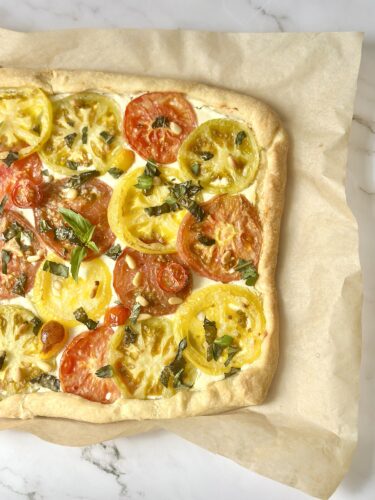
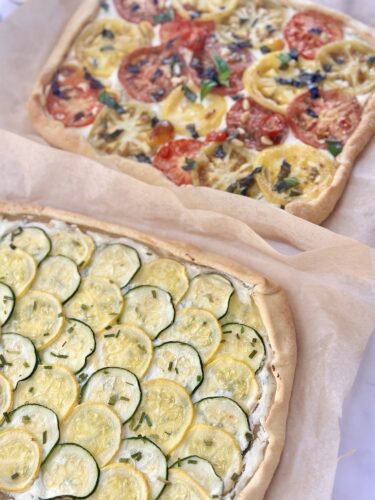
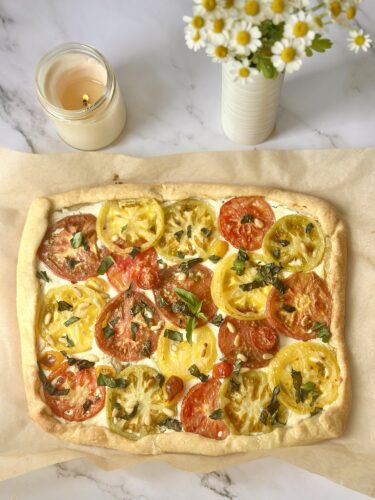
Working the shifts I work as a nurse practitioner, I do not always have hours to spend in the kitchen. This recipe reminds me that impressive food does not require a lot of time, just a little bit of intention and good quality ingredients. Some of my favorite meals have come together in exactly this way, simple ingredients treated with care.
If you try this tomato puff pastry tart, I would love to know how it turns out for you. Did you use a mix of heirloom tomato colors? Did you add your own twist with a different herb or cheese? Let me know in the comments or tag Bri and Cat on Instagram with your version. There is nothing I love more than seeing this recipe show up in someone else’s kitchen.
This tart has become a true staple in my house, and I have a feeling once you make it, it will become one in yours too.
With love,
Bri and Cat
Affiliate Disclaimer:
As an Amazon Associate I earn from qualifying purchases. This comes at no additional cost to you. We only recommend products that we believe will add value to our readers.
Heirloom Tomato Puff Pastry Tart with Whipped Feta
Ingredients
- 1 block feta cheese
- 2 cloves garlic
- 1-2 tbsp Juice of 1/2 lemon
- 1 tbsp olive oil
- 1 sheet puff pastry
- 2-3 Heirloom tomatoes sliced
- Fresh basil chopped
- Pine nuts
- Olive oil for coating
Equipment
- Small food processor
- baking sheet
- Parchment paper
- Rolling Pin
- Offset spatula or spoon
- Pastry brush or olive oil spray
Method
- Add the feta, garlic, lemon juice, and olive oil to a small food processor. Blend until smooth. Place in the fridge until ready to assemble.
- Roll out the puff pastry on parchment paper until it is roughly the size of your baking sheet.
- Spread the whipped feta evenly over the puff pastry, leaving a 1 inch border around the edges.
- Layer the sliced tomatoes over the feta, overlapping slightly.
- Scatter the chopped basil and pine nuts over the tomatoes.
- Lightly coat or spray the top with olive oil to prevent burning.
- Fold the border of dough over the edges of the filling, then lightly coat the folded edges with olive oil.
- Bake at 400 degrees for 20 to 25 minutes, until the edges are golden brown.
Notes
- Salt sliced tomatoes and let them sit on a paper towel for 10 minutes first if they are especially juicy, to prevent a soggy crust.
- Keep the puff pastry cold before baking for the best rise and flakiest texture.
Toast the pine nuts beforehand for extra flavor. - Make the whipped feta a day ahead. It tastes even better after the flavors have time to meld.
- Reheat leftovers in a 350 degree oven for 8 to 10 minutes rather than the microwave to keep the crust crisp.
Leave a Reply