
This site contains affiliate links, view the disclaimer page for more information.
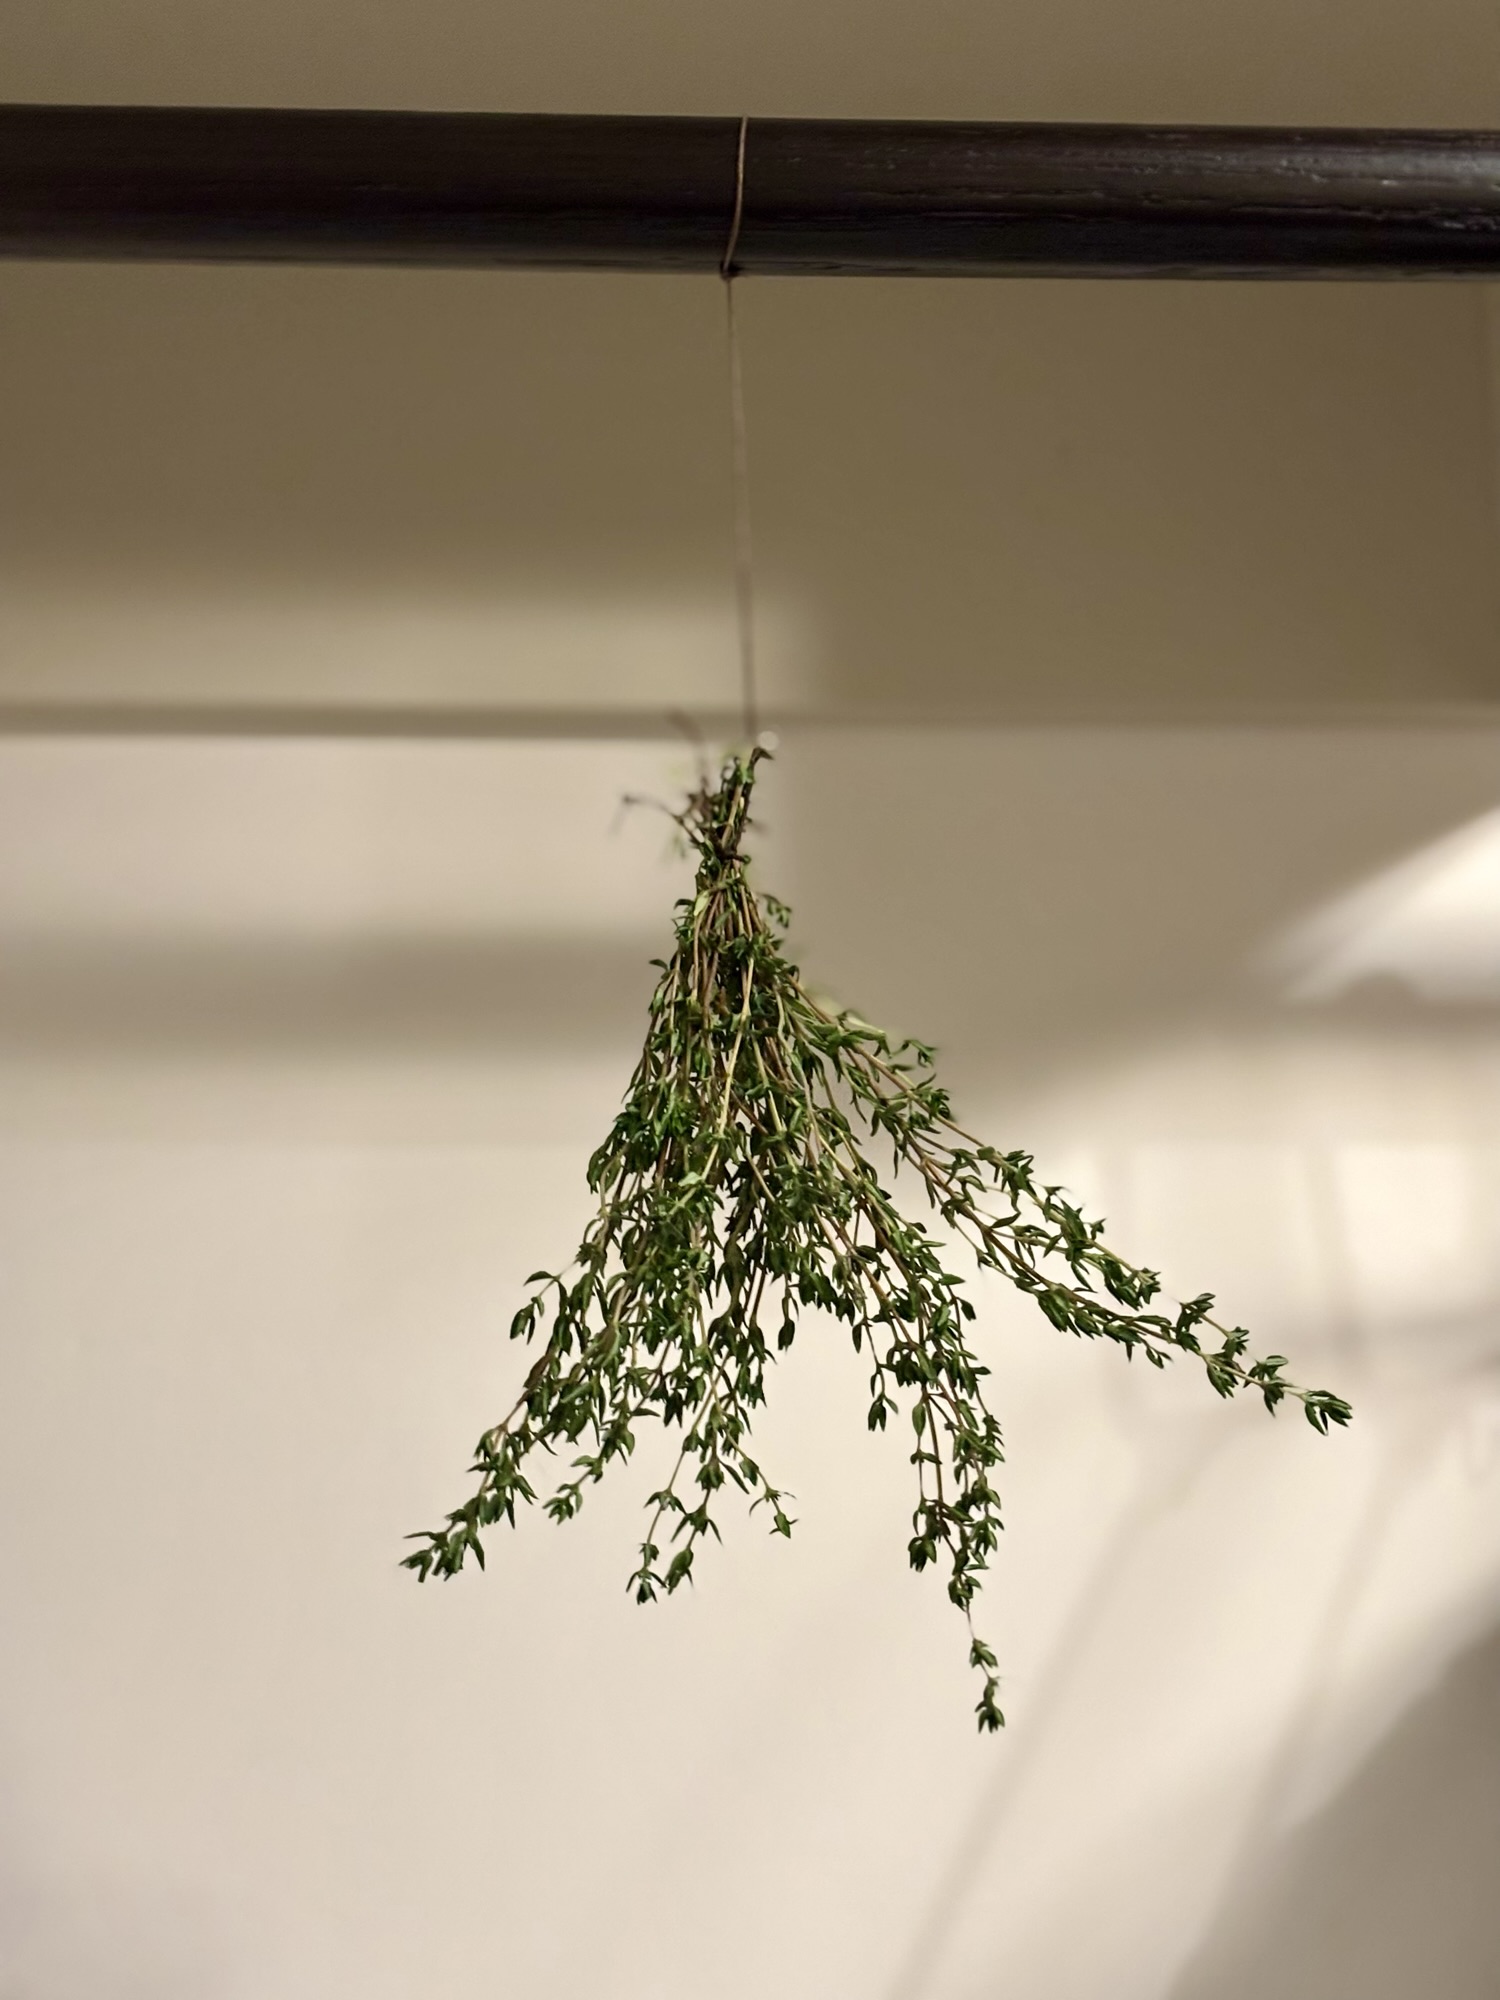
Drying fresh herbs from your garden is one of those small, quiet tasks that makes me feel like I actually have my life together, even on the days when I very much do not. There is something about walking into my laundry room and seeing bundles of basil, rosemary, dill and thyme hanging from a pole with twine that makes the whole house feel a little more like a home and a little less like a place we are just surviving in. If you have ever grown herbs and watched half of them bolt or wilt before you got around to using them (ME!), this post is for YOU.
I grew up buying little glass jars of dried oregano from the grocery store like everyone else. But once I started growing my own basil, rosemary, thyme, dill and sage in raised beds a few summers ago, I quickly realized I was letting so much of it go to waste. Herbs grow fast- like weeds! They grow faster than any family of five can reasonably eat fresh, even when you are throwing basil into everything from pasta to salads like I do. So, I started drying them, and it changed the way I cook, the way I shop, and honestly the way I feel about my own little garden.
Table of Contents
Why Dry Your Own Herbs
If you have never dried your own herbs before, you might be wondering if it is really worth the effort. I promise you it is, and here is why.
First, there is the cost. A small jar of dried herbs at the store can run you several dollars, and if you cook the way I do, with herbs in nearly everything, that adds up fast. When you grow and dry your own, you are essentially getting free spices for the rest of the year off of one summer’s worth of care.
Second, the flavor is simply better. Store bought dried herbs sit on shelves for who knows how long before they make it into your pantry. When you dry your own, you know exactly when it was picked, how it was handled, and that nothing was added to it. There is a brightness to home dried herbs that I just do not get from the ones in the spice aisle.
And third, there is the satisfaction of it. In a season of life where I am mostly wiping counters and refereeing sibling disagreements, having a jar of rosemary on my counter that I grew, picked, dried, and ground myself feels like a small win. It is a tangible piece of slowing down and being connected to what we eat, which is something I care a lot about here on the blog.
When and How to Pick Your Herbs
Timing matters more than people realize when it comes to drying herbs from your garden. I have learned this the hard way more than once.
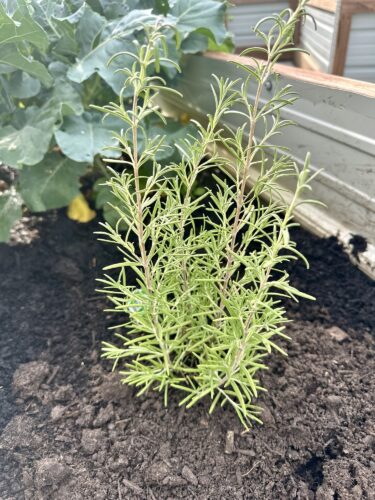
The best time to pick herbs is in the late morning, after the dew has dried off the leaves but before the heat of the afternoon sun has caused the essential oils to evaporate. Those oils are where all the flavor lives, so picking at the right time really does make a difference. If you pick when the plant is stressed from midday heat, you lose some of that potency.
You also want to pick herbs before they flower if possible. Once a plant like basil or cilantro starts to bolt and flower, the leaves can turn bitter. I try to walk out to my garden every few days during peak growing season just to check in and snip what looks ready, rather than letting things get away from me.
A few of my favorite herbs to dry, and ones that dry beautifully:
- Rosemary
- Thyme
- Oregano
- Sage
- Basil
- Mint
- Dill
Some herbs, like basil, have a higher water content and can be a little trickier to dry without molding, but I have found that patience and good airflow solve most of that problem, which I will get into below.
When you snip your herbs, cut healthy stems a few inches long rather than pulling individual leaves. You want enough stem to bundle and tie later.
Prepping Your Herbs Before Drying
Once I bring my herbs inside, I lay them out on a clean towel on the counter and give them a gentle look over. I am checking for any bugs, yellowing leaves, or damaged bits, and I trim those away.
Do you need to wash your herbs before drying? I usually give mine a quick rinse under cool water, especially if it has been a dry week and there is dust or dirt on the leaves. Then I pat them completely dry with a towel. This step matters more than people think. Any lingering moisture on the leaves can encourage mold once the herbs are bundled and hanging, and nothing is more disappointing than finding a beautiful bundle of herbs has gone moldy because I rushed the drying process.
Once they are clean and dry, I gather small bundles, usually five to seven stems together, and secure them at the base with a piece of kitchen twine. I like to tie a small loop at the top of the twine so I have something to hang from the pole.
My Hanging Method: Twine from the Laundry Room Pole
This is probably the part people ask me about most, because it is such a simple setup but it works so well.
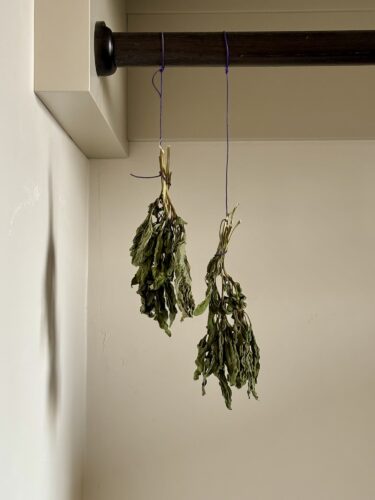
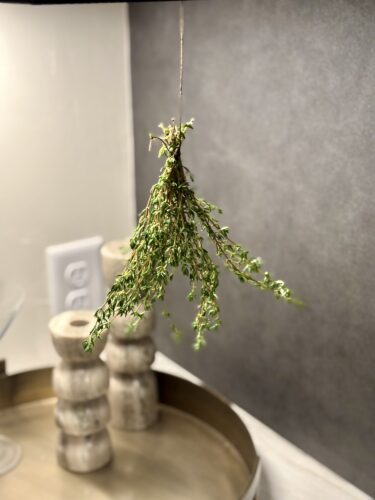
I hang my herb bundles upside down from a pole in my laundry room using plain kitchen twine. My laundry room is a great spot for drying herbs from your garden because it checks all the boxes you actually need:
• It is dark, since bright sunlight can fade color and reduce flavor
• It has decent airflow
• It stays relatively dry, especially with the dryer running through the week
• It is out of the way of little hands and curious toddlers
I simply loop the twine around the pole, tie a secure knot, and let the bundle hang with plenty of space between each one so air can move freely around the leaves. Overcrowding bundles is one of the most common mistakes I made early on. If bundles are too close together or too thick, the inside leaves do not get enough airflow and you risk mold.
Hanging upside down helps the essential oils concentrate down into the leaves as they dry, which is part of why this method has stood the test of time for so many generations of gardeners before us.
Depending on the herb and the humidity in our house, drying usually takes anywhere from one to three weeks. Rosemary and thyme, being sturdier and lower in moisture, tend to dry faster. Basil and mint, with their higher water content, take a bit longer and need the most breathing room.
I will be honest, there is something almost peaceful about walking past those bundles every time I do laundry. It slows me down for just a second in the middle of a chaotic day with two boys and a baby. It reminds me that even in a season that feels fast and full, there are still parts of life that ask me to wait, to be patient, and to trust a slower process.
How to Know When Your Herbs Are Ready
So how do you actually know when your herbs are fully dried and ready for the next step?
The leaves should feel completely dry and slightly brittle to the touch. If you gently crumble a leaf between your fingers, it should crack and crumble easily rather than bending or feeling soft. If there is any flexibility left in the leaf, it needs more time.
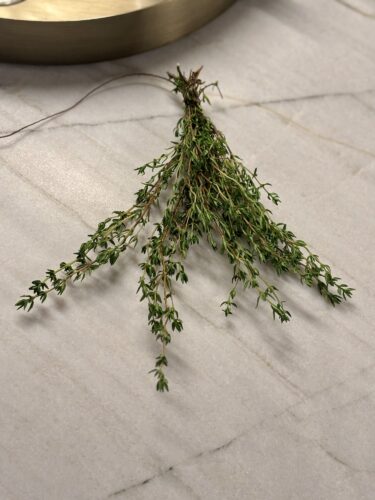
Stems are a good indicator too. A fully dried stem should snap cleanly rather than bending.
If at any point you notice a musty smell or see any discoloration or spotting on the leaves, that is a sign of mold, and unfortunately that bundle needs to be tossed. It happened to me a few times with basil bundles that I hung too thick, and it taught me to always keep bundles smaller and give them more room than I think they need.
Grinding and Storing Your Dried Herbs
Once your herbs are fully dry, it is time for my favorite part, turning them into the spices you will actually use in your kitchen.
I start by removing the leaves from the stems. For most herbs, this is as easy as running your fingers down the stem from top to bottom, and the dried leaves fall right off. For herbs with tougher stems, like rosemary, I sometimes use kitchen scissors to help release the leaves.
From there, I grind the leaves down using either a mortar and pestle or a small dedicated spice grinder, depending on how much time I have and how fine I want the final product. A mortar and pestle feels more connected to the process, and honestly it is a nice little task to do while dinner is in the oven. A spice grinder is faster if you are working through a big batch.
Once ground, I transfer the herbs into small glass jars. I love using these clear glass jars with airtight lids because they let you see exactly what is inside, and they just look beautiful lined up on an open shelf in the kitchen. There is something about a row of glass jars filled with home dried herbs that feels like it belongs in the kind of slower, more intentional home I am always trying to create here.
A few tips for this step:
• Make sure your herbs are completely dry before grinding and storing, any leftover moisture can cause mold in a sealed jar
• Label each jar with the herb name and the date you dried it
• Store jars in a cool, dark cabinet rather than right next to the stove, since heat and light will break down flavor over time
Tips for Making Your Dried Herbs Last
Properly dried and stored herbs can last anywhere from six months to a year, though I find the flavor is most vibrant within the first six months. After that, they are still usable but a little milder, so I just adjust the amount I use in recipes accordingly.
If you ever open a jar and the herbs smell faint or dusty rather than fragrant, that is a sign it is time to use them up in cooking soon or replace them at your next harvest.
Keeping jars away from direct sunlight and heat sources is the biggest thing you can do to extend their shelf life. I keep mine in a cabinet away from the oven for exactly this reason.
Simple Ways I Use My Dried Herbs
Once you have a shelf full of home dried herbs, using them starts to feel second nature. A few of the ways I use mine most often:
• Dried oregano and basil in homemade marinara sauce
• Thyme rubbed onto roasted vegetables or potatoes
• Pumpkin Rosemary Crackers – the perfect addition to a fall charcuterie board
• Dried mint steeped into tea, especially calming after a long day
• Homemade Dill Crackers with dill mixed into a plant based yogurt dip (my kids favorite!)
• Sage added to soups as the weather cools
I also love putting together small jars of dried herbs as gifts. A simple glass jar with a handwritten label and a bit of twine around the lid feels so much more personal than something store bought, and it is a nice way to share a little piece of our garden and our home with people we love. Check out our Cozy Fall Simmer Pot Recipe for another fun DIY gift using sage; or the Christmas Morning Simmer Pot Recipe using rosemary.
Drying herbs from your garden is such a simple practice, but it has become one of my favorite small rituals of the growing season. It takes very little effort once you get the rhythm down, and it rewards you with months of flavorful, homegrown spices that connect your kitchen back to your garden.
If you have herbs growing right now and you are not sure what to do with the extra, I would encourage you to try this. Snip a few bundles, tie them with twine, and find a spot in your home, whether that is a laundry room like mine or a pantry or a mudroom, and let them hang. Watch them transform over a couple of weeks, then grind them down and fill a jar. It is such a small act, but it is one more way to slow down, to use what you have grown with your own hands, and to bring a little more intention into the everyday task of feeding your family.
With love,
Bri and Cat
Affiliate Disclaimer:
As an Amazon Associate I earn from qualifying purchases. This comes at no additional cost to you. We only recommend products that we believe will add value to our readers.
Leave a Reply