
This site contains affiliate links, view the disclaimer page for more information.
I’ve been on a bit of a homemade snack kick lately, and these Homemade Dill Crackers might just be my favorite creation yet. You know those moments when you’re craving something salty, crunchy, and just a little cheesy, but you open the pantry and find nothing that hits the spot? That’s exactly what started this recipe.
I love a good cracker. But I don’t love reading the back of a box and seeing a dozen unpronounceable ingredients or paying $7 for a tiny bag of “artisan” crisps. So, one afternoon when the snack craving struck hard, I decided to see if I could make my own from scratch. The goal was simple: a light, crisp, herby cracker that didn’t require any dairy or complicated ingredients.
And friends… these turned out so good I almost ate the entire first batch before they cooled.
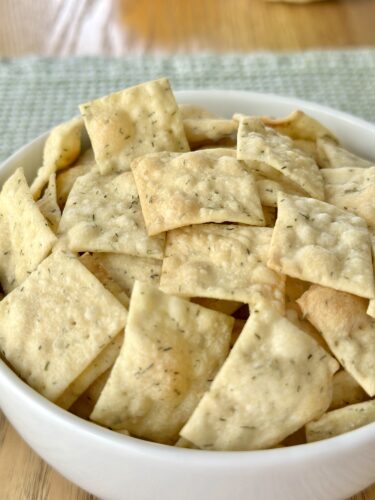
Table of Contents
Why Homemade Dill Crackers Are So Worth It
There’s something so satisfying about making your own crackers. It’s a simple process, but the result feels fancy, like you’ve pulled something right out of a local bakery. And honestly, once you’ve made them, it’s hard to go back to store-bought.
Here’s why these homemade dill crackers are my new favorite thing to bake:
- They’re quick: from start to finish, you’re looking at about 30 minutes.
- They’re easy: no fancy tools, just a bowl, a rolling pin, and a baking sheet.
- They’re vegan: but you’d never know it! The nutritional yeast adds that rich, cheesy flavor without a drop of dairy.
- They’re customizable: want them spicier? Thinner? Herbier? You’re in charge.
- They make you feel like a kitchen pro: even though they’re super simple.
The best part? That smell of dill and toasted olive oil wafting from the oven. It’s heavenly.
My Homemade Snack Obsession
It started during a phase when I was trying to simplify my snacks, less packaging, fewer additives, and more control over what I was eating. I’d make hummus, roasted chickpeas, and trail mix, but I wanted something crunchy to go with dips that wasn’t a chip.
Enter: the cracker experiment. The first time I tried making crackers, I rolled the dough way too thick, and they came out like tiny bread squares. Lesson learned. The second time, I rolled it thinner and they were everything I wanted: crisp, golden, and just the right amount of salty.
Now, I whip up a batch almost every week. They’re perfect for wine nights, road trips, or snacking at my desk when I want something savory but not greasy.
And when friends come over, these are the first thing on the charcuterie board. They always ask, “You made these?” with this look of disbelief. It’s the best compliment.
What You’ll Need for Homemade Dill Crackers
This recipe is as straightforward as it gets. You only need a few pantry staples, nothing fancy or hard to find. Here’s what goes into them:
- 1 ½ cups flour – all-purpose is perfect. If you want a little more texture, you can sub in up to ½ cup of whole wheat flour.
- 1 tbsp dill – I usually use dried.
- ½ tsp salt – a touch of salt brings the flavors together.
- 1 tbsp nutritional yeast – the secret to that “cheesy” flavor without any cheese.
- ½ cup water – helps bind everything into a dough.
- 3 tbsp olive oil – two go into the dough, and one is brushed on top for that golden crisp finish.
- Coarse sea salt – sprinkled on top before baking for crunch and flavor.
That’s it! You probably have most of these in your kitchen already.
Let’s Make Them: Step-by-Step Instructions
Making crackers sounds complicated, but I promise, it’s not. You don’t need a mixer, a food processor, or any fancy baking equipment. Just a bowl, a spoon, and a little bit of rolling.
Here’s how I make them:
Step 1: Preheat the oven
Set your oven to 400°F. These bake quickly, so you want it nice and hot.
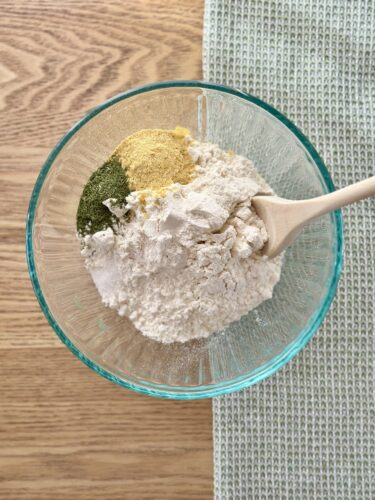
Step 2: Mix the dry ingredients
In a medium bowl, combine your flour, dill, salt, and nutritional yeast.
Give it a quick stir, it should smell like a savory, herby dream already.
Tip: if you’re using fresh dill, rub it between your fingers as you add it. That releases more of its oils and flavor.
Step 3: Add the wet ingredients
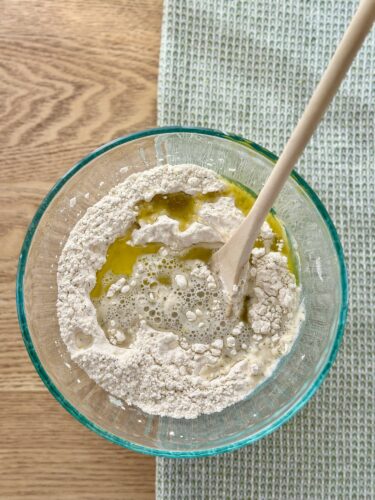
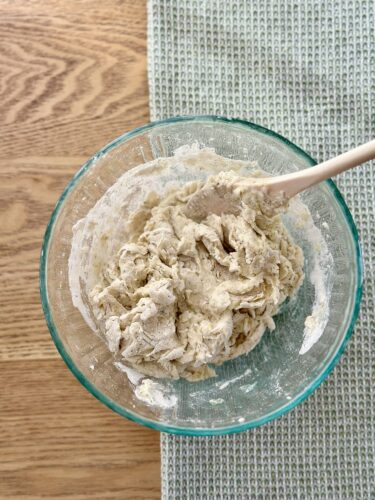
Pour in the water and 2 tablespoons of olive oil. Stir with a spoon or your hands until the dough starts to come together.
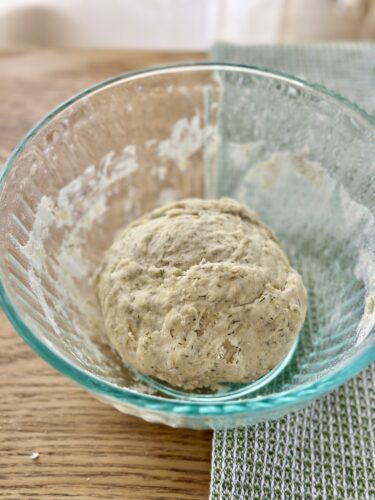
It should form a soft ball that’s easy to handle, not sticky, but not dry either. If it feels too crumbly, add another tablespoon of water. Too wet? Sprinkle in a bit more flour.
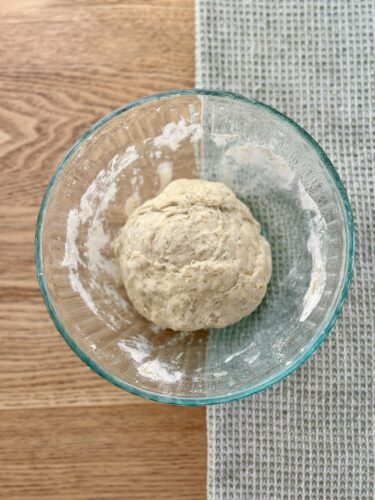
Step 4: Rest the dough
Split the dough into two balls. Cover them with a towel or plastic wrap and let them rest for about 15–20 minutes.
This step helps relax the gluten, making it easier to roll out later.
Use this time to line your baking sheet with parchment paper and grab your rolling pin.
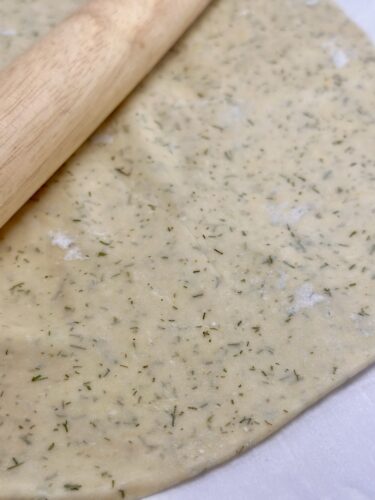
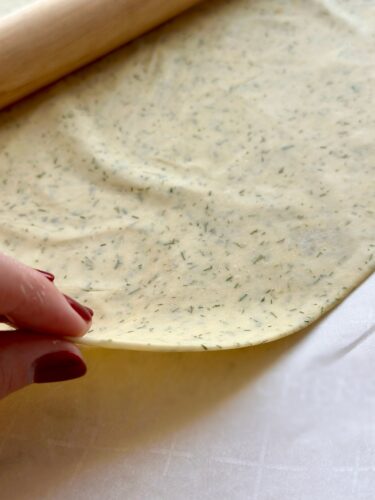
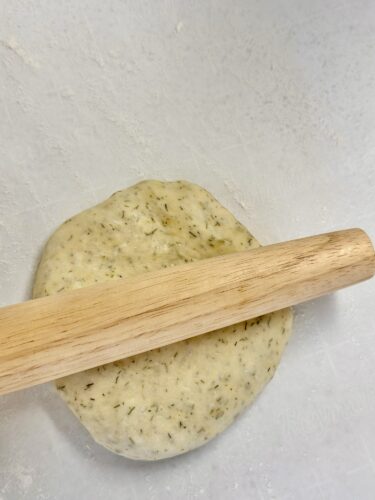
Step 5: Roll it out thin
Place one dough ball on a lightly floured surface and roll it as thin as possible, between 1/16 to 1/8 inch thick.
Thinner = crispier.
Each dough ball should cover an entire cookie sheet. Take your time and try to get it even, so they bake uniformly.
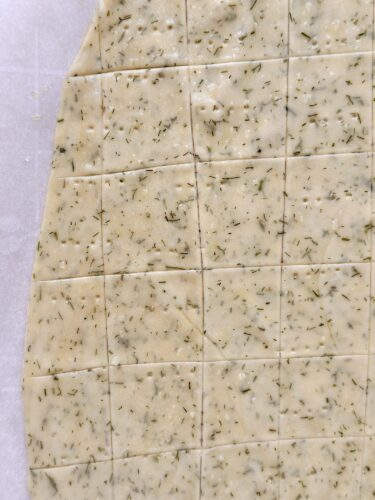
Step 6: Brush and season
Brush the top of the rolled dough with your remaining tablespoon of olive oil. Then sprinkle a little coarse sea salt over the surface. That olive oil gives the crackers that signature golden hue and keeps them from feeling dry.

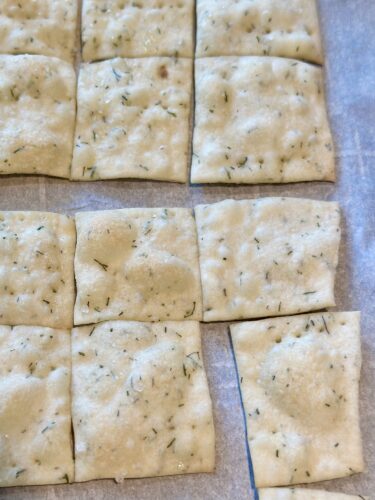
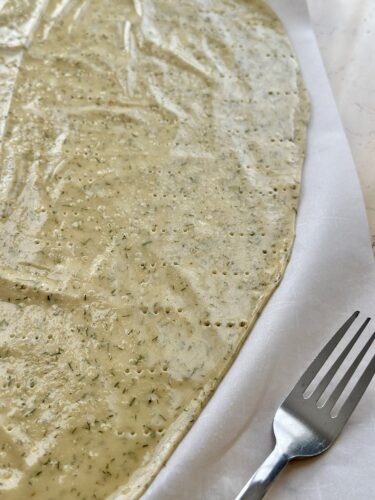
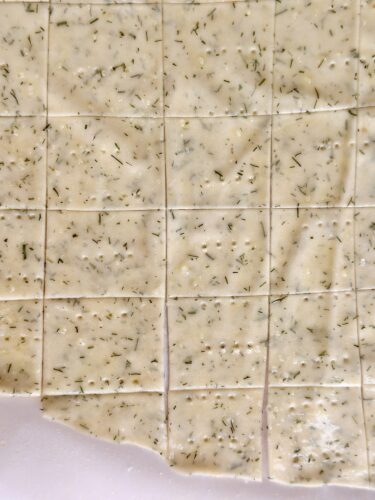
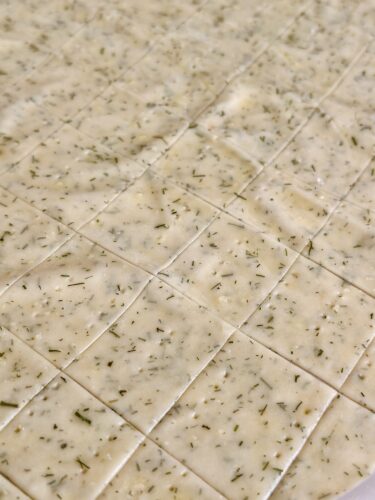
Step 7: Stab with a Fork and Score the dough
Stab the dough with a fork every inch or so to prevent big air bubbles. Then, use a pizza cutter or knife to score the dough into squares or rectangles. This helps them break apart easily once baked. I like to make some smaller and some bigger, tiny ones for snacking, bigger ones for dipping.
Step 8: Bake
Slide the tray into the oven and bake for 8–10 minutes.
Here’s the key: watch them closely at the end. The edges will brown first, and once they start turning golden, they’re done. If you want them extra crisp, go another minute, but don’t walk away!
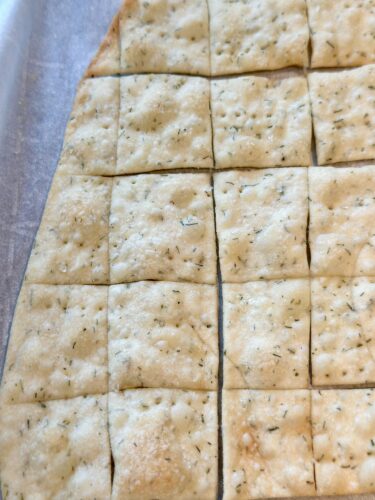
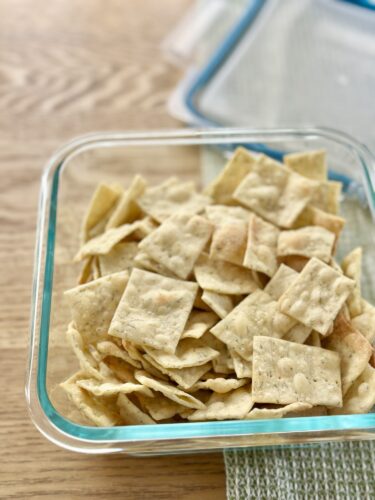
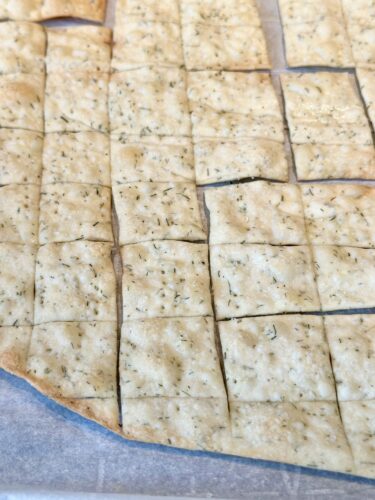
Step 9: Cool and serve
Let them cool on the pan for about 10 minutes. They’ll crisp up even more as they cool.
Then break them apart along the scored lines, and dig in.
The Flavor Combo: Dill + Nutritional Yeast
Let’s talk about flavor for a second, because this combination is what makes these crackers so special.
Dill adds that bright, tangy, slightly grassy flavor that pairs perfectly with olive oil. It’s fresh but not overpowering. I’ve tried other herbs, but dill gives these crackers their unique “can’t-stop-eating-them” taste.
Nutritional yeast, on the other hand, is the unsung hero of vegan cooking. It’s deactivated yeast (so no rising or yeast flavor here) that adds a nutty, cheesy, umami richness to anything it touches.
If you’ve never used it before, this recipe is a perfect place to start. It’s what gives these crackers that subtle cheesy flavor, without any dairy. Together, dill and nutritional yeast make these crackers taste indulgent but still light and fresh.
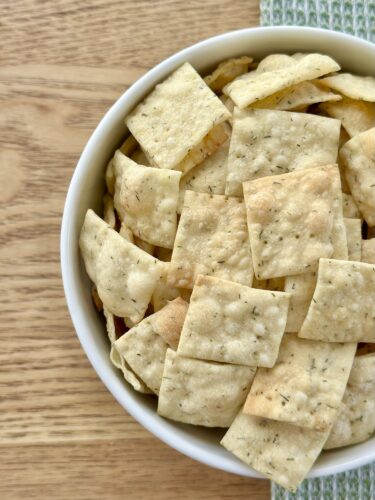
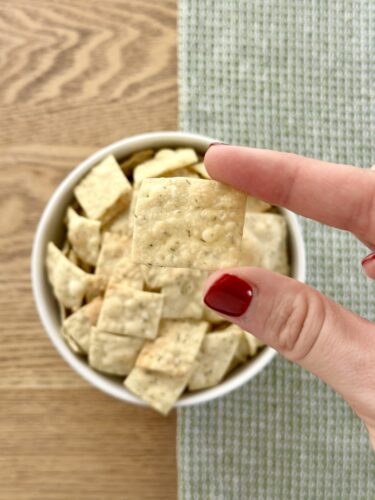
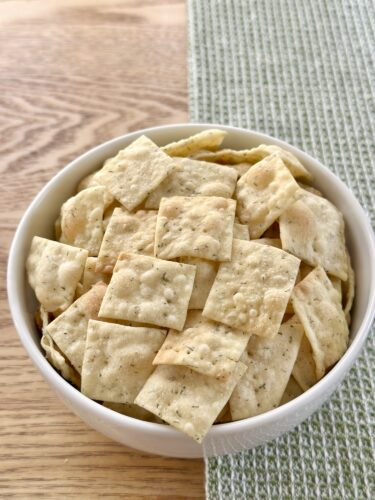
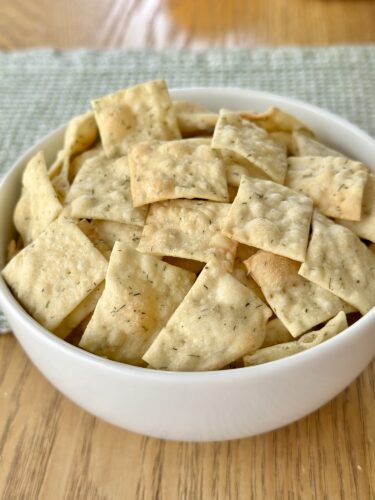
How to Serve Homemade Dill Crackers
These crackers are the definition of snackable, but they’re also the perfect addition to so many meals and gatherings. Here are a few of my favorite ways to serve them:
- With dips: Hummus, guacamole, or vegan spinach-artichoke dip are all amazing.
- On a charcuterie board: Pair them with vegan cheese, olives, and fresh veggies.
- As a soup topper: Crumble them over tomato or lentil soup for crunch.
- For parties: Serve them with a wine and cheese spread, they look so elegant!
- Everyday snack: I pack them in a small jar or reusable bag for a quick snack at work.
One of my favorite pairings is these crackers with a roasted red pepper dip. The smoky flavor with the dill and “cheese” notes? Unreal.
Storage and Make-Ahead Tips
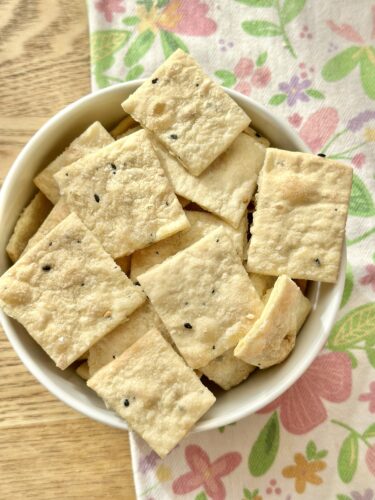
If you manage not to eat them all in one sitting, here’s how to store them:
- Let them cool completely before storing, that keeps them crispy.
- Store in an airtight container for up to one week.
- If they start to soften, pop them back in a 350°F oven for 2–3 minutes to re-crisp.
- You can also freeze the baked crackers for up to 2 months. Just reheat before serving.
If you like to plan ahead, you can make the dough a day in advance. Wrap it tightly and refrigerate overnight. When you’re ready, bring it to room temp, roll it out, and bake.
Flavor Variations
Once you master the base recipe, the flavor possibilities are endless. Here are a few of my go-to variations:
- Rosemary + Pumpkin: Swap the dill for 1 tbsp chopped rosemary and add ½ cup of pumpkin puree and increase the flour to 1 3/4 cup.
- Spicy Cheesy: Add a pinch of cayenne or chili flakes to the dough.
- Lemon Dill: Mix in ½ tsp lemon zest with the dry ingredients for a fresh twist.
- Everything Bagel: Sprinkle everything bagel seasoning on top instead of coarse salt.
- Smoky Paprika: Add ½ tsp smoked paprika for a rich, earthy flavor.
That’s the beauty of homemade crackers, once you’ve got the base, you can experiment endlessly.
Troubleshooting Tips
A few quick lessons I’ve learned after making (and occasionally burning) my fair share of crackers:
- Crackers too soft? Roll thinner or bake an extra minute.
- Edges browning too fast? Remove the browned edges and pop the center back in for 1–2 more minutes.
- Dough cracking when rolling? Add a teaspoon of water and knead lightly.
- Not cheesy enough? Add an extra tablespoon of nutritional yeast next time.
Homemade crackers are forgiving, you can tweak and adjust as you go.
The Joy of Homemade Gifting
These crackers also make the cutest homemade gift. Seriously, fill a mason jar or small tin with them, tie a ribbon, and add a handwritten tag that says “Homemade Dill Crackers.”
They’re thoughtful, unique, and made with love, the best kind of gift. I’ve given them to neighbors during the holidays and tucked them into homemade snack baskets with things like small-batch jam or a bottle of infused olive oil. People love the surprise of something savory and handmade.
If you’re hosting a party, these crackers also make a perfect edible party favor, guests can nibble on them on the drive home.
Homemade Gifting Tips
If you’re planning to share your homemade dill crackers as gifts, here are a few things that help them stay fresh and beautiful:
- Always let them cool completely before packaging.
- Line tins or jars with parchment paper for a rustic look.
- Add a label with ingredients for anyone who has allergies.
- Pair them with a dip mix or a small bottle of flavored olive oil for a fun combo gift.
Homemade gifts don’t have to be complicated, sometimes the simplest things, like a batch of crisp, fragrant crackers, make the biggest impression.
Why I Keep Coming Back to This Recipe
Every time I make these crackers, I remember why I love them so much. They’re easy, comforting, and always a hit, but more than that, they represent a shift in how I think about snacks.
When I started cooking more from scratch, I realized that homemade doesn’t have to mean hard. It can be simple, flexible, and even a little meditative.
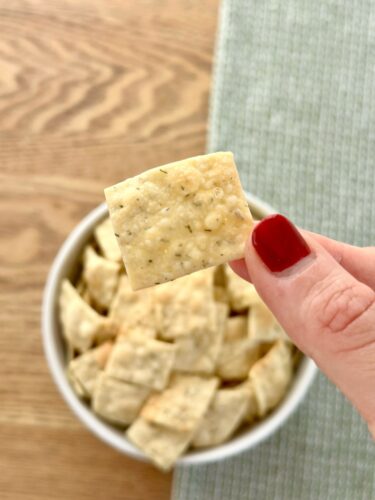
Rolling out dough, brushing olive oil across the surface, watching them puff and brown in the oven, it’s a small ritual that grounds me.
And then there’s that first crack. The snap when you bite into one, the salt crystals on top, the subtle hint of dill. It’s such a satisfying sound and flavor, proof that simple ingredients can make something extraordinary.
Recipe: Homemade Dill Crackers
Ingredients:
- 1 ½ cups flour
- 1 tbsp dill (dried or fresh)
- ½ tsp salt
- 1 tbsp nutritional yeast
- ½ cup water
- 3 tbsp olive oil (1 tbsp reserved for brushing)
- Coarse sea salt, for topping
Instructions:
- Preheat oven to 400°F.
- Combine flour, dill, salt, and nutritional yeast in a medium bowl.
- Add water and 2 tbsp olive oil. Mix until dough forms.
- Split dough into two balls. Let rest 15–20 minutes.
- Roll each ball out thin (1/16–1/8 inch) on parchment-lined baking sheets.
- Brush with olive oil and sprinkle coarse salt.
- Score into cracker shapes.
- Bake 8–10 minutes until golden.
- Cool 10 minutes before breaking apart. Enjoy!
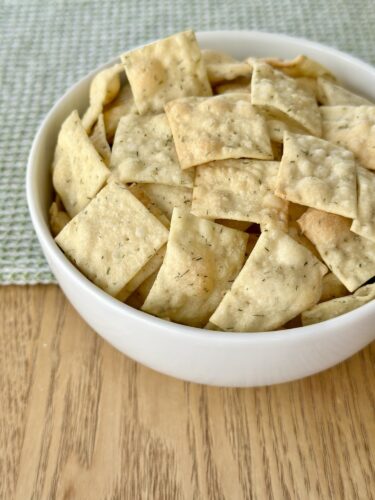
Go Give Them a Try
These Homemade Dill Crackers have become one of those recipes I’ll never get tired of. They’re proof that a handful of simple ingredients can create something beautiful, flavorful, and even a little bit fancy.
Whether you’re serving them at a party, giving them as gifts, or snacking solo with your favorite dip, they’ll always feel special because they came from your own kitchen.
So next time you get that craving for something crunchy, skip the store-bought box. Grab your rolling pin, turn on the oven, and make these instead. I promise, once you taste that first crispy, herby bite, you’ll never look back.
With Love,
Bri & Cat
Affiliate Disclaimer:
As an Amazon Associate I earn from qualifying purchases. This comes at no additional cost to you. We only recommend products that we believe will add value to our readers.
Homemade Dill Crackers
Ingredients
- 1 ½ cups flour
- 1 tbsp dill dried or fresh
- ½ tsp salt
- 1 tbsp nutritional yeast
- ½ cup water
- 3 tbsp olive oil 1 tbsp reserved for brushing
- Coarse sea salt for topping
Equipment
- Rolling Pin
- cookie sheet
- pizza cutter or knife
Method
- Preheat oven to 400°F.
- Combine flour, dill, salt, and nutritional yeast in a medium bowl.
- Add water and 2 tbsp olive oil. Mix until dough forms.
- Split dough into two balls. Let rest 15–20 minutes.
- Roll each ball out thin (1/16–1/8 inch) on parchment-lined baking sheets.
- Brush with olive oil and sprinkle coarse salt.
- Score into cracker shapes.
- Bake 8–10 minutes until golden.
- Cool 10 minutes before breaking apart. Enjoy!
Notes
- Crackers too soft? Roll thinner or bake an extra minute.
- Edges browning too fast? Remove the browned edges and pop the center back in for 1–2 more minutes.
- Dough cracking when rolling? Add a teaspoon of water and knead lightly.
- Not cheesy enough? Add an extra tablespoon of nutritional yeast next time.
Leave a Reply