
This site contains affiliate links, view the disclaimer page for more information.
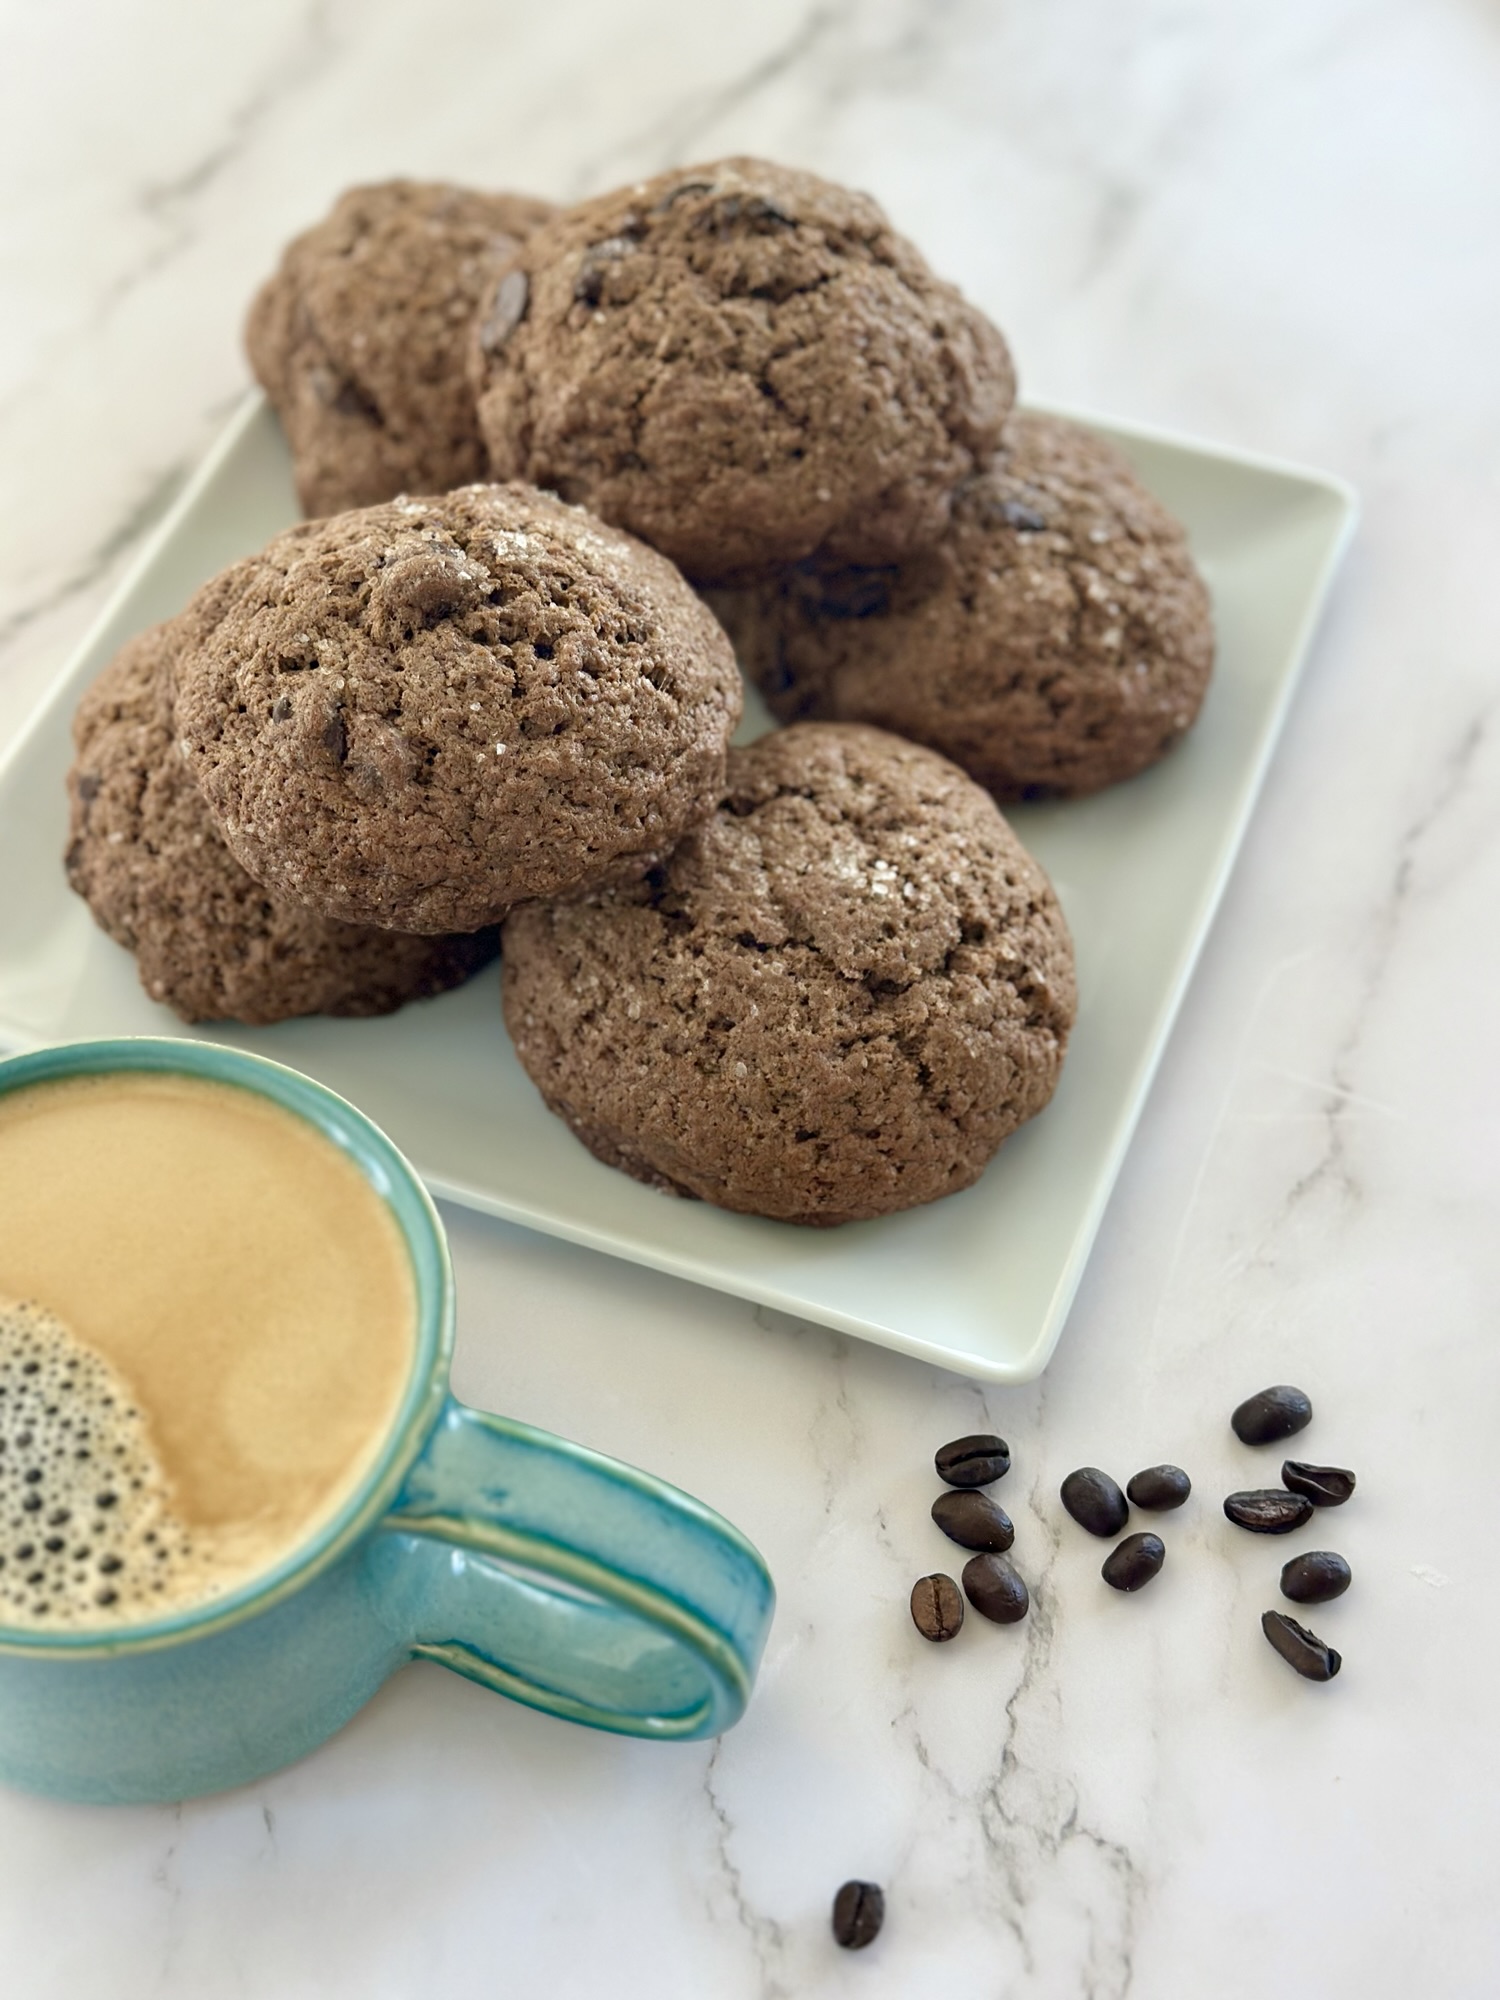
Giant chocolate espresso cookies might sound like an indulgence, but once you make them, they become a necessity. I’m talking about the kind of cookie that stops people mid-conversation. The kind that makes someone put down their phone, look at you, and say, “Wait, what is in this?” The kind with edges so golden and crisp they practically shatter, and a center so fudgy and dense it’s almost closer to a brownie than a cookie. That’s what we’re making today.
I’ve been baking cookies for years (probably too many years, if I’m honest with myself) and I’ve gone through phases. The brown butter phase. The chilling-the-dough-overnight phase. The cream-cheese-in-cookies phase (don’t knock it). But this recipe? This one has become a permanent fixture in my kitchen. It’s the one I make when I want to bring something to a dinner party and have people ask for the recipe before they’ve even finished eating. It’s the one I make when I need the house to smell incredible on a rainy Sunday. It’s the one I reach for when nothing else will do.
What makes it different isn’t just the espresso, although that plays a huge role. It’s the technique. Cold butter. Dry mixing first. Eggs added last. Frozen dough balls baked straight from the freezer. Every single one of those steps matters, and I’m going to walk you through exactly why.
Table of Contents
Why Espresso Makes Chocolate Taste More Like Itself
Before we get into the recipe, let’s talk about the espresso, because I get questions about this every single time I share these cookies.
No, they don’t taste like a mocha. No, you can’t strongly taste the coffee. What espresso actually does to chocolate is something closer to what salt does to a caramel: it deepens and intensifies the flavor that’s already there. Cocoa and espresso share a family of bitter, roasted, earthy compounds. When you combine them, they don’t compete. They amplify each other. The chocolate gets darker. Richer. More complex. It tastes like the best version of itself.
I use two pulled shots of espresso, cooled to room temperature, about 3 fluid ounces. Real espresso, the thick syrupy kind, contributes something that espresso powder alone can’t quite replicate. There’s a richness and depth to it that you notice in the finished cookie. That said, I know not everyone has an espresso machine at home, and I’ll get into substitutions in a bit.
We’re also using cocoa powder in this recipe, a quarter cup of it, alongside the chocolate chips. This is intentional. The cocoa powder doubles down on the chocolate flavor in a way that using only chips wouldn’t achieve. It gets worked into the dry ingredients early, so it distributes evenly throughout the dough and gives the cookies a deep, almost brownie-like color.
The Ingredients (and Why Each One Matters)
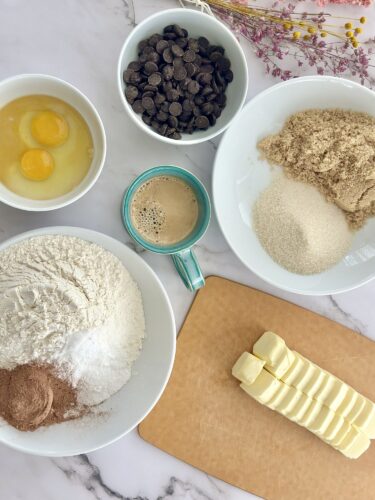
Let’s go through what you need before we get into technique:
- 2 sticks (1 cup) cold unsalted butter, cut into 1/2-inch cubes (and I mean cold, straight from the fridge)
- 3/4 cup brown sugar, packed
- 1/2 cup granulated sugar
- 3 cups all-purpose flour
- 2 1/2 tsp baking powder
- 1/2 tsp baking soda
- 1 tsp salt
- 1/4 cup cocoa powder
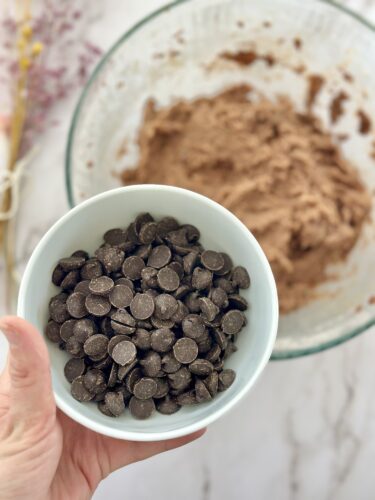
- 1 1/2 cups semi-sweet chocolate chips
- 2 eggs
- 1 1/2 tsp vanilla extract
- 2 shots (3 fl oz) espresso, cooled
- Flaky sea salt for topping
The butter being cold is not a preference. It is the whole foundation of this recipe. I’ll explain why in a moment, but please don’t let the butter sit on the counter. Don’t soften it. Don’t microwave it. Use it cold, cubed, straight from the fridge.
The brown sugar adds moisture and a caramel undertone that plays beautifully with the espresso. The combination of brown and white sugar gives you the right balance of chew and crispiness. Going all brown sugar makes them too soft; all white makes them spread too thin.
I use semi-sweet chocolate chips, but you can go darker if you prefer. Mini chips distribute more evenly; standard-size give you those big pockets of molten chocolate that are genuinely thrilling to bite into.
Flaky sea salt on top isn’t optional, as far as I’m concerned. It’s not just a garnish. It cuts through the richness, heightens the sweetness, and gives each bite a little contrast that makes you want the next one immediately.
The Technique That Changes Everything
Here is where this recipe earns its reputation. Most cookie recipes tell you to cream the butter and sugar together until light and fluffy. You probably know that instruction by heart. This recipe does the opposite, and that’s exactly what makes these cookies so extraordinary.
You start with cold butter, still firm and chunky, and beat it on low for just 30 to 45 seconds. Not to cream it. Not to lighten it. Just to start breaking it down slightly, until it’s rough and barely softened. This is unlike anything I’d seen in a cookie recipe before I first tried it, and I almost doubted it. I’m so glad I didn’t.
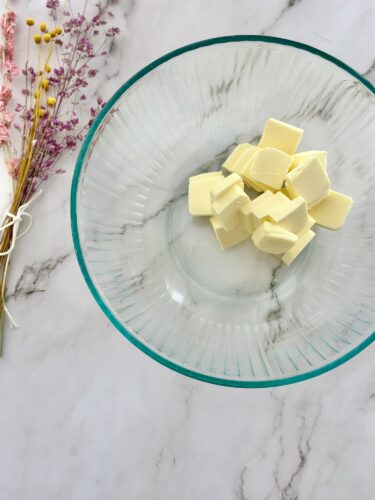
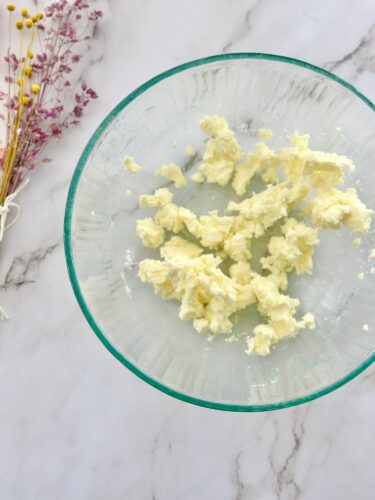
Then you add the sugars and mix on low until just combined. Low speed, minimal mixing. You’re not building volume or aeration here. You’re barely combining.
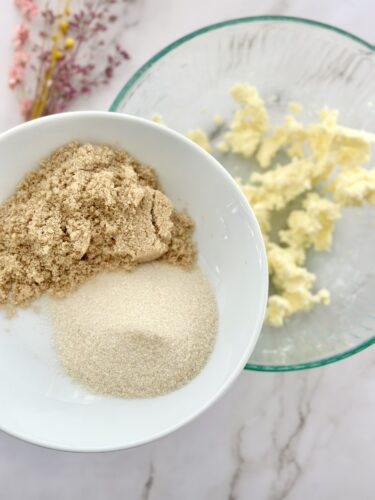
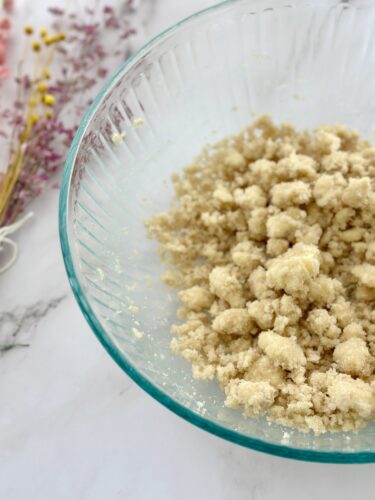
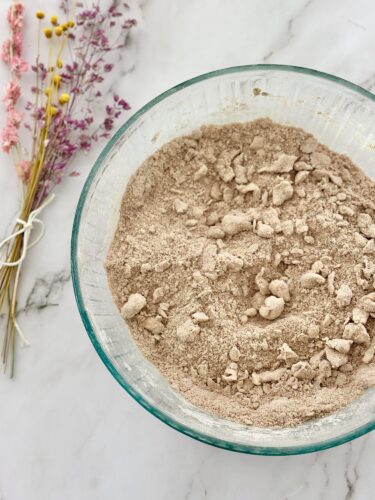
Next, all the dry ingredients go in at once: flour, baking powder, baking soda, cocoa powder, salt. Mix on low until incorporated. The mixture will look dry and crumbly, almost like streusel or a sandy, pebbly texture. This is the part where most people panic the first time. I panicked the first time. It doesn’t look like cookie dough. It looks like something went wrong. I promise it didn’t. This is exactly what it should look like. You add the chocolate chips and mix briefly so they distribute through the crumble.
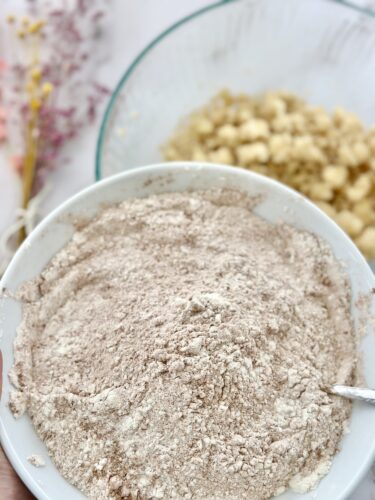
Then, in a separate bowl, you whisk together the eggs, vanilla, and cooled espresso. With the mixer running on low, you slowly pour this mixture into the dry crumble.
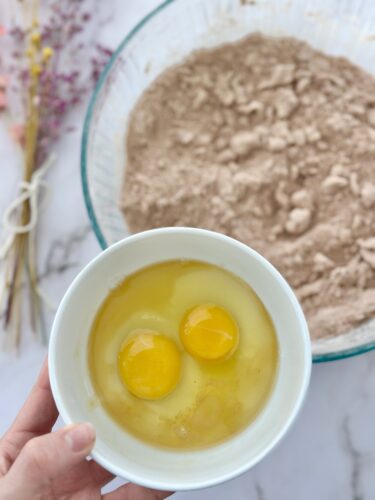
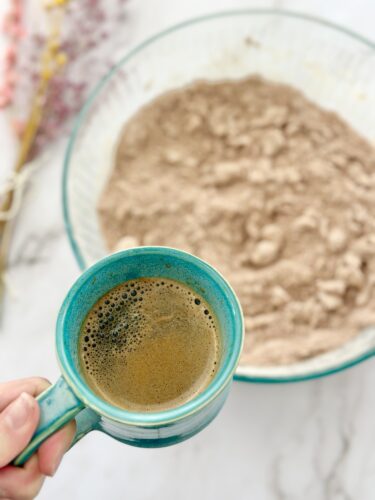
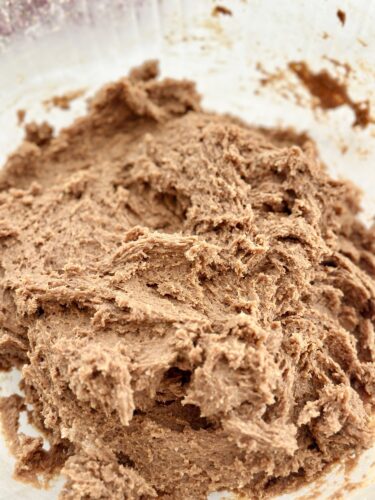
And here’s the magic: within about a minute, something remarkable happens. All that dry, crumbly mess comes together into smooth, cohesive, traditional-looking cookie dough. Every time I do this step, it still feels a little like a trick.
Why You Must Freeze the Dough (Non-Negotiable)
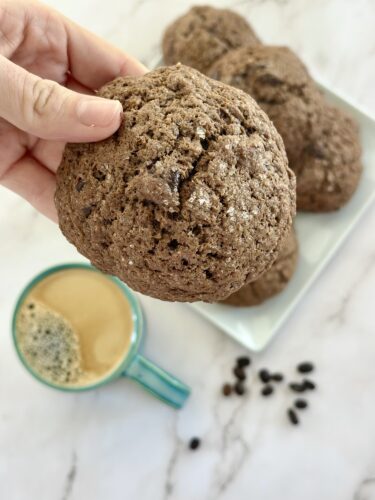
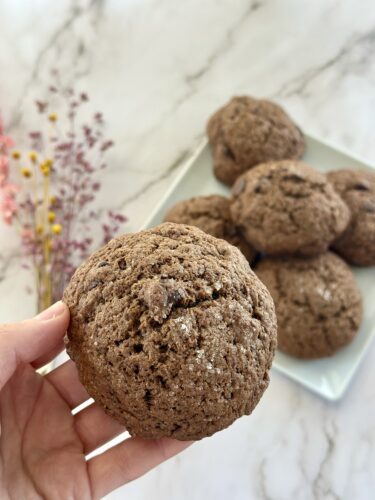
I want to address this head-on because I know there’s a temptation to skip this step. Don’t. Freezing the dough balls is what keeps these cookies thick, tall, and gooey in the center. When you bake a frozen dough ball, the outside sets and browns before the center has a chance to fully melt and spread. That’s how you get those bakery-style cookies that stand tall instead of spreading into sad flat discs. That’s how you get the gooey, fudgy center. That’s the whole point.
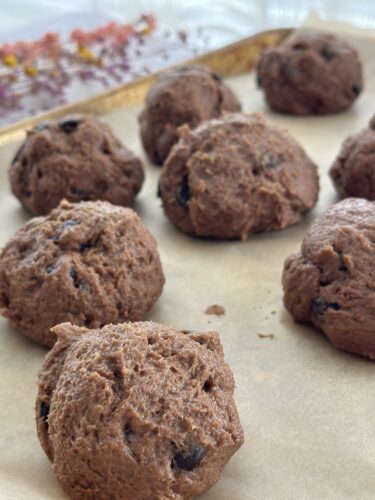
Use a 1/3-cup measuring cup or a large cookie scoop to portion the dough into balls. Place them on a plate or sheet pan and put them in the freezer for at least 2 hours, though overnight is better. Once frozen solid, you can transfer them to a zip-lock freezer bag and keep them for up to one month. This means you can have frozen dough on hand at all times, which, honestly, is one of the best things I’ve ever done for my quality of life. Bake directly from frozen. No thawing needed. The frozen-to-oven method is the whole technique.
How to Bake These Giant Chocolate Espresso Cookies
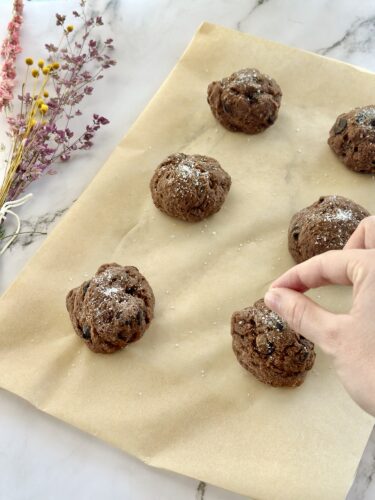
Preheat your oven to 350°F. Line a large rimmed baking sheet with parchment paper or a light coat of non-stick spray. Arrange the frozen dough balls about 2 inches apart. These cookies spread, so give them room. Before they go in, add a generous pinch of flaky sea salt to the top of each one. Don’t skip this.
Bake for 15 minutes. Then rotate the pan 180 degrees and bake for another 10 minutes, for a total of 25 minutes. Rotating the pan ensures even browning and prevents one side from cooking faster than the other.
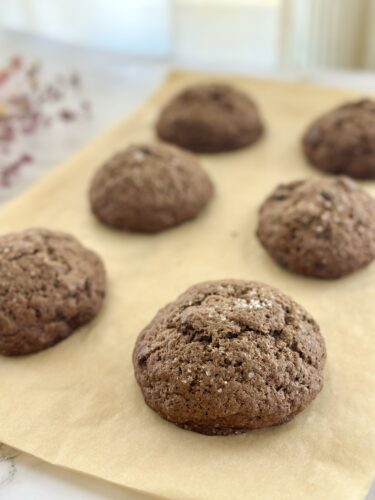
When you pull them out, the edges will be golden and set. The centers will look underdone. Slightly glossy, maybe a little puffed. This is correct. Do not put them back in. Do not add more time. Trust the process.
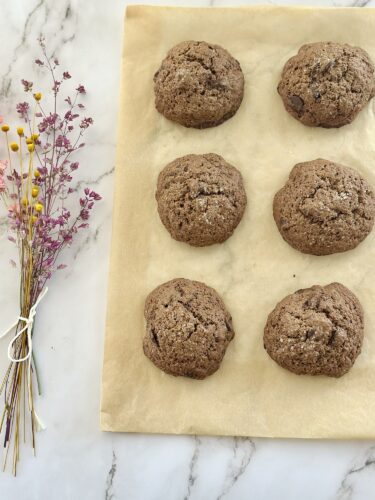
Let the cookies cool on the pan for 10 to 15 minutes before moving or eating them. During this time, the centers will continue to set from the residual heat. If you cut into one right out of the oven, it will be molten and fall apart, which, frankly, is also delicious. But if you want a cookie that holds its shape and has that perfect fudgy texture, you need to wait. I know. It’s hard. But worth it.
Step-by-Step Recipe
Makes approximately 16 large cookies Prep time: 20 minutes | Freeze time: 2 hours minimum | Bake time: 25 minutes
Ingredients:
- 2 sticks (1 cup) cold unsalted butter, cut into 1/2-inch cubes
- 3/4 cup brown sugar, packed
- 1/2 cup granulated sugar
- 3 cups all-purpose flour
- 2 1/2 tsp baking powder
- 1/2 tsp baking soda
- 1 tsp salt
- 1/4 cup cocoa powder
- 1 1/2 cups semi-sweet chocolate chips
- 2 eggs
- 1 1/2 tsp vanilla extract
- 2 shots (3 fl oz) espresso, cooled
- Flaky sea salt for topping
Instructions:
- Add the cold, cubed butter to the bowl of a stand mixer fitted with the paddle attachment. Beat on low speed for 30 to 45 seconds, just until the butter starts to break down. You want it slightly softened but still rough and chunky. Do not cream it. Scrape down the sides.
- Add the brown sugar and granulated sugar. Mix on low until just combined. Scrape down the sides again.
- Add the flour, baking powder, baking soda, cocoa powder, and salt all at once. Mix on low until fully incorporated. The dough will look dry and crumbly, like streusel. This is normal and correct.
- Add the chocolate chips and mix briefly on low until evenly distributed.
- In a separate small bowl, whisk together the eggs, vanilla extract, and cooled espresso. With the mixer running on low, slowly pour this mixture into the dry dough. Mix until the dough fully comes together, about 1 minute.
- Using a 1/3-cup measuring cup or large cookie scoop, portion the dough into balls. Place on a plate or sheet pan and freeze until completely solid, at least 2 hours or overnight.
- When ready to bake, preheat the oven to 350°F. Line a large rimmed baking sheet with parchment paper.
- Arrange the frozen dough balls about 2 inches apart on the prepared baking sheet. Top each with a generous pinch of flaky sea salt.
- Bake for 15 minutes, then rotate the pan 180 degrees and bake for an additional 10 minutes. The edges should be golden and set; the centers will look slightly underdone.
- Remove from the oven and let cool on the pan for 10 to 15 minutes before eating. The centers will continue to set as they cool.
Tips, Substitutions & Troubleshooting
The espresso substitution question
I get asked this constantly: what if I don’t have an espresso machine?
You can substitute 3 oz of strong brewed coffee for the espresso shots. The flavor will be slightly less concentrated, but the cookies will still be excellent. Just make sure the coffee is strong and fully cooled before adding it.
One important thing to know: using liquid espresso or strong coffee adds moisture to the dough, which can result in a slightly more cake-like texture in the finished cookie. Some people love this. If you prefer a chewier, denser, more fudgy cookie, substitute 1 1/2 tsp of espresso powder or instant coffee instead. Add it directly to the dry ingredients with the cocoa powder. You’ll get the same deep chocolate-espresso flavor without the added liquid, and the texture will be noticeably denser and more traditional.
My cookies spread flat. What happened?
Almost always, this comes back to the butter. If the butter was too soft or partially melted when you started mixing, the dough won’t hold its shape during baking. Make sure your butter is genuinely cold and straight from the fridge. Also make sure your dough balls were completely frozen solid before baking, because partially frozen dough will spread.
My dough is too crumbly and won’t come together
Give it time. Add the egg mixture slowly with the mixer on low, and let it run for the full minute once everything is in. The dough will look alarmingly dry and then suddenly come together. If it still seems dry after a full minute, check that your eggs were large and that you measured the espresso correctly.
On freezing and storage
- Raw dough balls can be stored in a zip-lock freezer bag for up to one month
- Bake directly from frozen, no thawing needed
- Do not skip the freezing step. It is what keeps these cookies thick, tall, and gooey in the center. No freezing means flat cookies.
- Leftover baked cookies can be stored in an airtight container at room temperature for up to 4 days
- To refresh a baked cookie, microwave for 15 to 20 seconds and it’ll taste like it just came out of the oven

Variations worth trying
Once you’ve made the base recipe a few times, there are some genuinely great directions you can take it:
- Mocha white chip: Swap the semi-sweet chips for white chocolate chips. The sweetness against the dark espresso dough is a wonderful contrast.
- Brown butter edition: Brown the butter first, let it solidify in the fridge, then use it cold. You get all the nuttiness of browned butter plus the cold-butter technique. It takes longer but it is extraordinary.
- Caramel center: Press a soft caramel into the center of each dough ball before freezing. The caramel melts during baking and you get a molten center that’s different from any cookie I’ve ever had.
- Double espresso: Use 1 1/2 tsp espresso powder in the dry ingredients and keep the liquid espresso shots. For those who actually want to taste the coffee, this version delivers.
Serving Suggestions and Final Thoughts
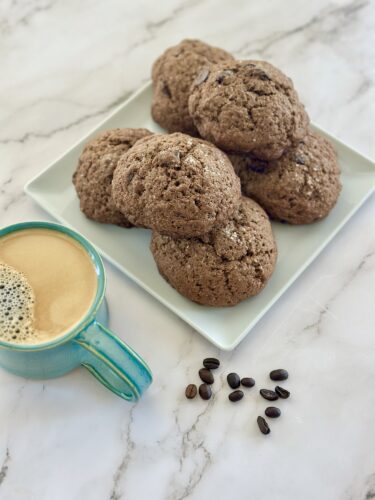
These giant chocolate espresso cookies are at their absolute best warm, about 12 minutes out of the oven, when the center is still soft and the flaky salt hasn’t fully dissolved into the surface. Eat one standing over the kitchen counter and don’t feel bad about it.
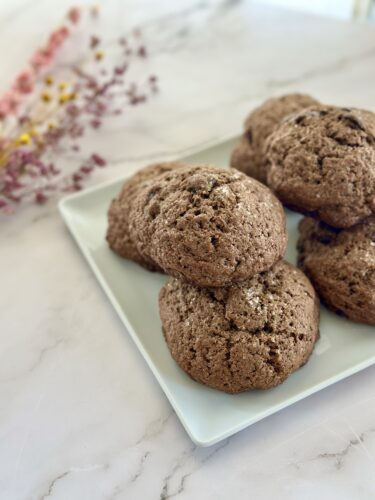
For a proper occasion, serve them alongside a scoop of good vanilla ice cream, a pour of oat milk, or a small black coffee. The bitterness of the espresso and the sweetness of the cookie create something that begs to be paired with something creamy and cold.
If you make these for a dinner party, make extra. I have watched people eat three of these in a single sitting, and I have never once judged them.
The reason I keep coming back to this recipe, beyond how reliably good it is, is that it taught me something about baking that I hadn’t fully understood before. That technique matters more than ingredients. That doing something counterintuitive, like using cold butter and dry-mixing first, can produce results that a conventional approach never could. That sometimes the steps that feel wrong are the ones that make everything right.
Make these cookies. Freeze the dough balls. Don’t rush the cooldown. Then share them with someone you like, and wait for the reaction.
With love,
Bri and Cat
Made these? Leave a comment below and let me know which espresso variation you went with, or tag me in a photo so I can see that cross-section. If you love these cookies check out my giant chocolate chip cookie version
Affiliate Disclaimer:
As an Amazon Associate I earn from qualifying purchases. This comes at no additional cost to you. We only recommend products that we believe will add value to our readers.
Giant Chocolate Espresso Cookies
Ingredients
- 3 cups all-purpose flour
- 1/4 cup cocoa powder
- 2.5 tsp baking powder
- 1/2 tsp baking soda
- 1 tsp salt
- 2 sticks 1 cup cold unsalted butter, cut into 1/2-inch cubes
- 3/4 cup brown sugar packed
- 1/2 cup granulated sugar
- 1.5 cup semi-sweet chocolate chips
- 2 large eggs
- 1.5 tsp vanilla extract
- 2 shots espresso (3 fl oz, cooled to room temperature)
- Flaky sea salt for topping generous pinch per cookie
Equipment
- Stand mixer with paddle attachment (or hand mixer)
- Large mixing bowl
- Small bowl for wet ingredients
- Whisk
- 1/3-cup measuring cup or large cookie scoop
- Sheet pan or large plate (for freezing dough)
- Zip-lock freezer bag for storage
- Large rimmed baking sheet
- Parchment paper
- Wire rack
Method
- Add cold, cubed butter to the stand mixer bowl fitted with the paddle attachment. Beat on LOW for 30 to 45 seconds until the butter just starts to break down. It should look rough and chunky. Do not cream it.
- Add brown sugar and granulated sugar. Mix on LOW until just combined, about 15 to 20 seconds. Scrape down the bowl.
- Add flour, cocoa powder, baking powder, baking soda, and salt all at once. Mix on LOW until incorporated. The mixture will look dry and crumbly, like streusel. This is correct.
- In the small bowl, whisk together eggs, vanilla, and cooled espresso until combined.
- With the mixer running on LOW, slowly pour the egg mixture into the dough. Mix until the dough fully comes together, about 1 minute. It will look like traditional cookie dough.
- Add chocolate chips. Mix briefly until distributed.
- Scoop dough into balls using a 1/3-cup measuring cup or large cookie scoop. Place on a sheet pan or plate.
- Freeze until completely solid, at least 2 hours or overnight. Can transfer to a zip-lock bag once frozen.
- Preheat oven to 350°F.
- Line a large rimmed baking sheet with parchment paper.
- Place frozen dough balls 2 inches apart on the baking sheet.
- Top each with a generous pinch of flaky sea salt.
- Bake for 15 minutes. Rotate the pan 180 degrees. Bake for an additional 10 minutes (25 minutes total).
- Remove from oven. Edges will be golden and set. Centers will look slightly underdone. This is correct.
- Cool on the pan for 10 to 15 minutes before eating.
- Centers will continue to set as they cool.
Notes
- Do not skip the freeze. It is what keeps the cookies thick,
tall, and gooey in the center. Frozen dough goes straight
into the oven, no thawing needed. - Butter must be cold. Softened or room-temperature butter
will cause the cookies to spread flat. - No espresso machine? Substitute 3 oz of strong brewed
coffee. Note: liquid espresso or coffee adds moisture and
creates a slightly cake-like texture. For a chewier, denser
cookie, use 1 1/2 tsp espresso powder or instant coffee
added directly to the dry ingredients instead. - Frozen raw dough balls keep in a zip-lock bag for up to
1 month. Bake directly from frozen whenever the craving hits. - Baked cookies keep in an airtight container at room
temperature for up to 4 days. Microwave for 15 to 20 seconds
to refresh.
Leave a Reply